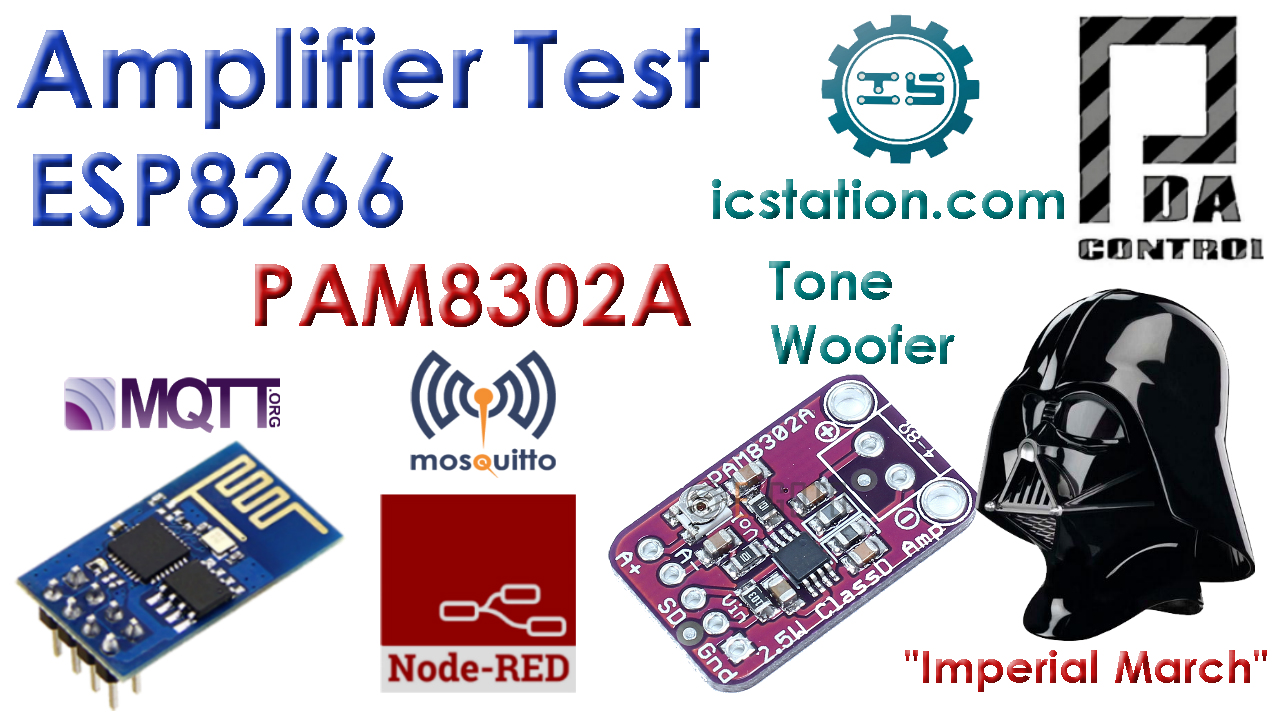
There is a great variety of arduino tutorials generating melodies, one of the most common the famous “Imperial March” of the well-known Star Wars movie, I downloaded one of the examples for Arduino I made several modifications to work on an ESP8266 01 and I have included An audio amplifier to this test.
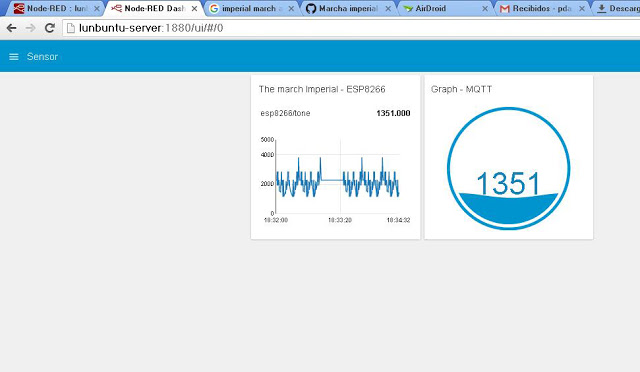
We have also integrated the Node-RED platform to visualize the frequency changes in the audio generated by the ESP8266 implementing the MQTT protocol and Broker mosquitto.
Note: To complete this tutorial properly, you must be aware of the previous tutorials listed at the end of the article.
Video Test Audio Amplifier Test PAM8302A ESP8266 Node-RED MQTT
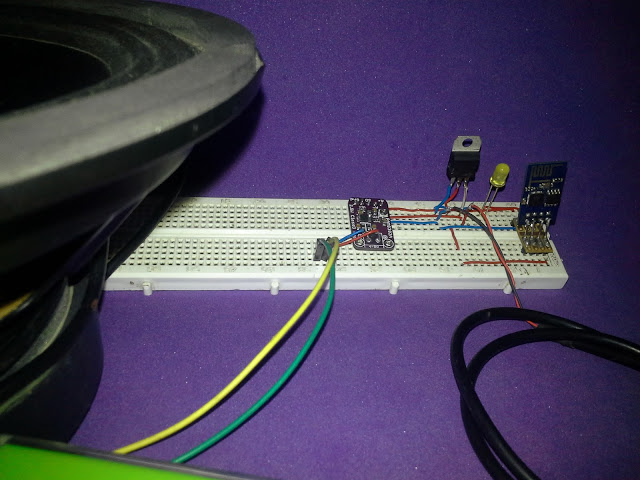
Using the familiar ESP8266 Module to generate such tune, we have added an audio amplifier to make more noise ..
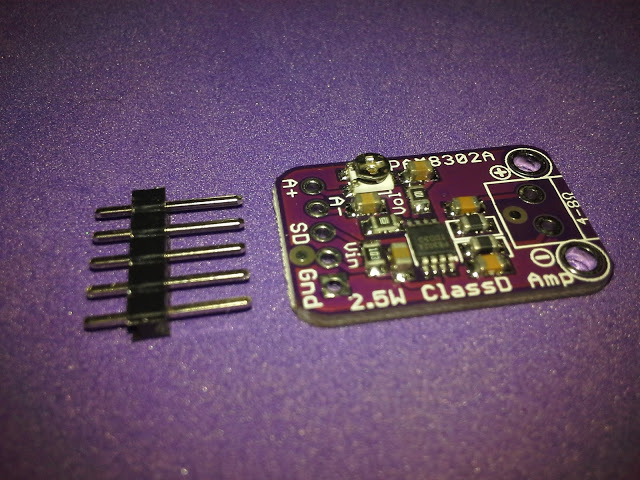
Audio Amplifier PAM8302A
Use the PAM8302A Class-D monophonic amplifier 2.5 watts
Characteristics
1. Output Power of 2.5W in 4Ohm, 10% THD, 1.5W in 8Ohm, 10% THD, with 5.5V supply
2.50dB PSRR at 1KHz.
3. Design with ferrite filter + capacitors in output.
24dB fixed gain, input volume adjustment potentiometer.
5. Thermal protection and short circuit / overcurrent protection
6. Low current consumption: 4 mA inactive and 1 uA in shutdown mode.
Arduino IDE ESP8266
The code for our ESP8266 has been made in Arduino ide based on tests with the pubsubclient library
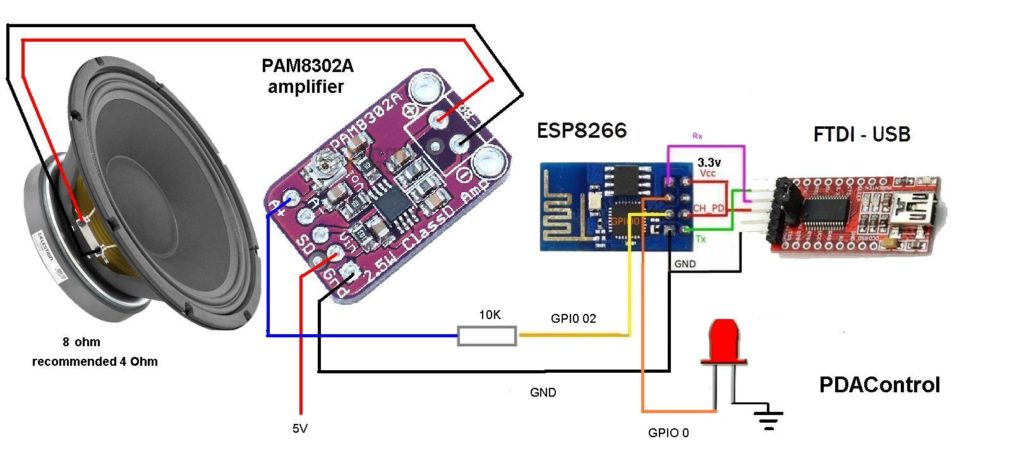
And the code that generates tones through the GPIO 02 output has been added and the GPIO 0 has been configured to be activated according to the frequency of the tones. In the lower part of the document you will find the corresponding downloads.
For the generation of Arduino Audio requires the conversion of sound to tone and frequency there are conversion calculators.
Node-RED
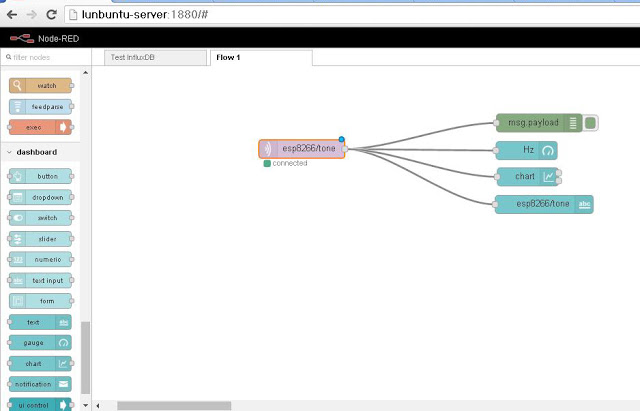
Implementing an MQTT subscription node performs the reading of the frequency of musical notes from the ESP8266.
And connecting to the dashboard nodes for visualization.
Node-RED-Dashboard
Test
Video Tutorial Audio Amplifier Test PAM8302A ESP8266 Node-RED MQTT
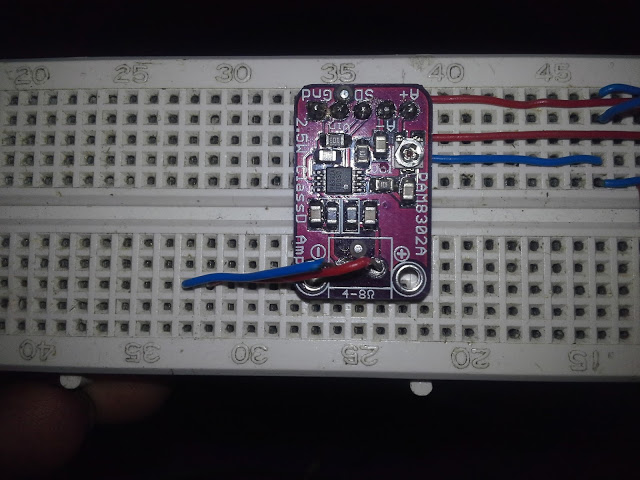
Connections
Conclusions
-Because the test uses a rechargeable battery, at certain times distortion was present given the low percentage of charge of the battery, but nevertheless the test was satisfactory, which was to visualize the notes from a web interface.
– I recommend Node-RED and the Mqtt protocol for data transmission since they were technically displayed in real time. Unlike other protocols with many seconds of difference between the visualization and the sending of the data.
Where to buy ?
Downloads:
Previous tutorials Recommended
Tutorial 2 : Installation node red platform
Tutorial 3: Installation Node Red Dashboard
Tutorial 4: Installation Modbus TCP IP in Node Red
Tutorial 5: Installation of Mosquitto Broker MQTT in Lubuntu
Tutorial 6: Program ESP8266 con Arduino IDE
Tutorial 7: ESP8266 and Node-RED MQTT GPIO # 1

Thanks for your awesome project.
Looking forward to your more tutorials 🙂