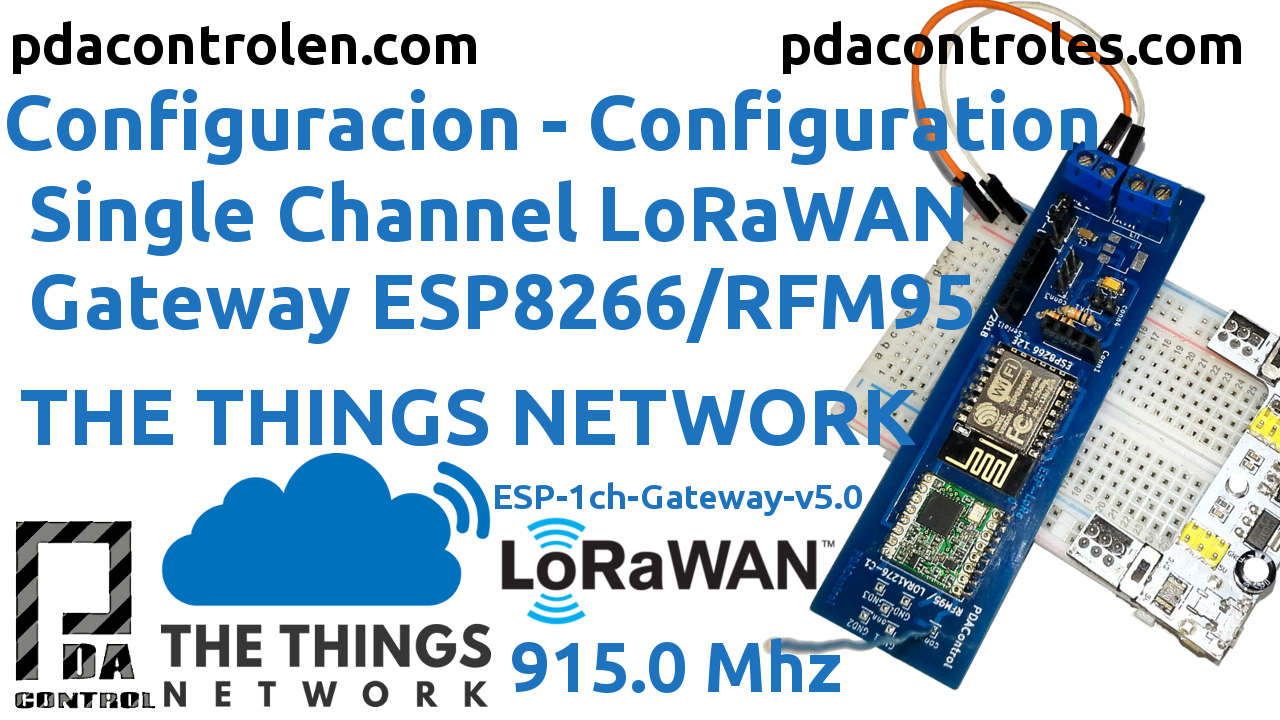
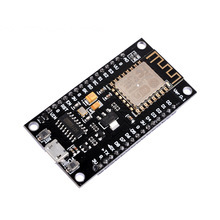
For a few weeks I have tested with LoRa technology, we have also heard about LoRaWAN, some time later we created an account on the TTN Platform or “The Things Network”, applied especially to these LP-WAN networks, for this new tutorial we will create a gateway LoRaWAN using an ESP8266 module and a Radio Modem RFM95/95W at a frequency of 915mHz with a single channel to connect with TTN.
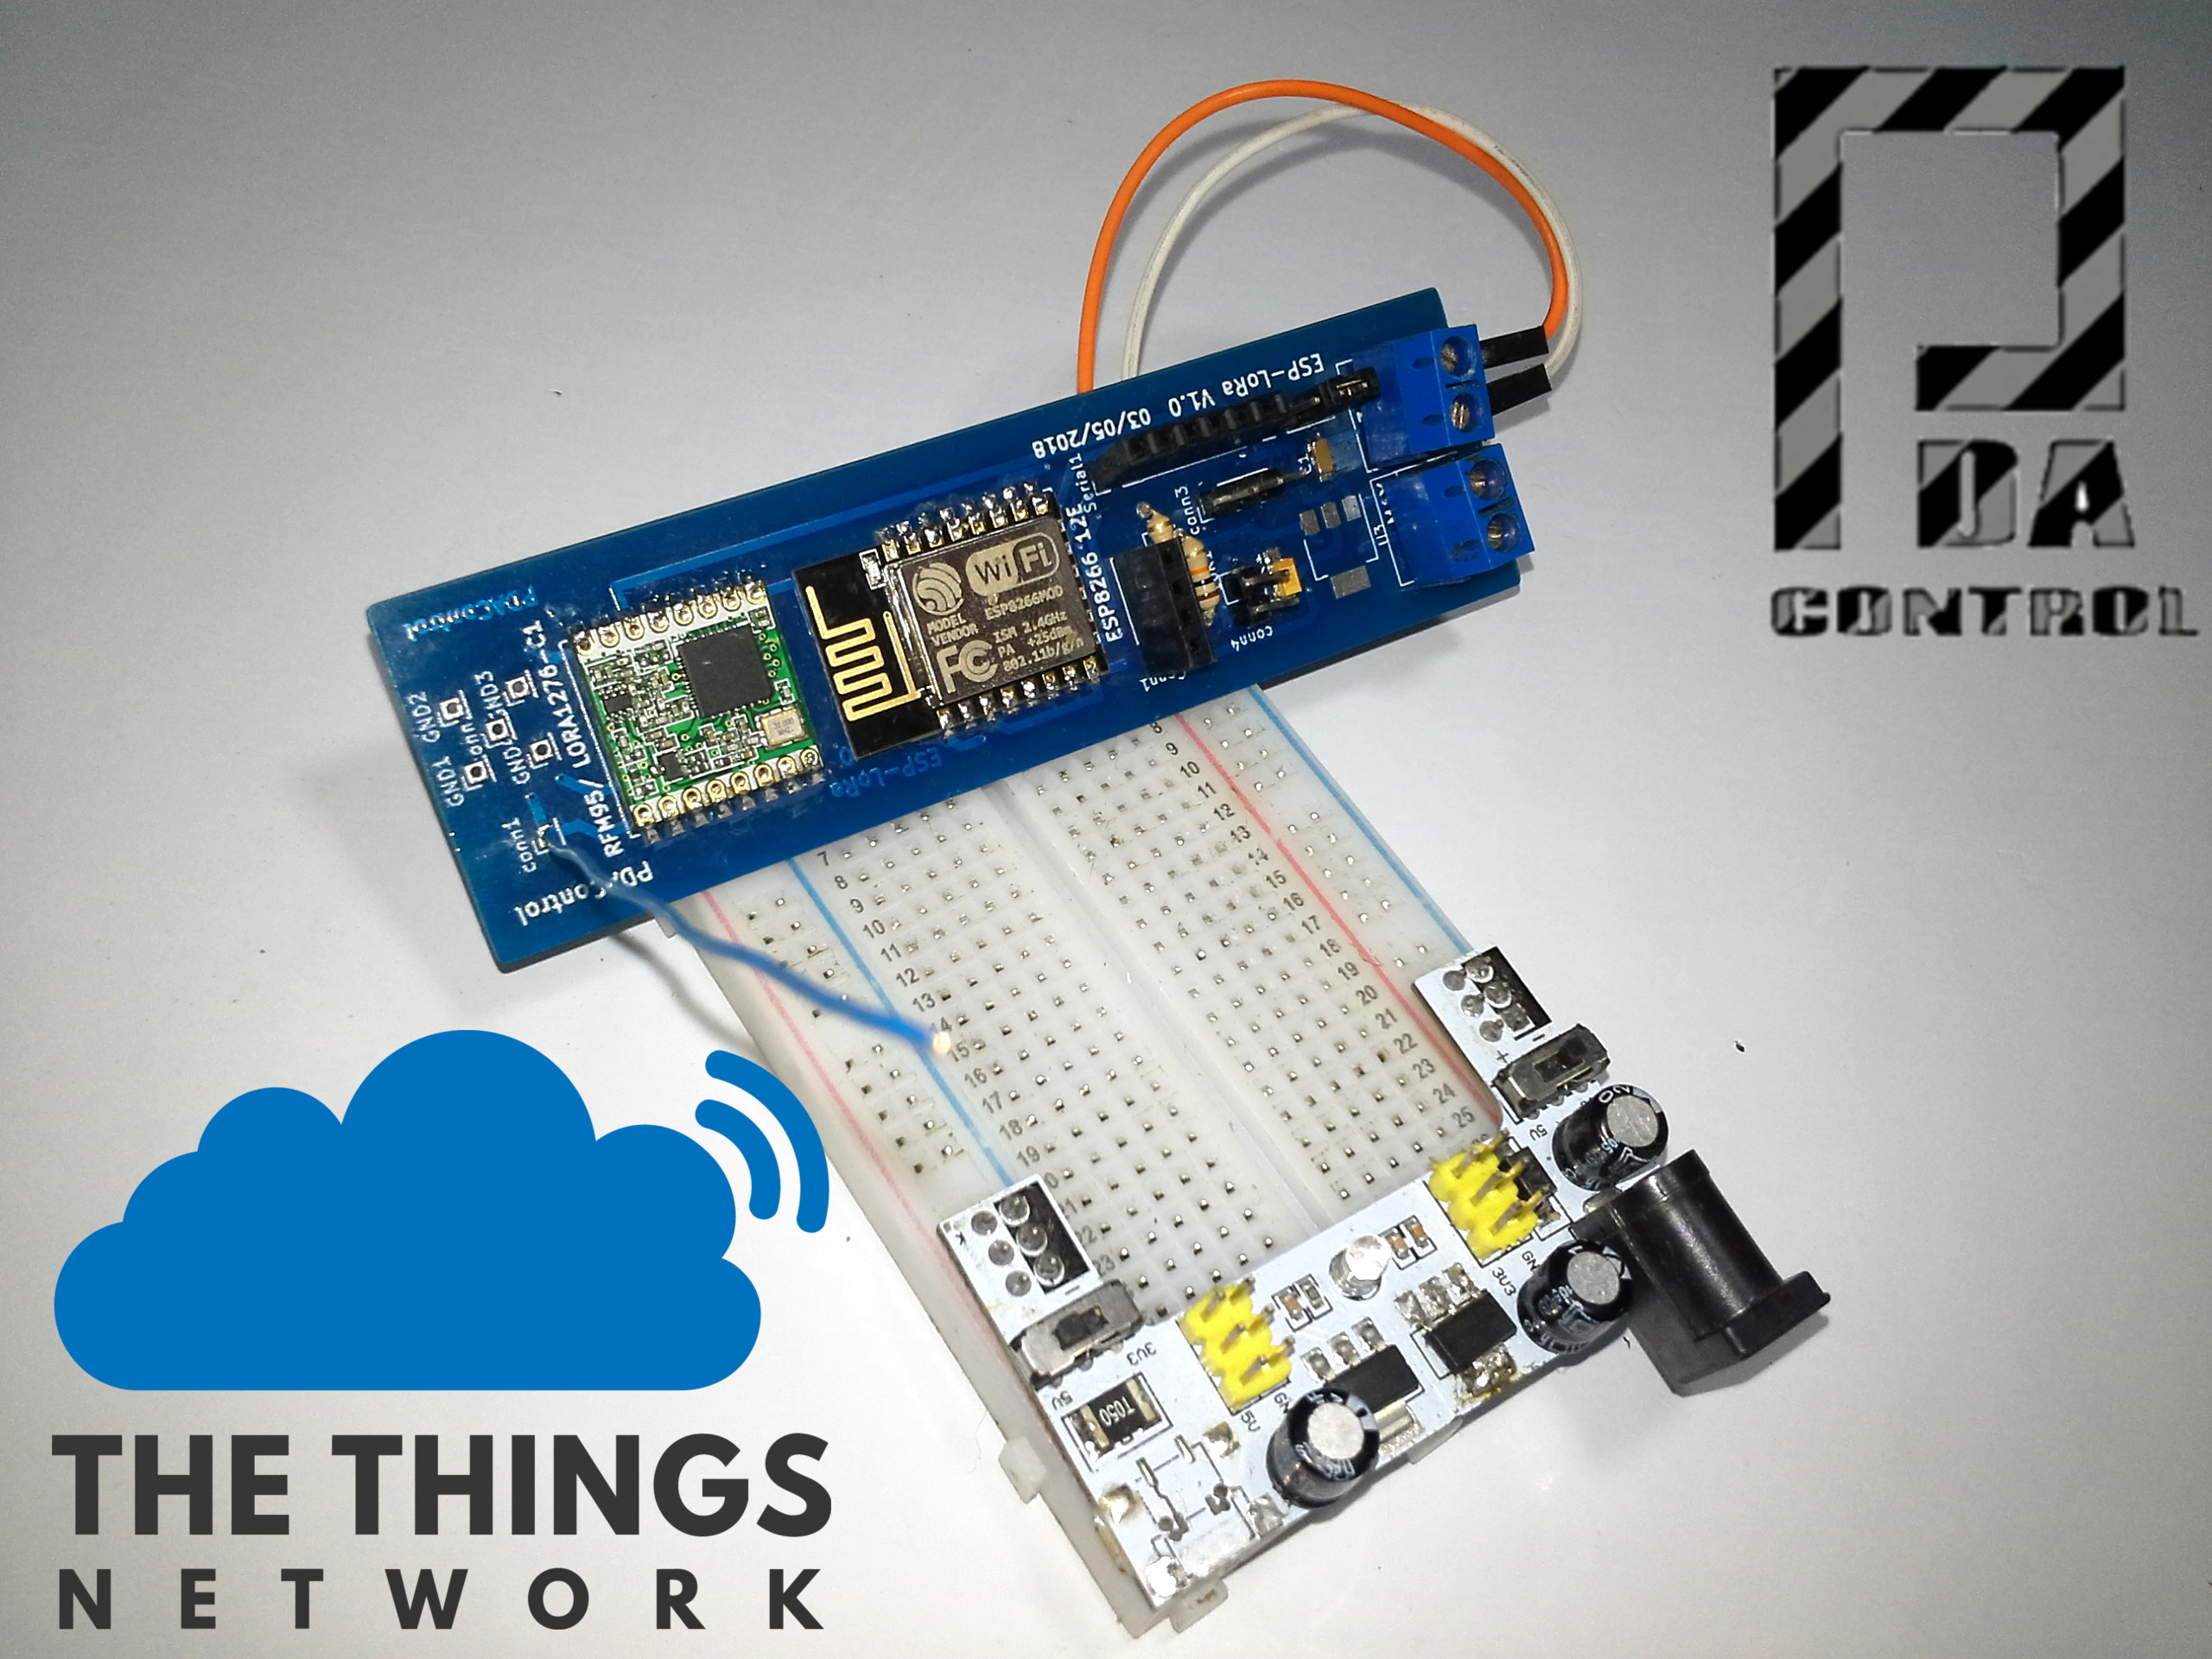
LoRaWAN Gateway
What is the function of the gateway? Is redirecting the information received by the LoRa nodes and transmitting it to the Internet, in our case transmitting it to the TTN platform, one could say that it is a router bidirectional LoRa-TCP/IP, either Ethernet ( LAN, WLAN) or GSM.
Currently with the rise of the Maker culture, it is becoming easier to manufacture our own devices, and the LoRaWAN Gateway are no exception, with a few dollars we can manufacture a functional version with either a Raspberry Pi and the LoRa/LoRaWAN Shields existing, technically generalizing there are 3 classes:
Recommendation: For a more detailed explanation step by step I recommend watching the full video “Gateway LoRaWan ESP8266 & RFM95 (ESP-LoRa) 915mHz single channel with The Things Network” available on our Youtube channel PDAControl.
Recommeded: Getting started, considerations and concepts LoRaWAN # 1
Professional or Industrial Gateway
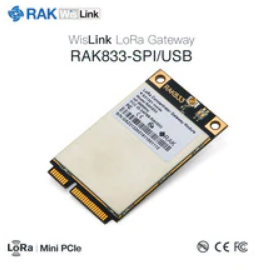
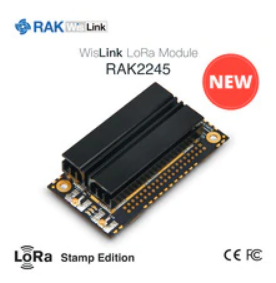
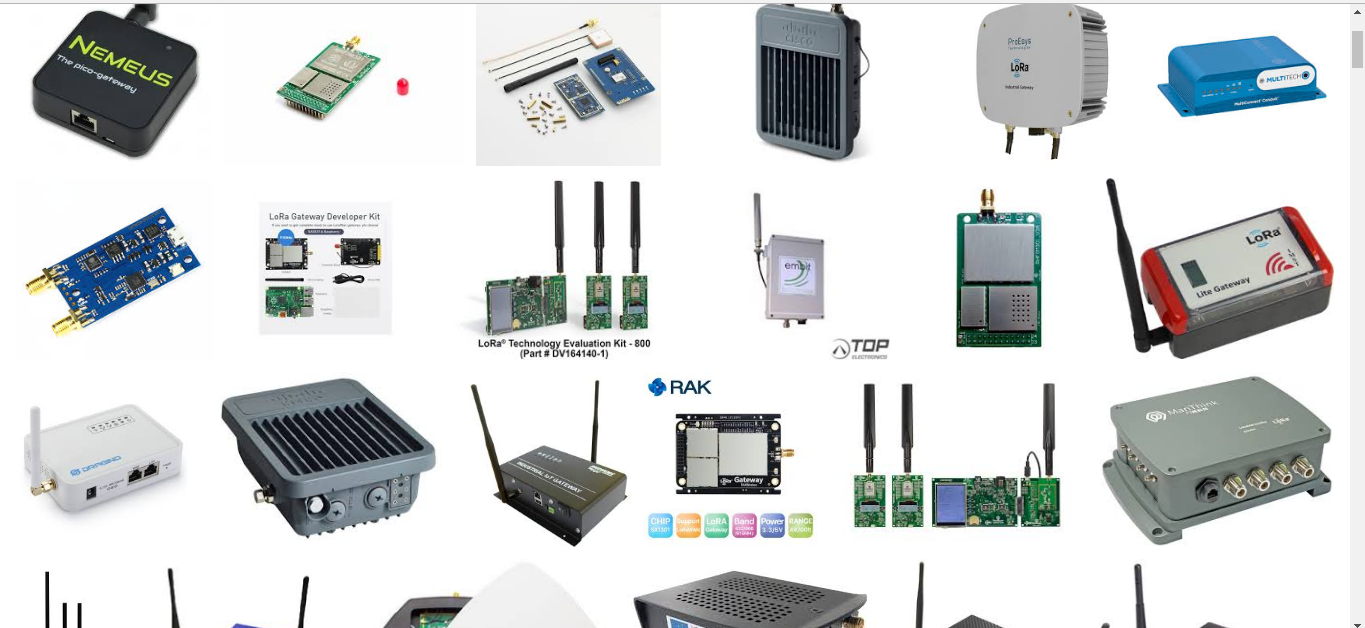
These devices are more robust have IP67 certifications for external environments, are multichannel, are certified by LoRa Alliance, some of the known brands are:
DIY Gateway
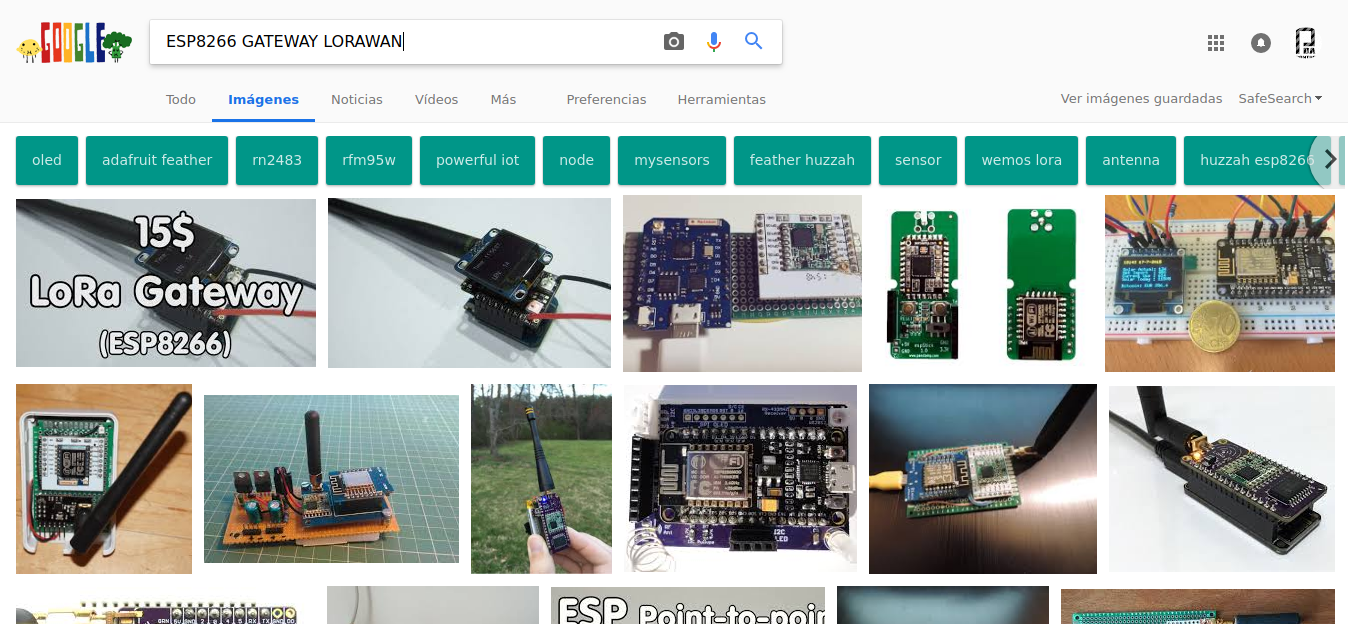
For the most part they have been created and designed by communities that have adopted LoRa, Charles hallard has created fascinating PCBs such as:
There are also professional Shields, such as these created by the company The Libelium, which sells kits for Arduino and Raspberry Pi.
Gateway Semi-professional
There is the possibility of creating an intermediate version between Robust and DIY, I have seen the
Previous Tutorials
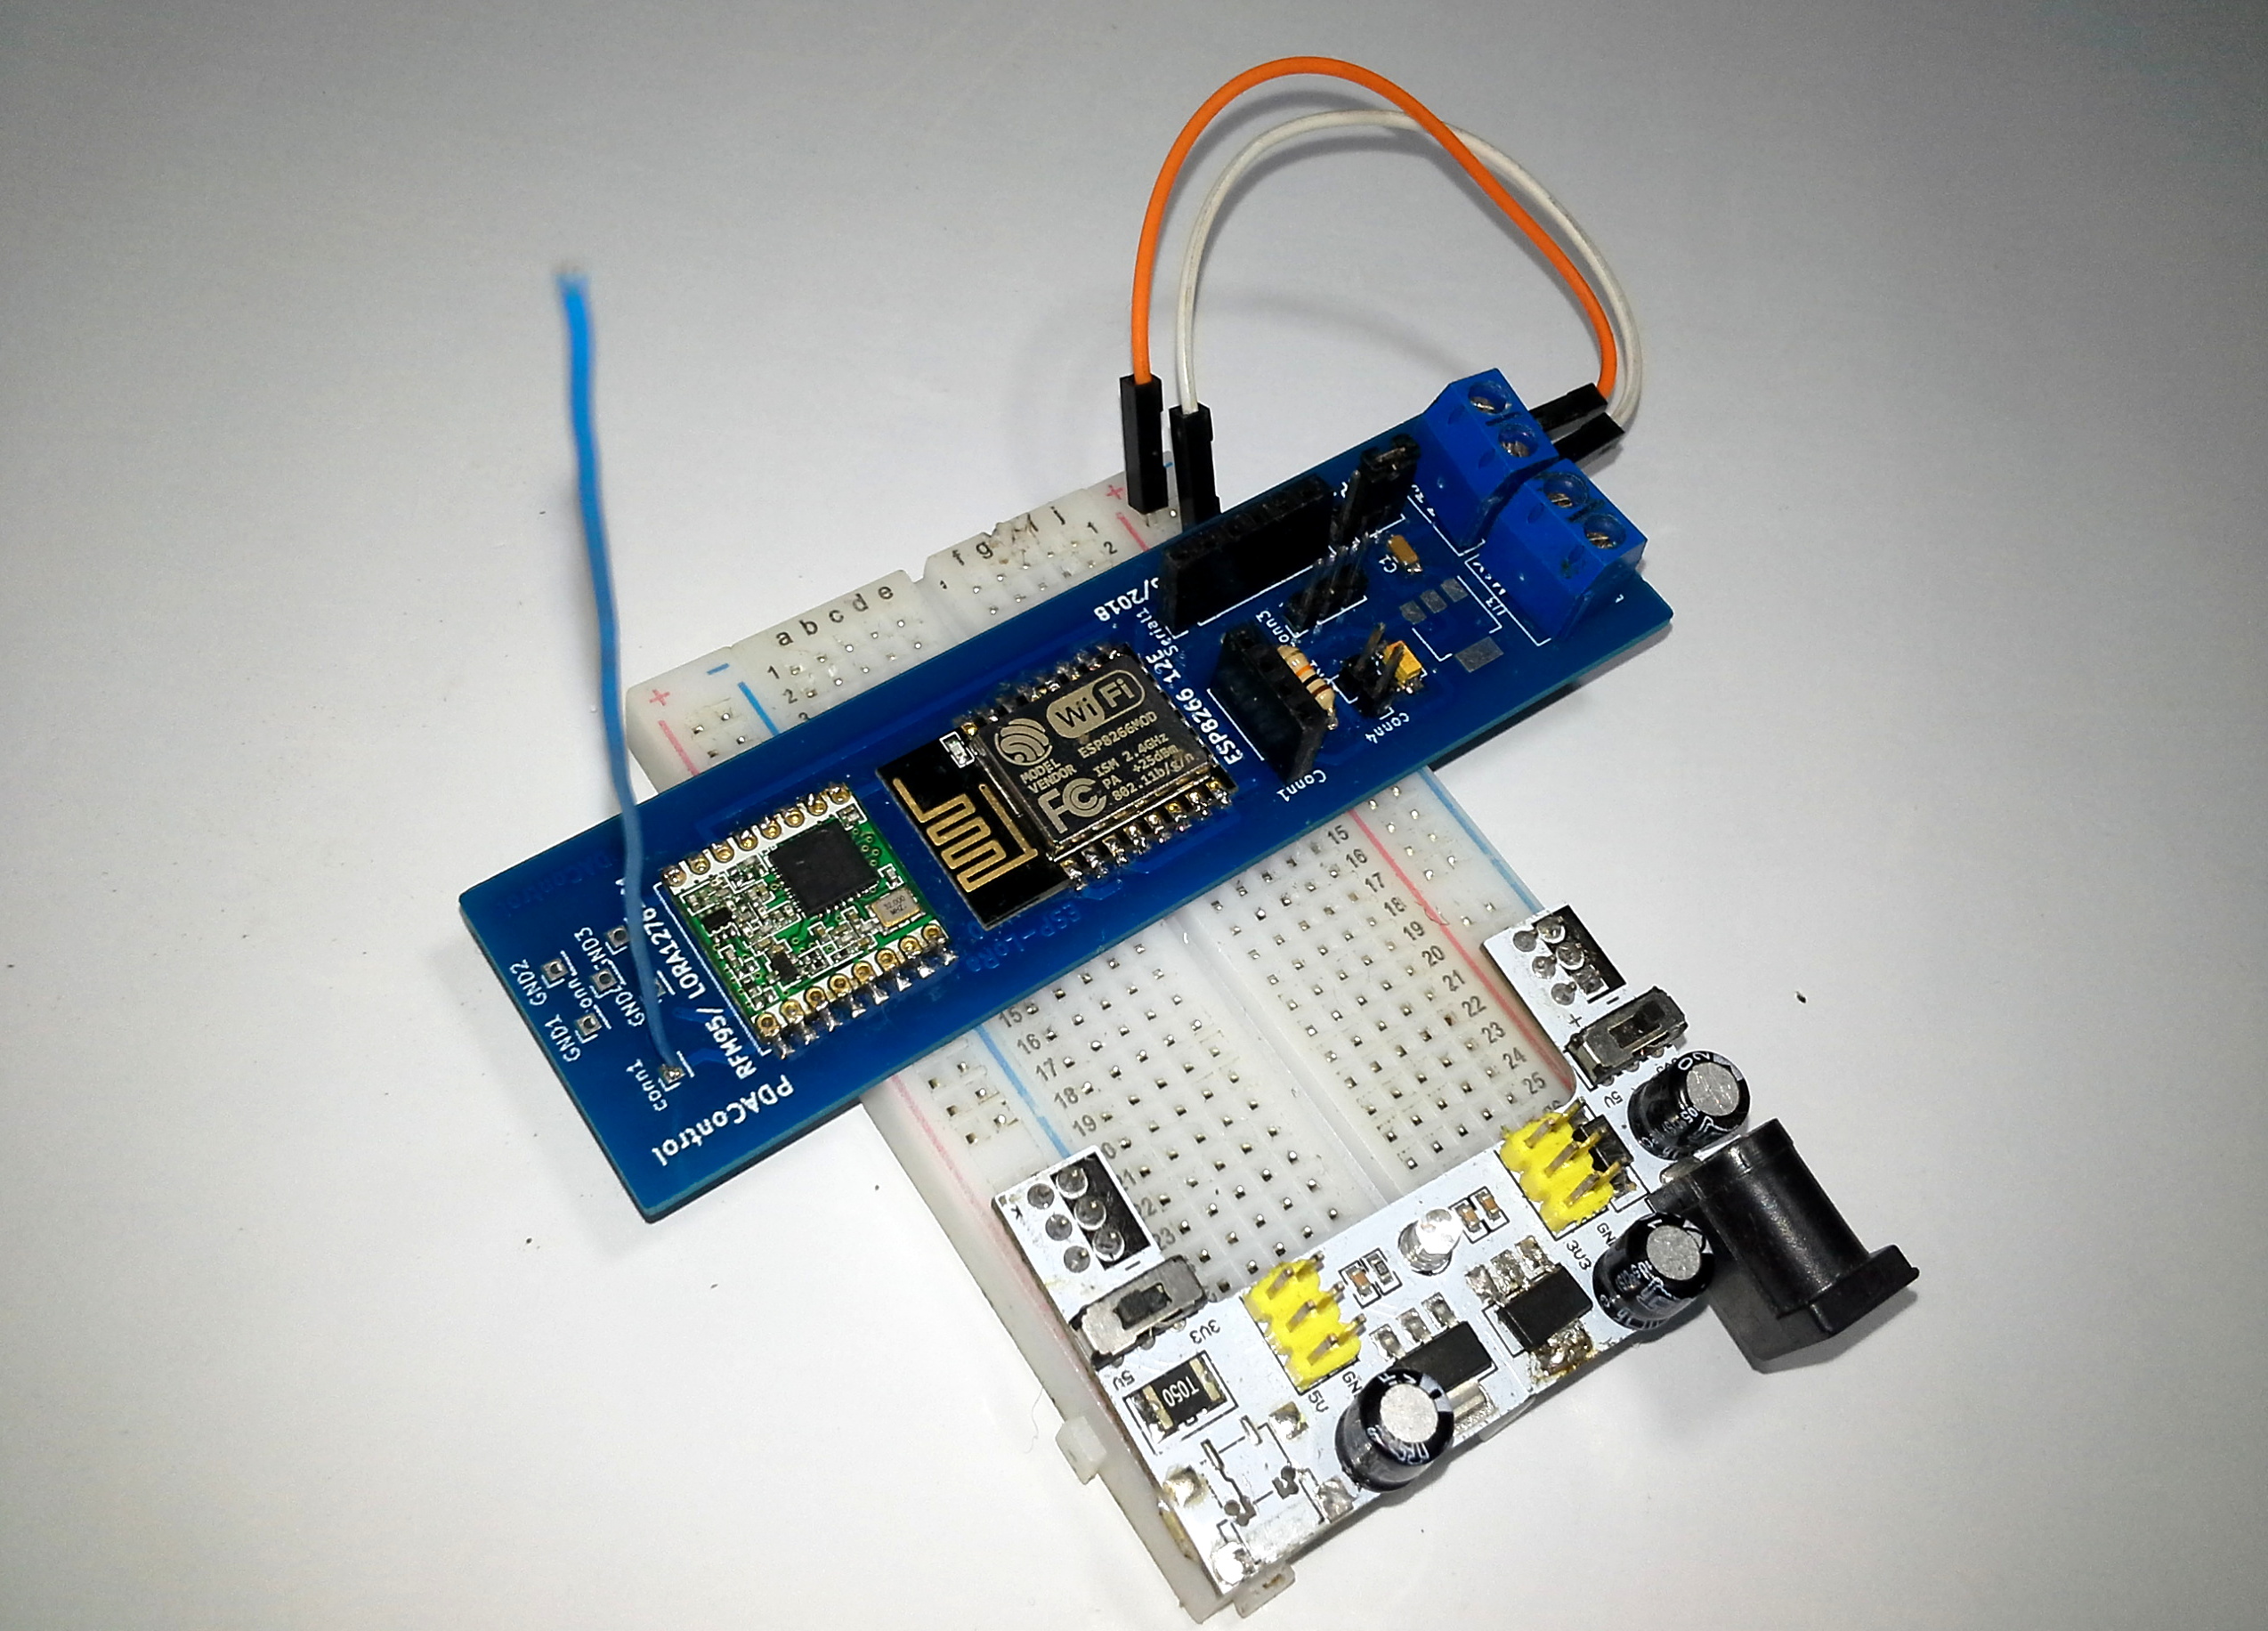
For this test I designed a prototype integrating the hardware mentioned above ESP-LoRa v1.0, I notice this test is a basic version that will serve as an introduction to LoRaWAN.
Let’s first clarify that LoRa and LoRaWAN are not the same:
- LoRa is the physical layer or in simple words is the modulation, the modem or radio, the hardware.
- LoRaWAN is the network protocol or architecture that works on LoRa.
I recommend before continuing, see the following 2 tutorials to solve some doubts or questions on the subject, there are also other sources of more detailed information on the subject on the Internet.
1. Introduccion LoRa & Modulo RFM95 Hoperf
2. Communication LoRa ESP8266 & Radio RFM95 #1
Tests Performed
- Create account in The Things Network, I recommend to see the following tutorial
Introduction and Create account in Platform The Things Network IoT LoRaWAN
2. Design Hardware
On the Internet there are a variety of connections and PCB designs completed for these tests.
In my case I made the design from scratch ESP-LoRa, it took me a while to make the functional combinations between ESP8266 and LoRa module RFM95, keep in mind the following:
- Important, The ISM bands assigned to your country before buying your module LoRa investigate, in my case my country “Colombia” has available between 902 and 928 Mhz technically at 915 Mhz are my modules, The Things Network has a table details very detailed frequencies-by-country, if you buy at another frequency you may run the risk of using frequencies occupied for other applications.
10 PCB’s Professionals with Seeed Studio Fusion – ESP-LoRa Prototypes
3. Arduino IDE code Original / Oficcial
It is very possible that improvements have already been made to the original project Github repository that I used, given that my test was a few months ago.
Recommendation: For a more detailed explanation step by step I recommend watching the full video “Gateway LoRaWan ESP8266 & RFM95 (ESP-LoRa) 915mHz single channel with The Things Network” available on our Youtube channel PDAControl.
Single Channel LoRaWAN Gateway
The code was created by M. Westenberg, is under licensed MIT, initially thanks to him for sharing his code publicly, I think the code has a high complexity and should have taken much of his time in testing and debugging.
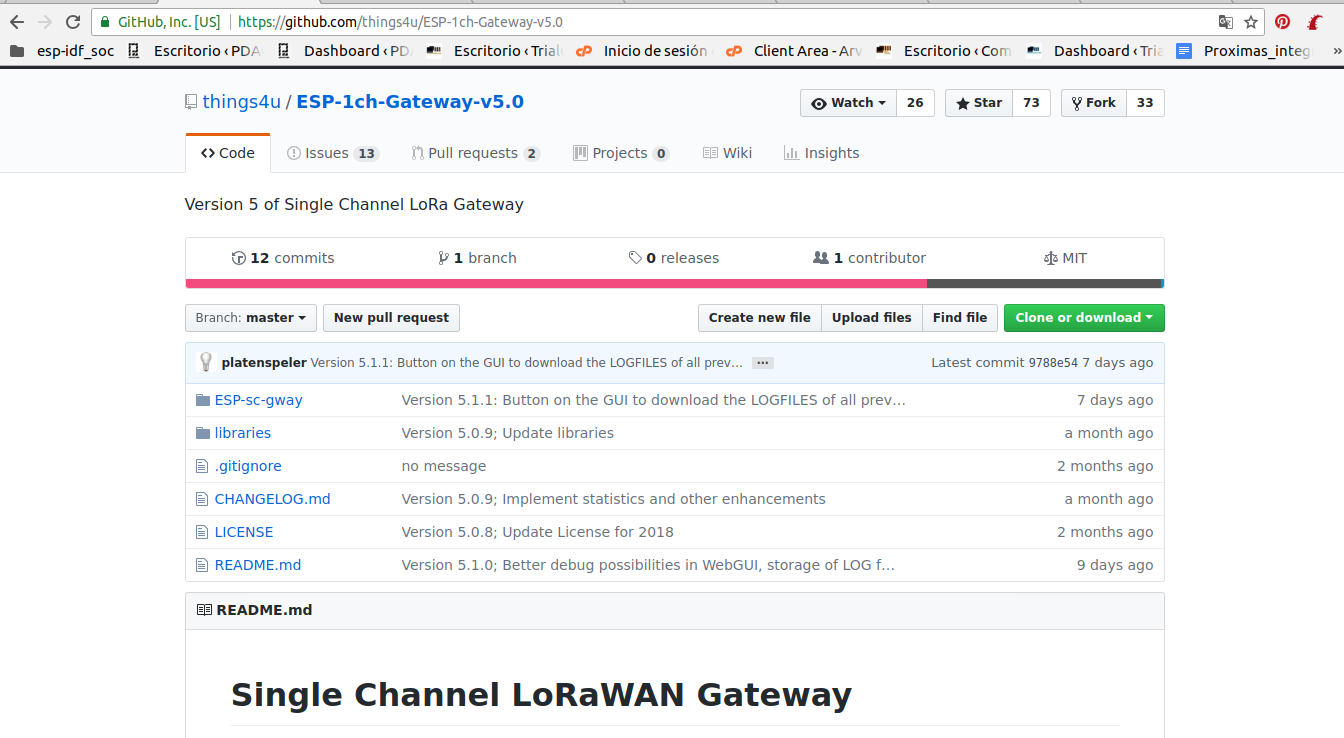
GitHub Code Updated Official Version: /ESP-1ch-Gateway-v5.0
I recommend reading this documentation previously given that it has been a project that has started from version 1.0 and has evolved to v5.0.
Recommended : Things4U – Internet of Things for You
Functions
The code was created to make the minimum of modifications for its use, configuring the file
ESP-sc-gway.h, below I will list some of its features and functionalities:
Important Note: the application currently only works with the radio modules sx1276 (and Hope RF95).
- It allows updates (OTA).
- Webserver for visualization and configuration.
- Display Oled i2c for debugging.
- Configuring network credentials with WifiManager.
- Statistical collection of shipments and receptions.
- Allows you to transmit data to your own server, configure url and port, if you have one.
- The gateway can also be configured as a Node / Sensor.
Note: The Github repository contains all the libraries used, already compatible with the project.
Recommended : Things4U – Internet of Things for You
Materials
Other Recommendations
Modifications and Adaptations Arduino IDE code
Actually the original version created by M. Westenberg, by default is configured with features for the European region, technically its frequency is 868 mHz, I take the task of trying to adapt or slightly modify the code to operate at 915 mHz and make the connection with a local TTN server.
Below I will detail the modifications to the Arduino IDE code made to take into account, technically they were few.
Recommendation: For a more detailed explanation step by step I recommend watching the full video “Gateway LoRaWan ESP8266 & RFM95 (ESP-LoRa) 915mHz single channel with The Things Network” available on our Youtube channel PDAControl.
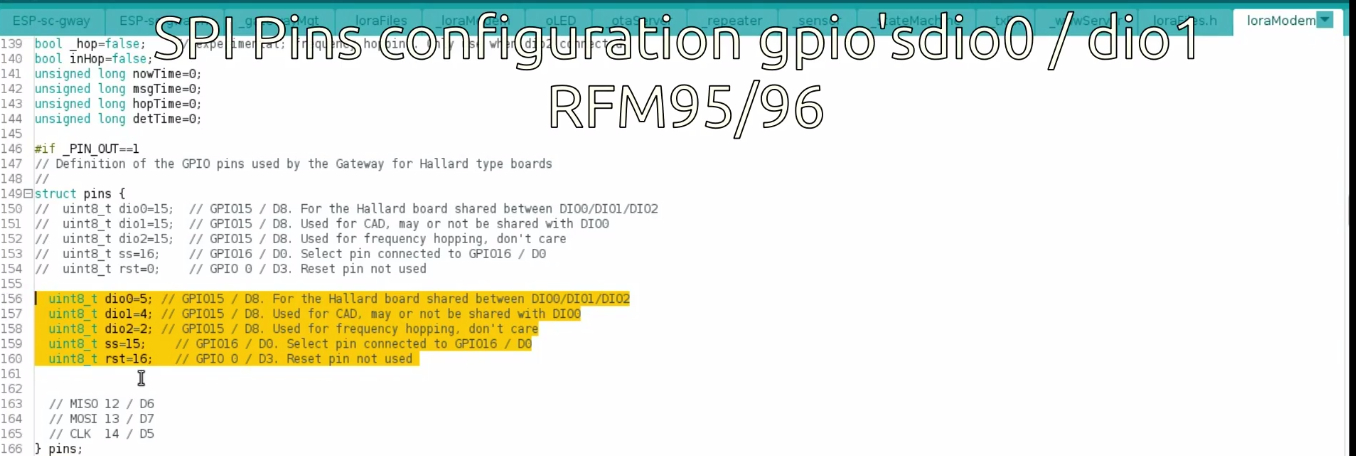
Pin Configuration
I have modified the pin configuration for my pcb, the SPI bus works for the normal pins.
Configuration TTN Server
By default it was configured for European TTN servers, I modified it to connect the gateway with American TTN servers.

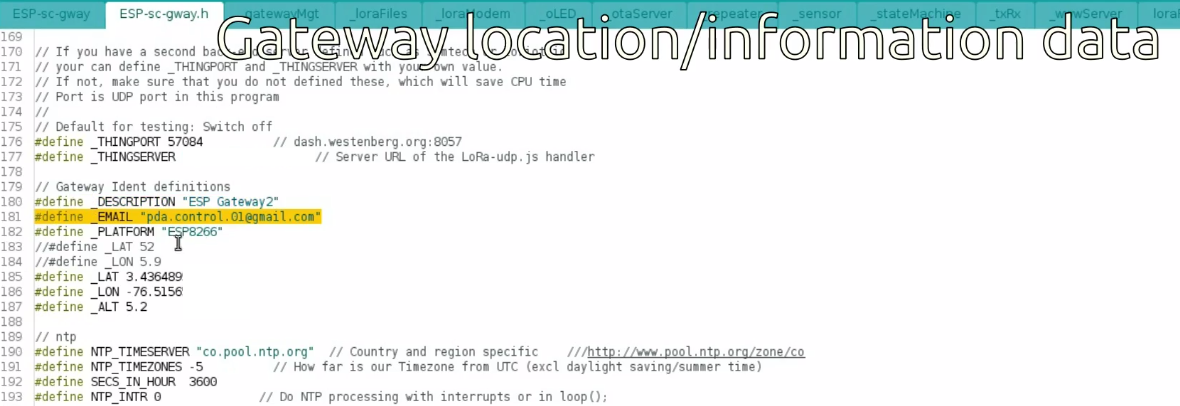
Information and Location
Gateway information, which must be previously configured:
- Identification of gateway.
- Location and height of the device.
- NPT server, according to your country (region).
- TTN server.
- Adjust UTC.
Network parameters
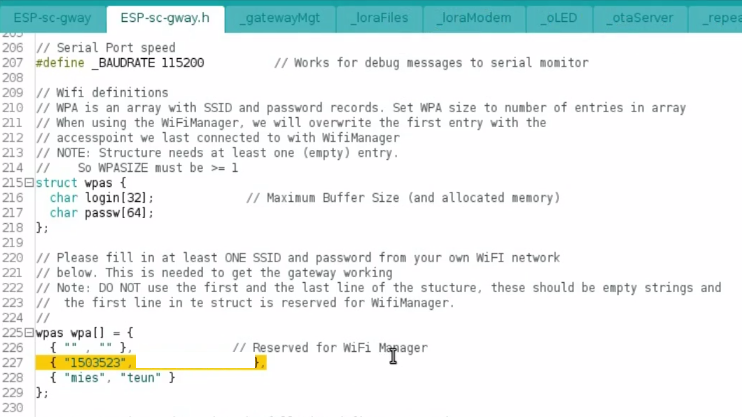
Configure Network SSID and Password in the second position of Array (line 227), the first line is occupied by WifiManager and you can also place a third network in case the first 2 are not enabled.
Frequency
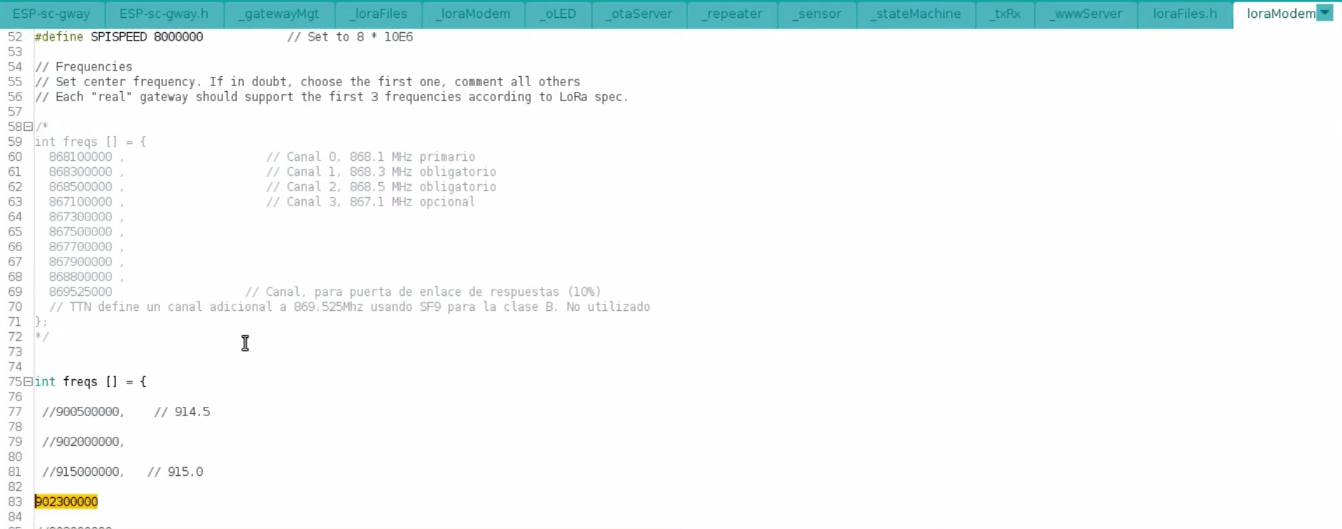
We have modified the frequency to 902300000 Hz or 902.3 mHz, channel 0.
Hardware
In my case design pcb ESP-LoRa and I have manufactured them with the company SeeedStudio, it is not obligatory to use my pcb, they can mount it in a breadboard, just as I do it initially.
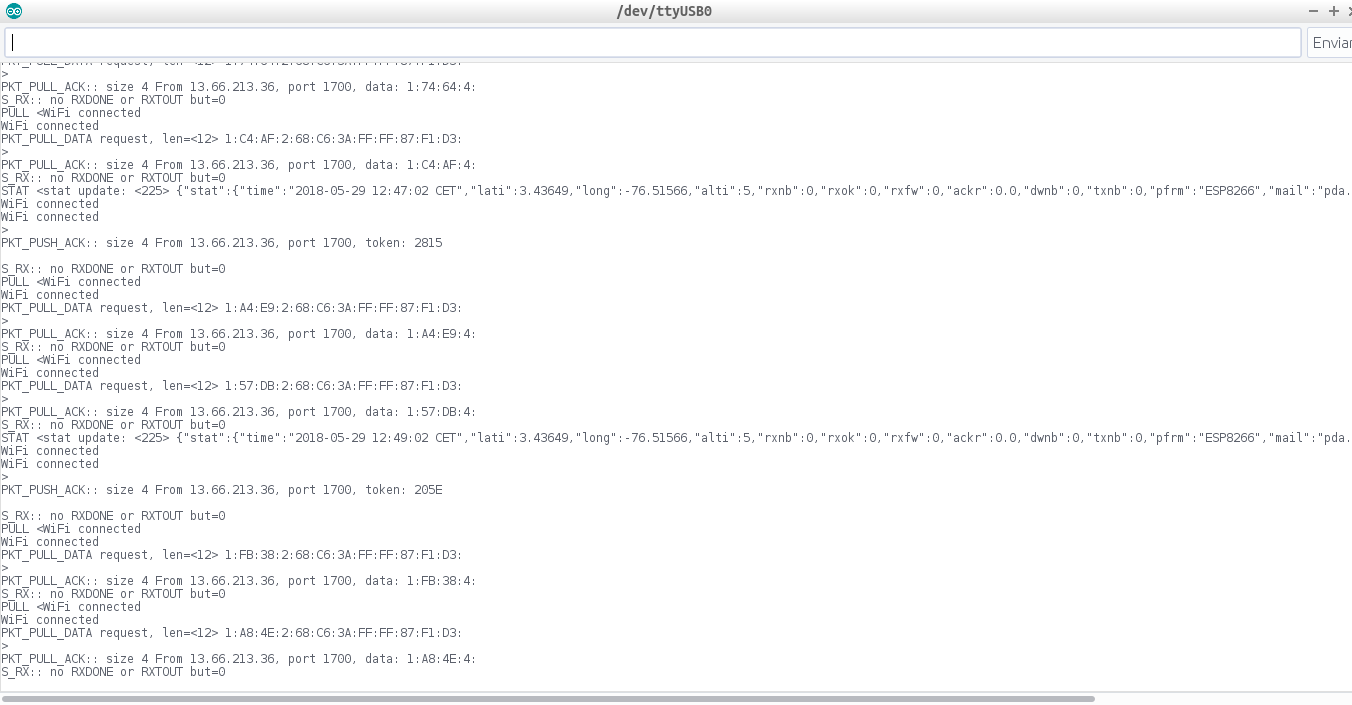
Terminal Serial
We will see the connection from the serial output of the ESP8266:
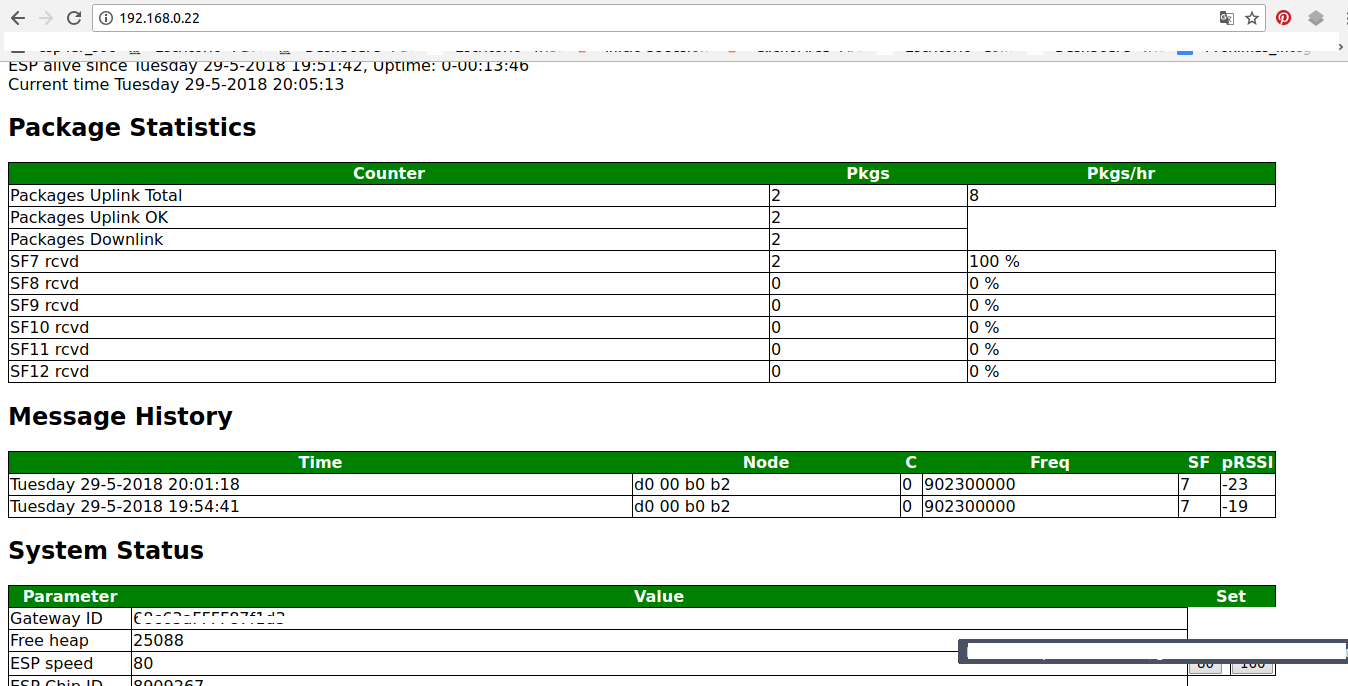
WebServer
As mentioned above, the application has a web server (web page), for debugging and configuration, simply entering from a browser to the IP address assigned to our ESP8266.
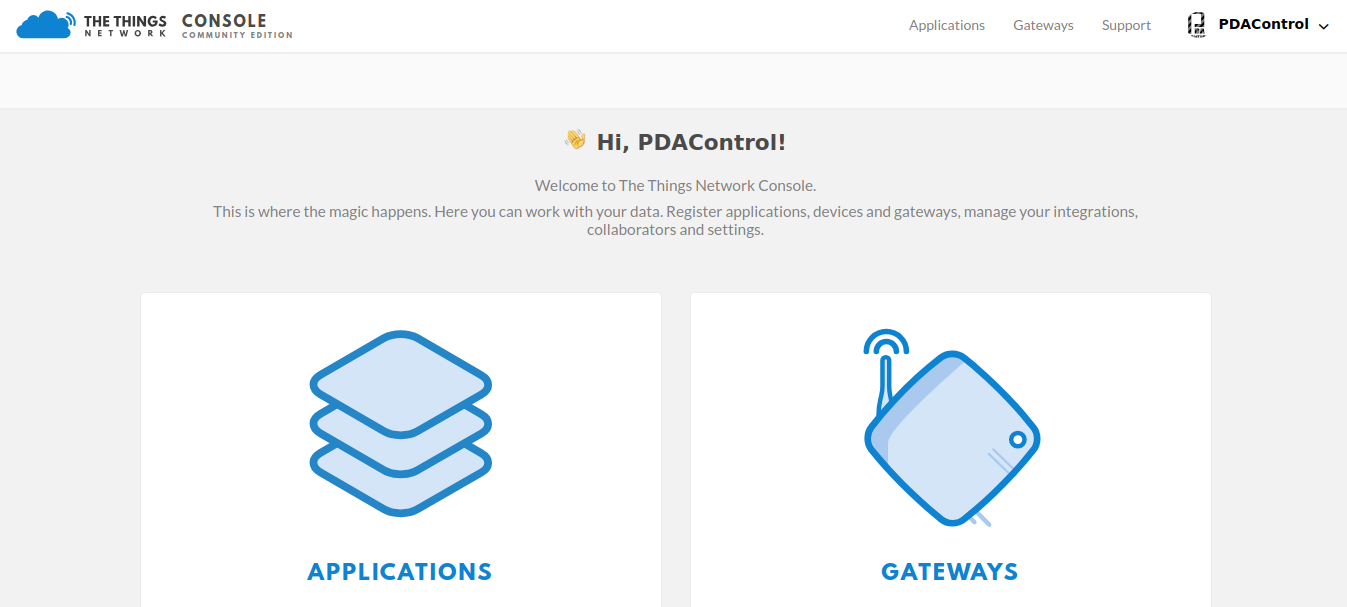
Enter The Things Network Console
We are going to add our new gateway, we need our GATEWAY ID.
Gateway Configuration
Recommendation: For a more detailed explanation step by step I recommend watching the full video “Gateway LoRaWan ESP8266 & RFM95 (ESP-LoRa) 915mHz single channel with The Things Network” available on our Youtube channel PDAControl.
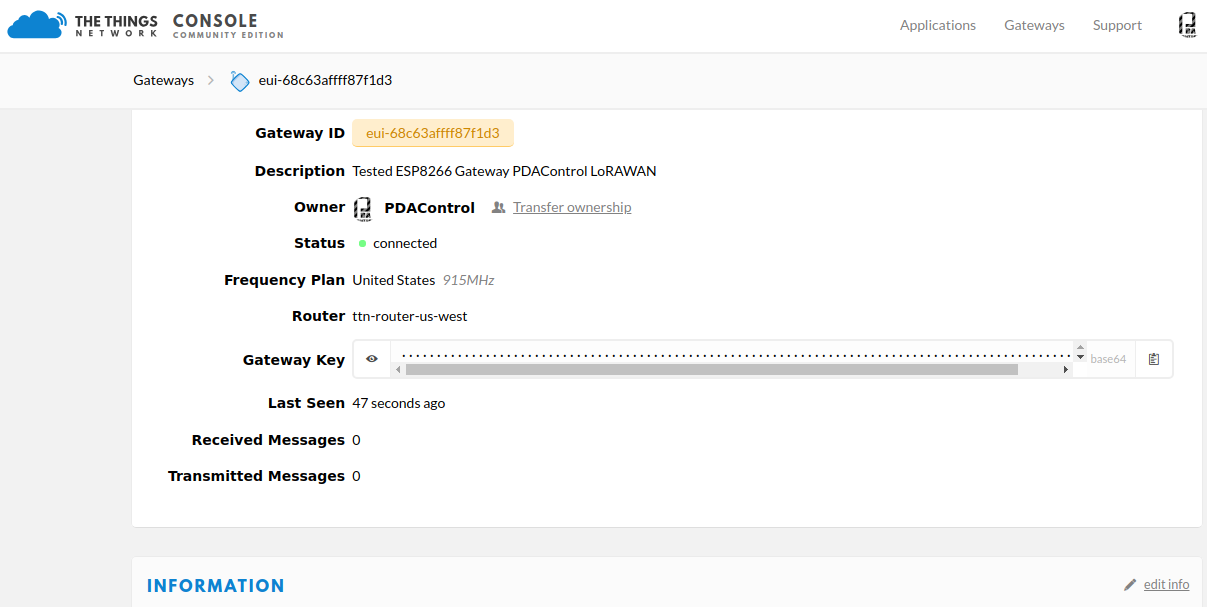
- Configured Gateway.

Gateway Online
If you enter The Things Network in the Map of the page, if there are no Wi-Fi or power problems, you can possibly see my connected gateway.
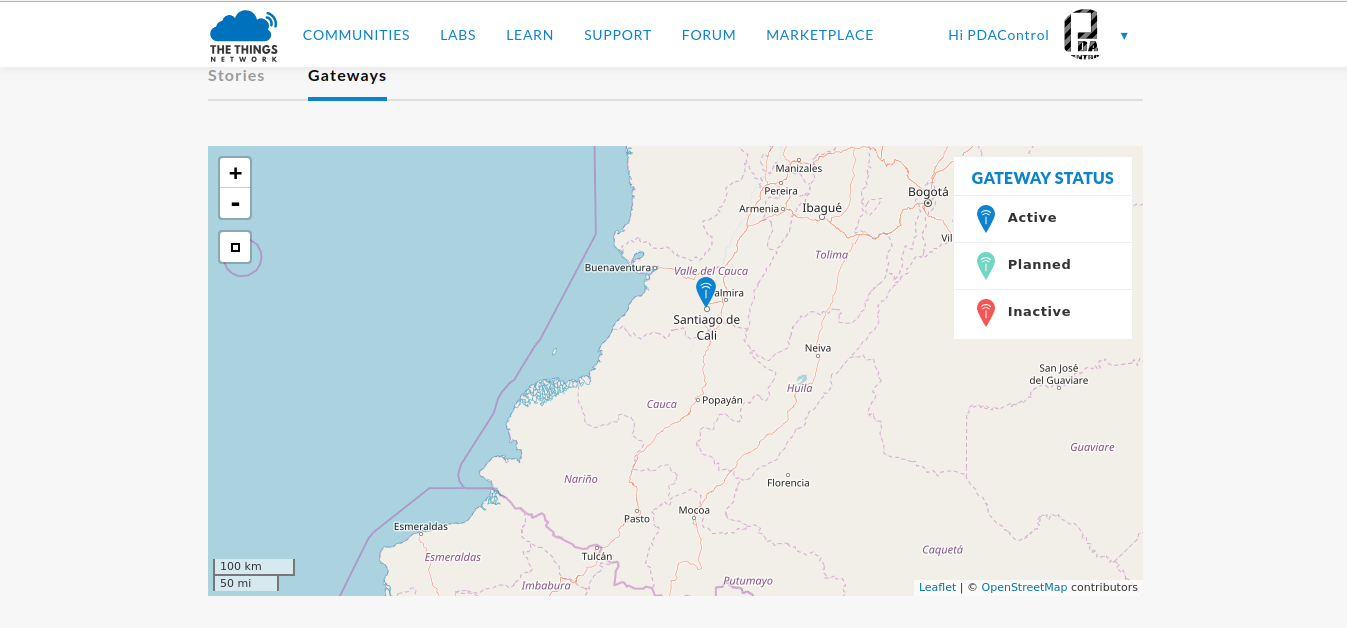
Recommendation: For a more detailed explanation step by step I recommend watching the full video “Gateway LoRaWan ESP8266 & RFM95 (ESP-LoRa) 915mHz single channel with The Things Network” available on our Youtube channel PDAControl.
Conclusions and Recommendations
I confess I am not an expert on the subject, to clear doubts I recommend watching the tutorials of Andreas Spiess, they are very comprehensive tutorials didactically understandable.
Regarding the test performed, use the minimum resources, disable the features that will not be used for memory savings.
Another very useful source of information is The Things Network community forum regarding the ESP-1ch-Gateway-v5.0, personally I thank these forums.
In upcoming tutorials
Using the same hardware configuration we will configure a node that will send data to The Things Network, implementing the Lmic or LoraMAC-in-C library widely used with Arduino and other microcontrollers.
Downloads / Github
- Oficcial Project ESP-1ch-Gateway-v5.0 for
- Project ESP-1ch-Gateway-v5.0 Modified 915mHz by PDAControl
Recommendation: For a more detailed explanation step by step I recommend watching the full video “Gateway LoRaWan ESP8266 & RFM95 (ESP-LoRa) 915mHz single channel with The Things Network” available on our Youtube channel PDAControl.
References
