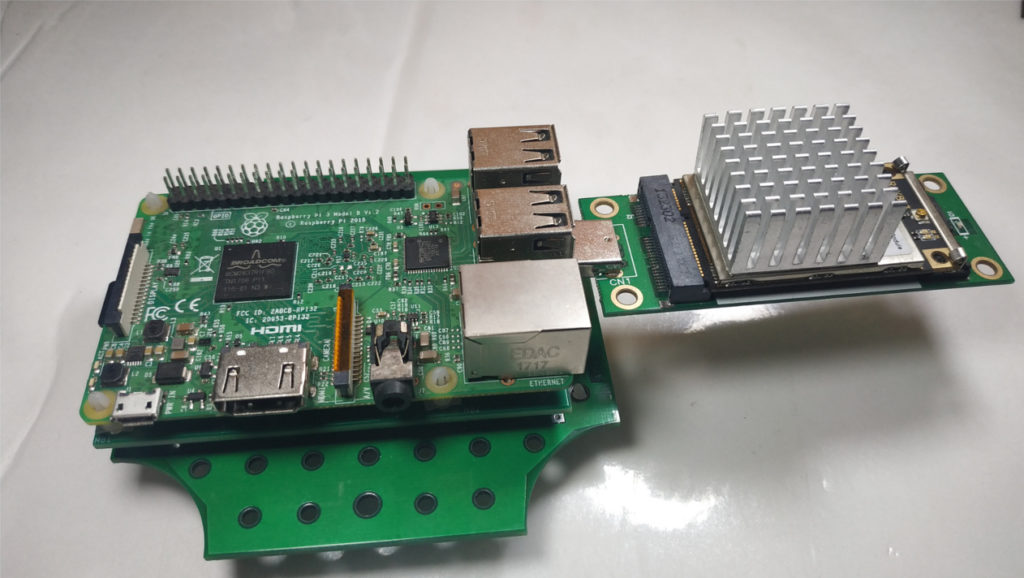
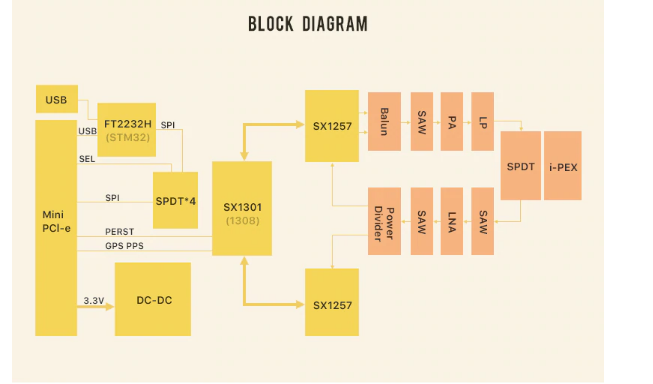
In previous tutorials we reviewed our Gateway using the RAK833, the Radio module created by RAKWireless, adding a Raspberry Pi we can create a professional and functional gateway for our LoRaWAN implementations.
Important: This tutorial is only focused on the RAK833 that have USB and SPI communication, for the SPI version another driver and another additional socket base are required, in our case we use the USB.
In this case we will install the USB drivers for RAK833 and install the Semtech Packet Forwarder and configure it with the local_conf.json and global_conf.json files and we will have our LoRaWAN Gateway ready for connection with platforms such as The Things Network, ChirpStack
Recommended Tutorials
I have also created a tutorial, installation of Raspbian OS version without desktop, which is the most efficient version, since we will not use a desktop everything will be done through commands via SSH.
Recommended Tutorials for Windows
Recommended Tutorials for Windows
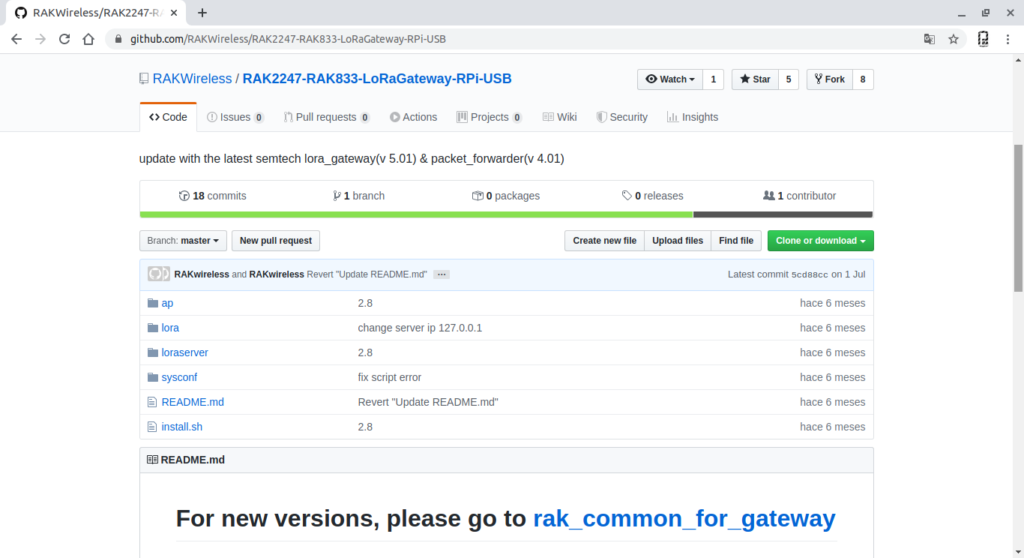
Github RAK Wireless USB drivers for RAK833
The company RAK Wireless has arranged in github the drivers (drivers) for USB communication between the RAK833 and our Raspberry Pi, these drivers are only valid for RAK833 version SPI / USB.
Github: RAKWireless/RAK2247-RAK833-LoRaGateway-RPi-USB
Semtech UDP Packet Forwarder
The Semtech UDP packet forwarder is the first packet forwarder and connects to the servers through the Semtech UDP protocol. Although this protocol has several defects, many gateways include a precompiled version of the packet forwarder, which makes it easier to test a gateway with this protocol.
In this case we will install it together with the USB drivers for the RAK833.
Materials and where to buy them
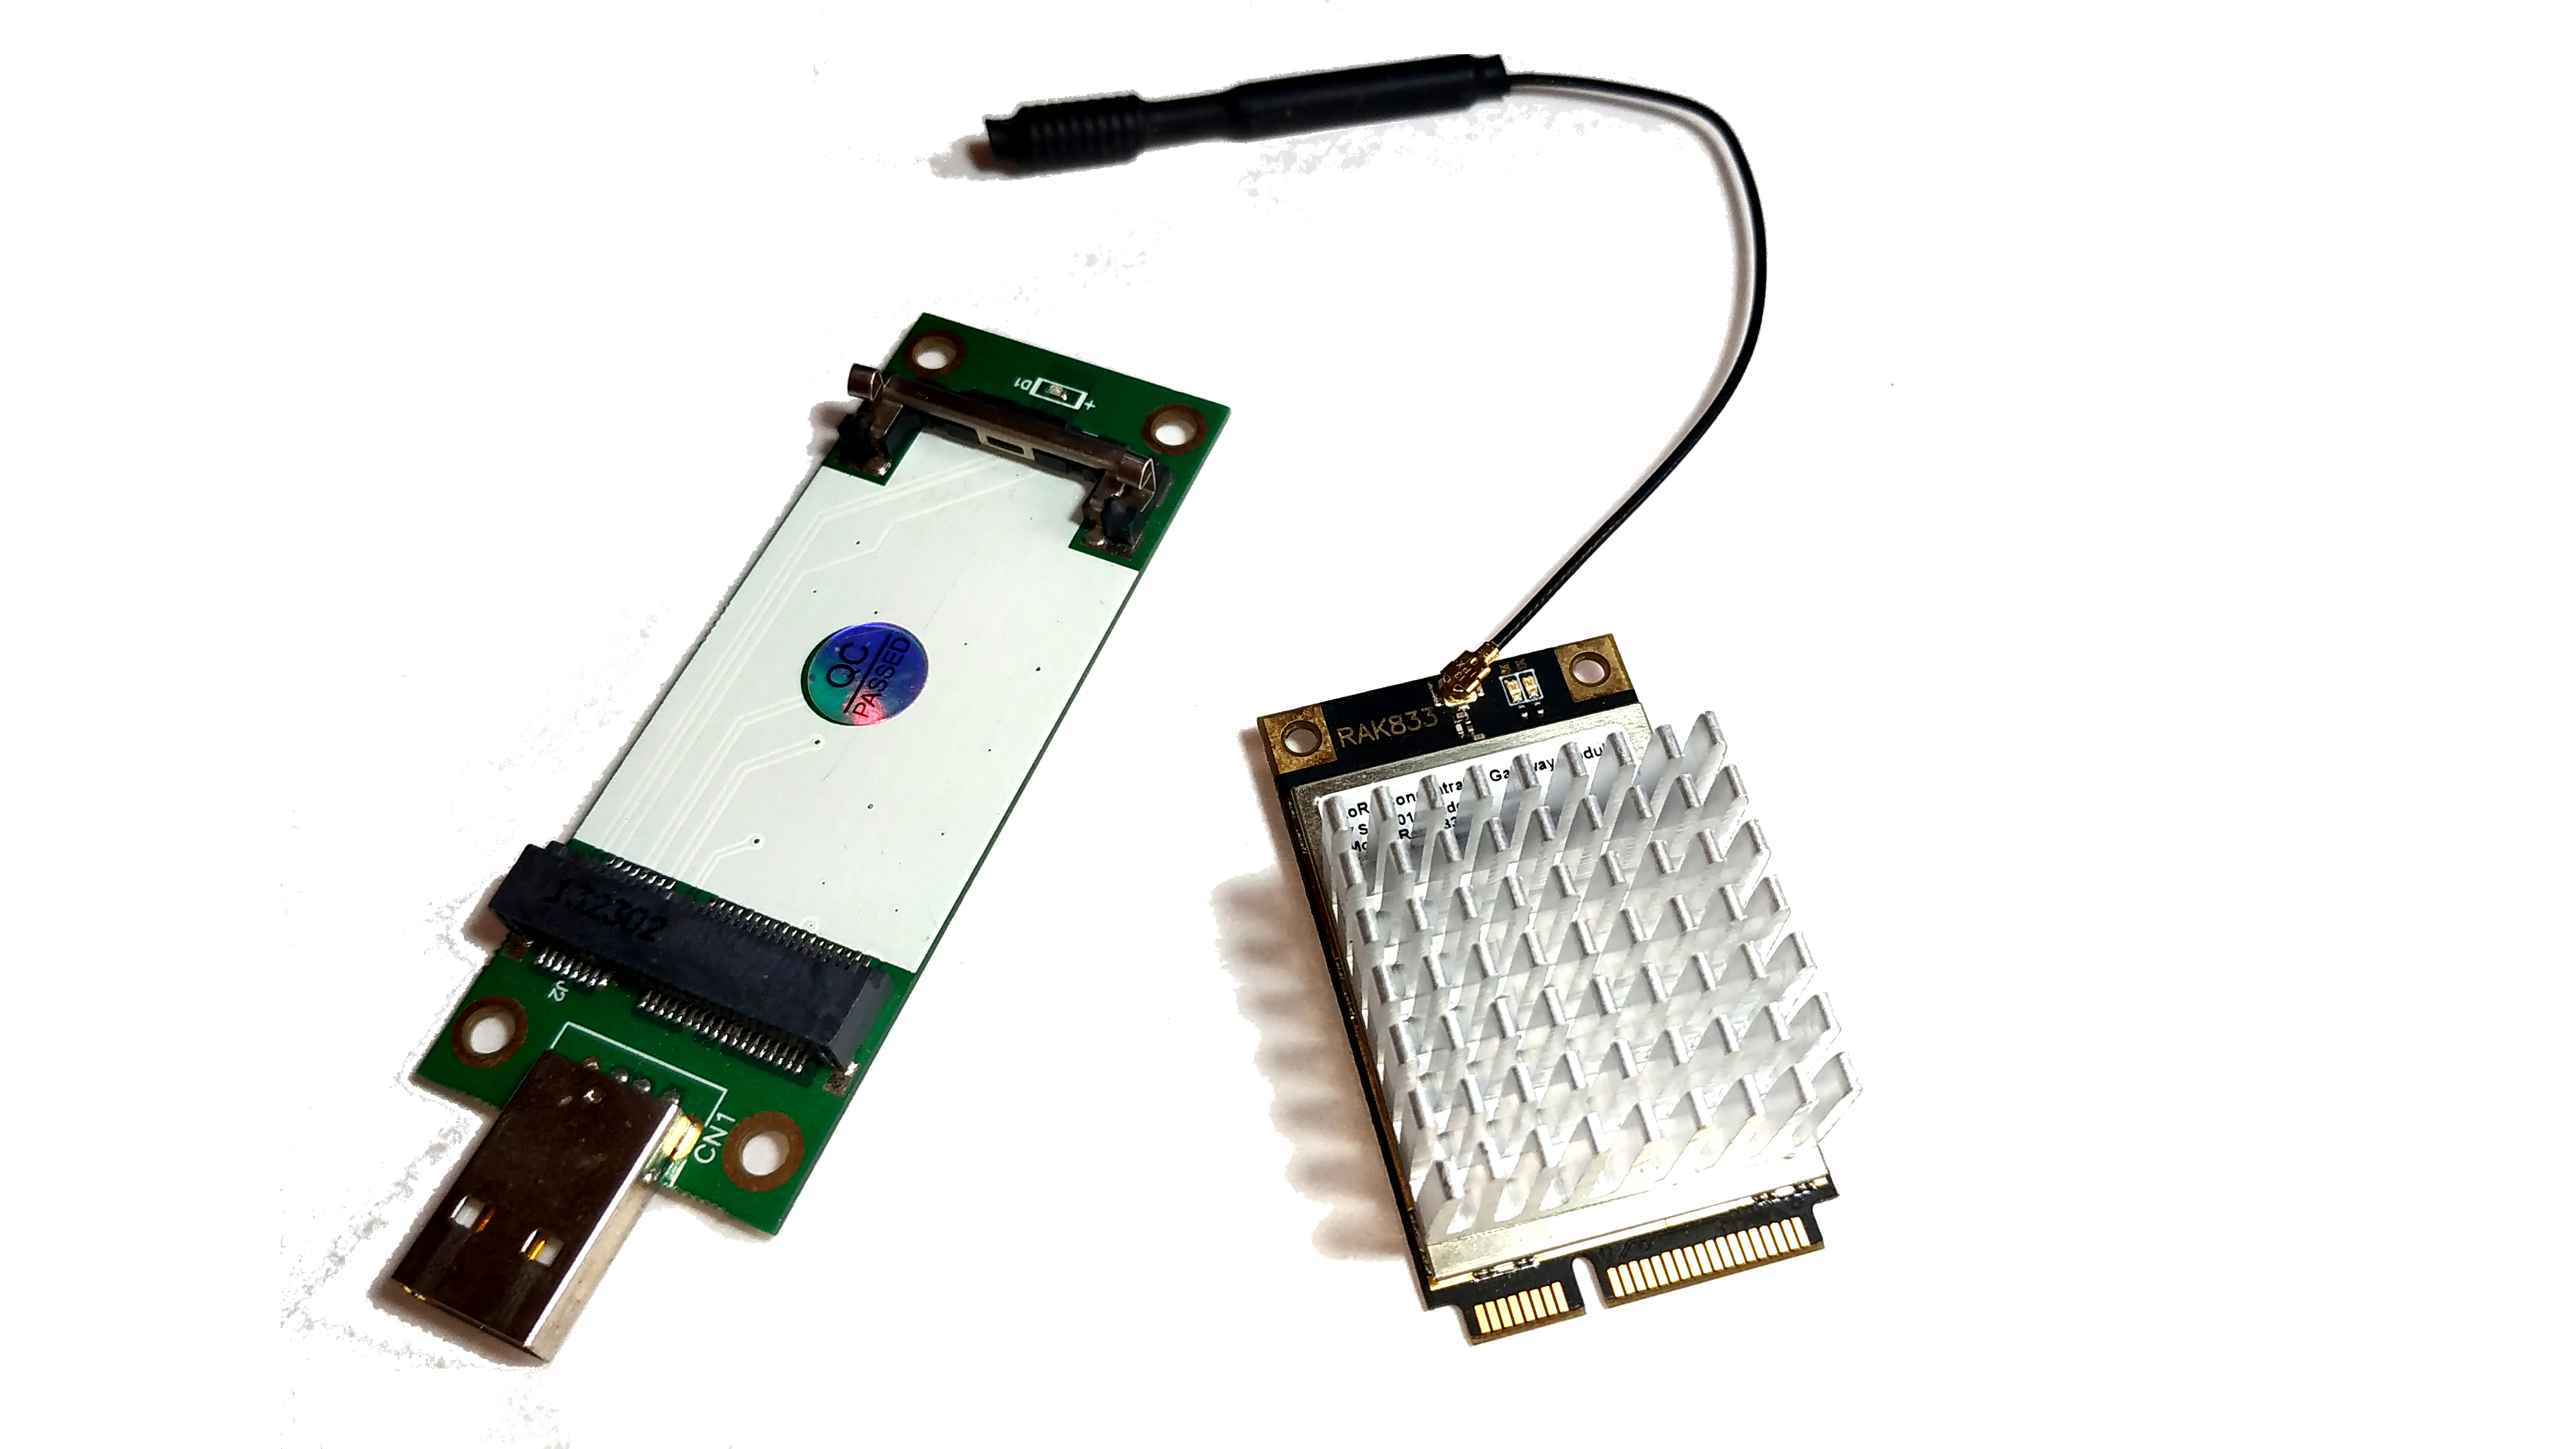
1 Module RAK833-SPI/USB + antenna IPEX

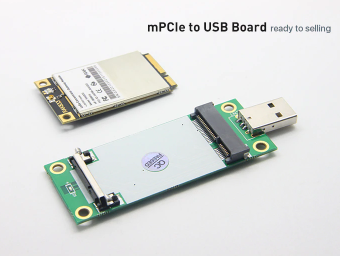
1 mPCIe to USB converter board for RAK833
Others Recomended LoRaWAN
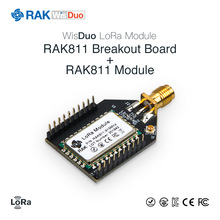
Node LoRaWAN RAK811 (AT Commands) + breakout
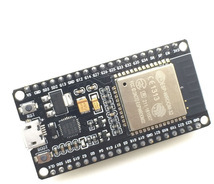
Module ESP32 ESP-WROOM-32
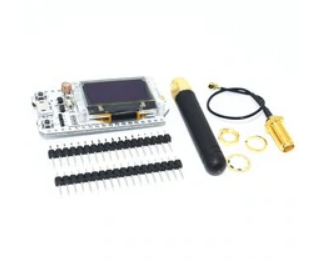
Module ESP32 LoRa HELTEC – 915 MHz
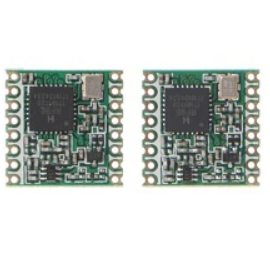
Module/Radio RFM95 Hope Electronics 915Mhz
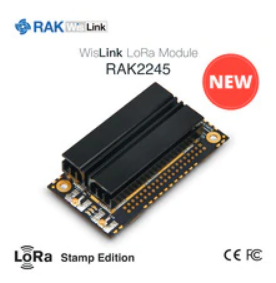
RAK2245 LoRa Pi Hat GATEWAY LoRa LoRaWAN
LoRaWAN Button RAK

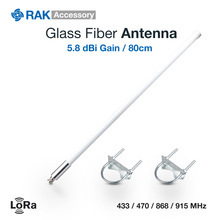
Antenna 5.8dBi Fiberglass LoRa LoRaWAN
Video: LoRaWAN #2: Review RAK833 SPI/USB Concentrator LoRa
Configure LoRaWAN Gateway
Previously we have installed Raspbian without a desk and we have configured Wifi and remote entry through SSH client.
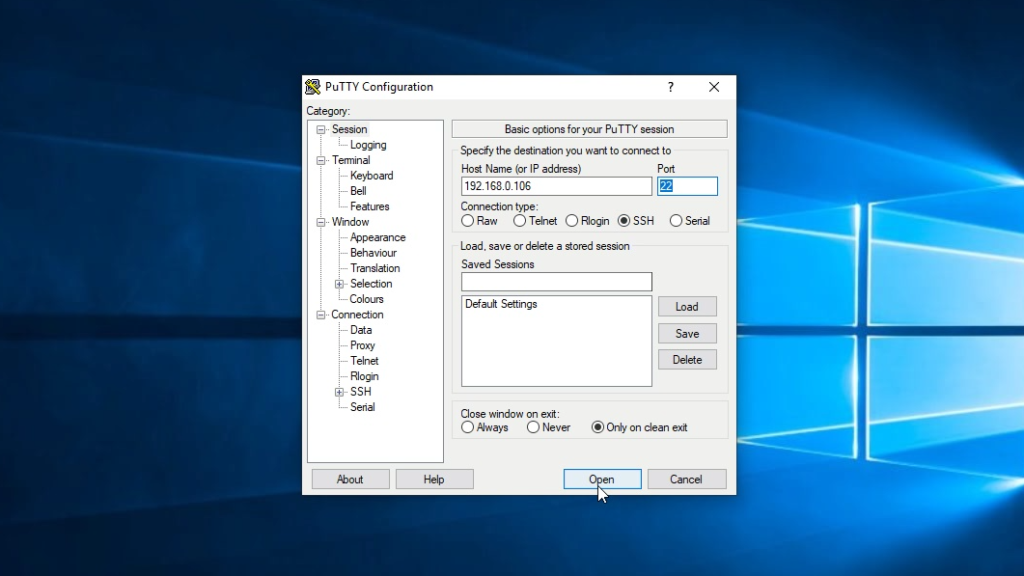
Linux and Windows 10 allow you to connect via SSH via a command terminal, if you are a user of earlier versions of Windows use Putty, which would allow you to connect to your Raspberry Pi.
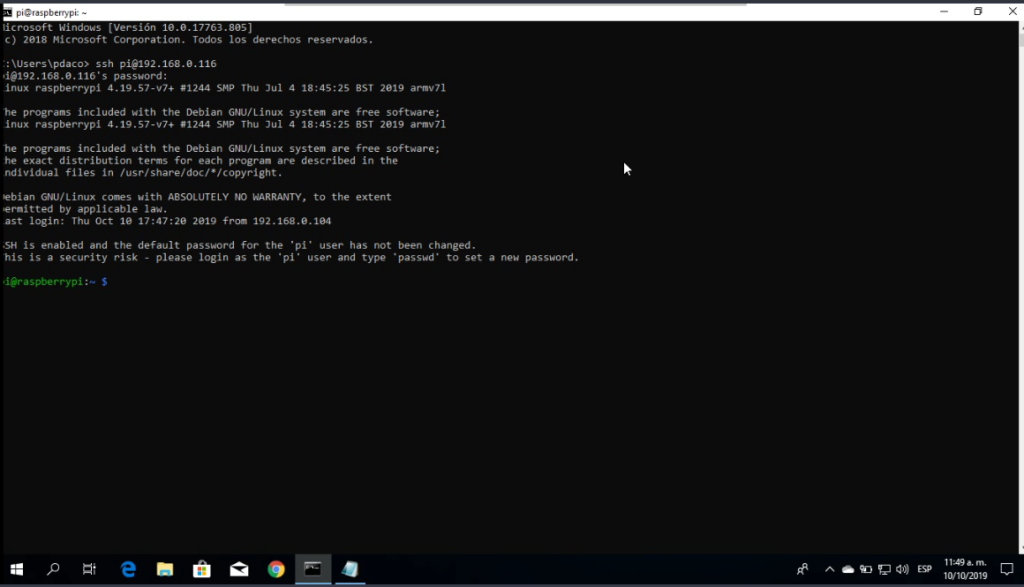
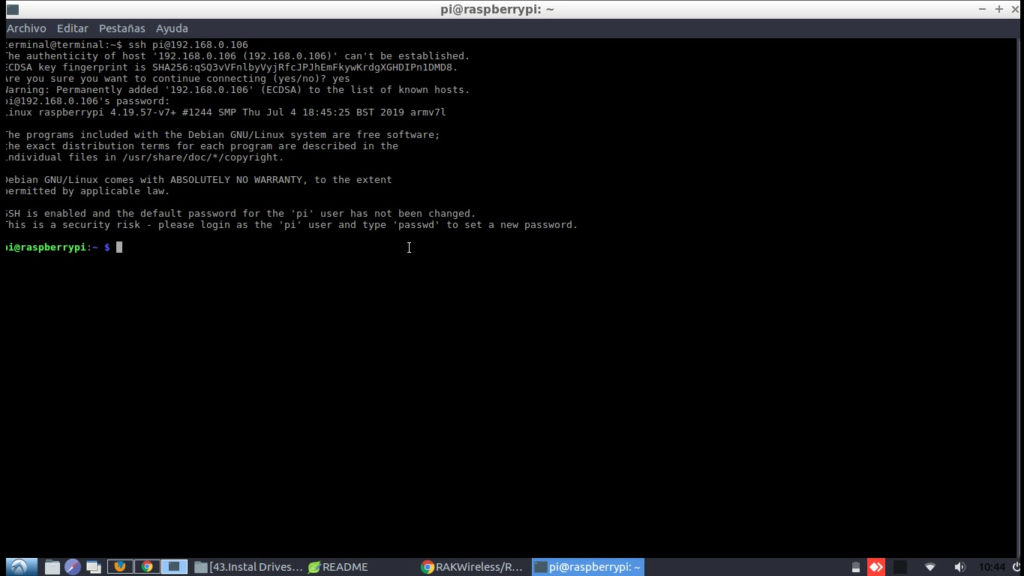
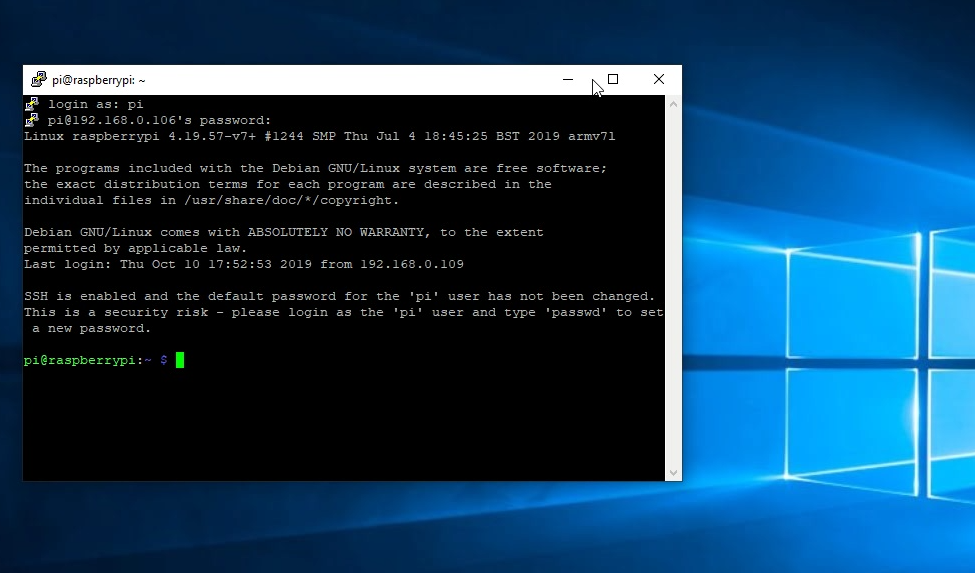
Step 1: Enter via SSH.
The IP address, user and password of our Raspberry Pi is required.
- Direct connection to Raspberry Pi via SSH in Windows 10.
- Direct connection to Raspberry Pi via SSH in Lubuntu (Linux).
- Connection to Raspberry Pi using Putty on Windows.
Update Raspberry Pi Packages.
sudo apt-get update
sudo apt-get upgrade
Download SX1301 and Semtech UDP Packet Forwarder Drivers
The repository containing the drivers for the SX1301 and files for the Semtech UDP Packet Forwarder will be downloaded.
Install Git on Raspberry Pi, allows you to download Github repositories:
sudo apt-get install git
to download
git clone https://github.com/RAKWireless/RAK833-LoRaGateway-RPi.git ~/rak833-loragateway
Enter the folder rak833-loragateway :
cd ~/rak833-loragateway
Remove LoRaServer
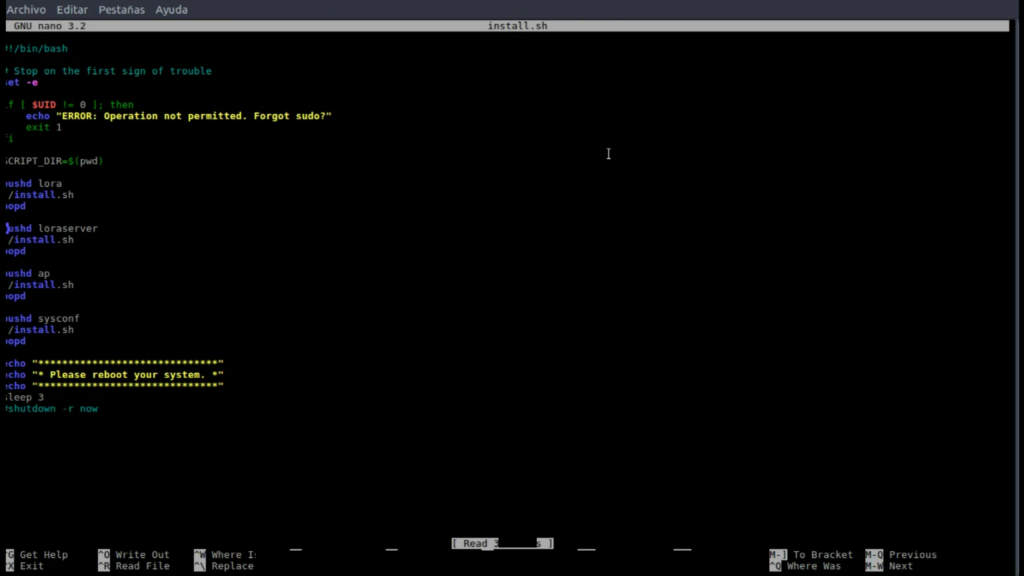
Important: By default the repository allows you to install LoRaServer, in my case and I recommend it, install ChirpStack independently the updated version of LoRaServer.
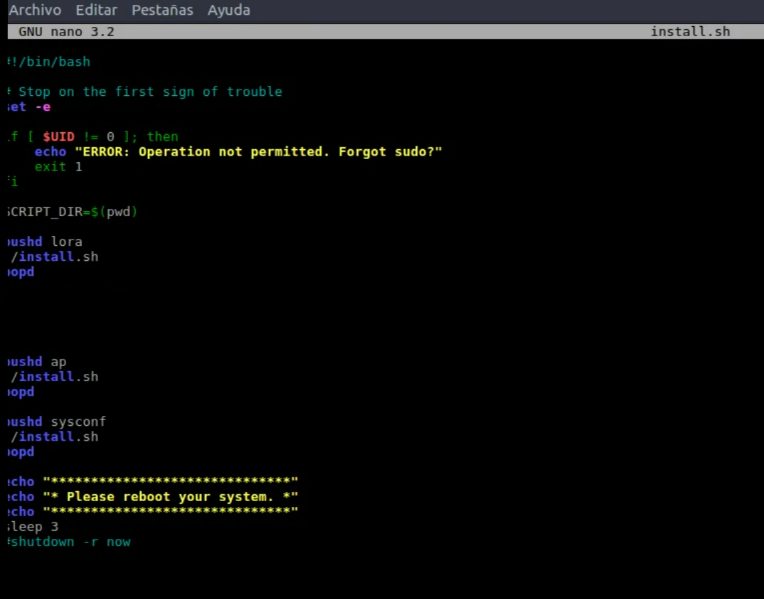
edit the installation fileinstall.sh and we will remove the LoRaServer installation.
sudo nano install.sh
Default File:
Modified File:
Run installer
sudo ./install.sh
Configure Semtech UDP Packet Forwarder
To configure the packet forwarder, the following files must be modified according to our needs, mainly our working frequency (915 or 868 etc.)
- local_conf.json
- global_conf.json
Semtech Packet Forwader is technically the component of converting Uplink & Downlink LoRa frames to UDP / IP frames sent to Servers (TTN, Chirpstack, etc.).
Located on the route:
- /opt/ttn-gateway/packet_forwarder/lora_pkt_fwd
Note: all activities will be specified in detail in the video:
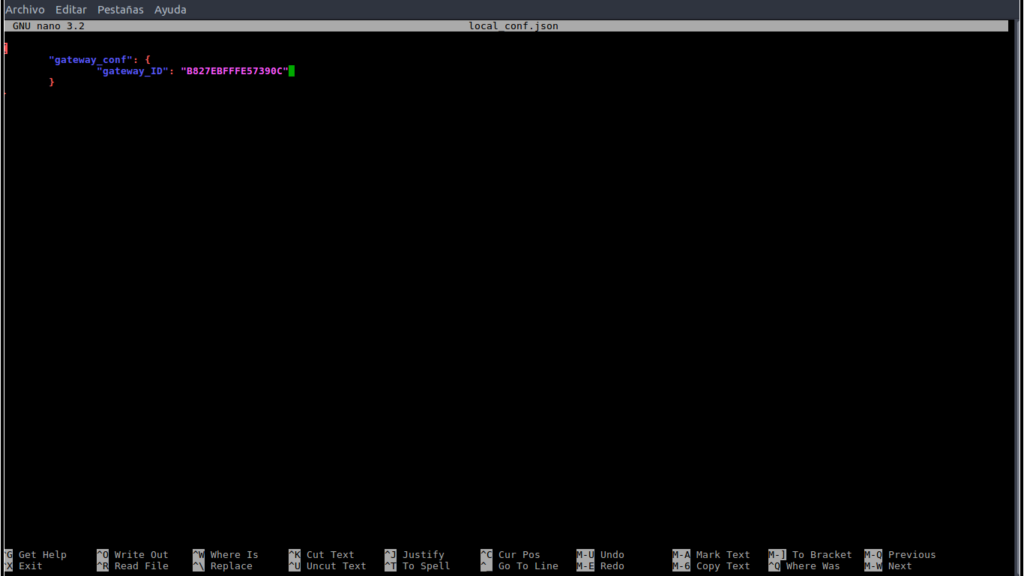
local_conf.json
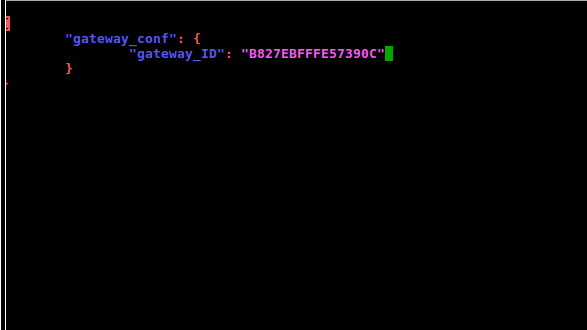
This file has the information of the ID of our gateway with which we register it on the LoRaWAN platforms.
When installing the Packet Forwarder, this default file is configured for an 868Mhz network:
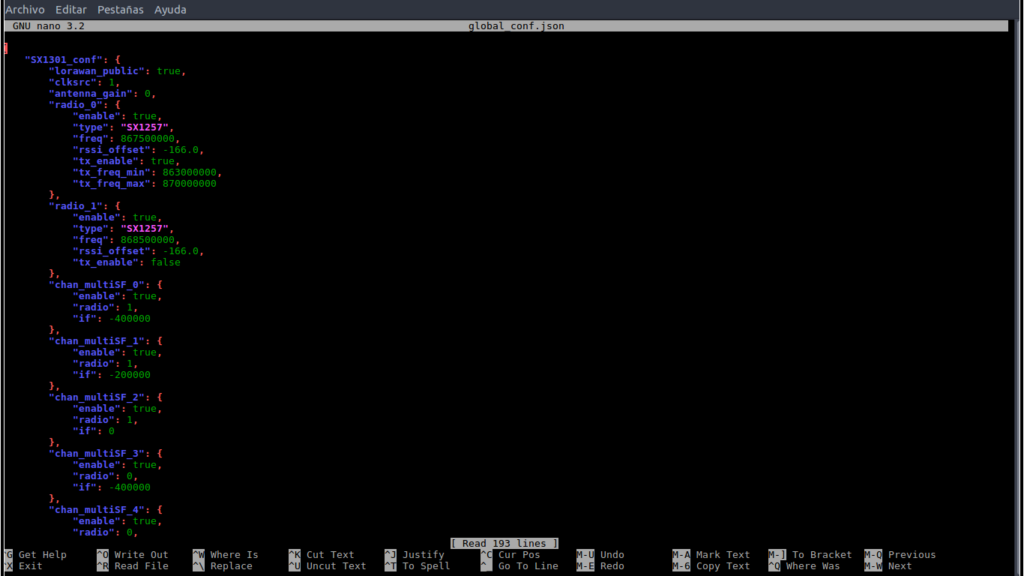
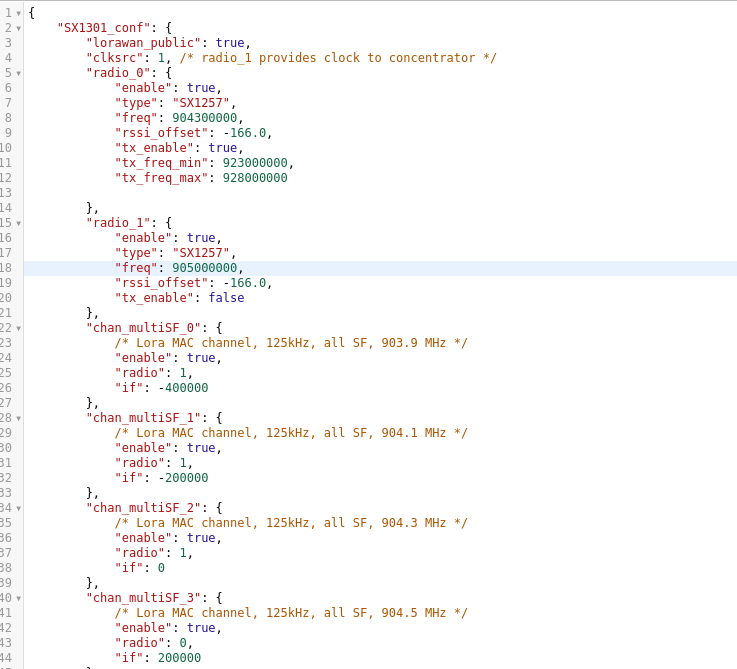
global_conf.json
This file contains, all the configuration referring to the 2 SX1257 modules, in a few words all the modulation and frequency configuration.
When installing the Packet Forwarder, this default file is configured for an 868Mhz network:
Modifications for 915 MHz
By default the configuration of global_conf.json and local_conf.json are predefined for zones with the frequency at 868MHz, in my case the ISM Bands of my country are at 915MHz, some modifications are required for this configuration, then I will indicate the modification process.
global_conf.json to 915
There are many variations or varieties of this global_conf.json file that contains the configuration of the SX1301 and the 2 SX1257 chips.
Important: Do not modify any configuration value and / or parameter if you do not know how it works.
File global_conf.json for 915
Note: download global_conf.json for 915 at the end of the article.
Note: all activities will be specified in detail in the video:
Move from PC to Raspberry Pi global_conf.json
In our case we will replace the default 868 file with this version for 915, for this we will move the file from our PC to the Raspberry Pi user folder.
We will use the SCP, Secure Copy Protocol o Simple Communication Protocol, allows you to move files between our PC and Raspberry Pi and vice versa without complications.
user file (raspberry) @ IP address (raspberry)
Example: move file from PC to Raspberry Pi, from PC command terminal.
sudo scp global_conf.json pi@192.168.0.106

Copiar global_conf.json
The file will be in the user’s pi folder, we must move it to the path:
/opt/ttn-gateway/packet_forwarder/lora_pkt_fwd
Copy with the following command:
sudo cp -r global_conf.json /opt/ttn/packet_forwarder/lora_pkt_fwd/global_con.json
When moving and replacing the file, the configuration for 915MhZ will be ready

local_conf.json
This file contains the ID configuration of our Gateway and Server will dissect LoRaWAN packages,
Modification: In this case the default version had fewer configuration parameters, we will edit the local_con.json file and add the missing parameters.
sudo nano local_conf.json
Default File:
Modified File:
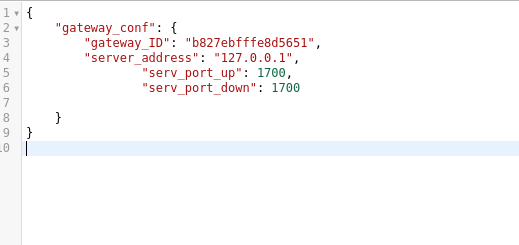
Note: download local_conf.json at the end of the article.
Full Configuration
Finishing the configuration of these 2 files, our LoRaWAN Gateway would be ready, it only requires configuring the server to which we will send data from our nodes. changing the IP address 127.0.0.1 for example router.us.thethings.network in the case of The Things Network or the IP address of our ChirpStack server.
Full Video
Explanation step by step, for configuration:
Conclusion
This is the first step to have our own Gateway or LoRaWAN Gateway ready to broadcast,
Summarizing activities:
- Download and install USB Drivers, in the case of the RAK833 USB / SPI version.
- Download and install Semtech UDP Packet Forwarder, LoRa packet forwarder.
- Configure Work Frequency in global_conf.json file.
- Configure LoRa packet sending server over UDP in local_conf.json file.
Note: all activities will be specified in detail in the video:
Downloads
3 Configuration Files for gateway:
- global_conf.json 915mHz
- global_conf.json 868mHz
- local_conf.json full version