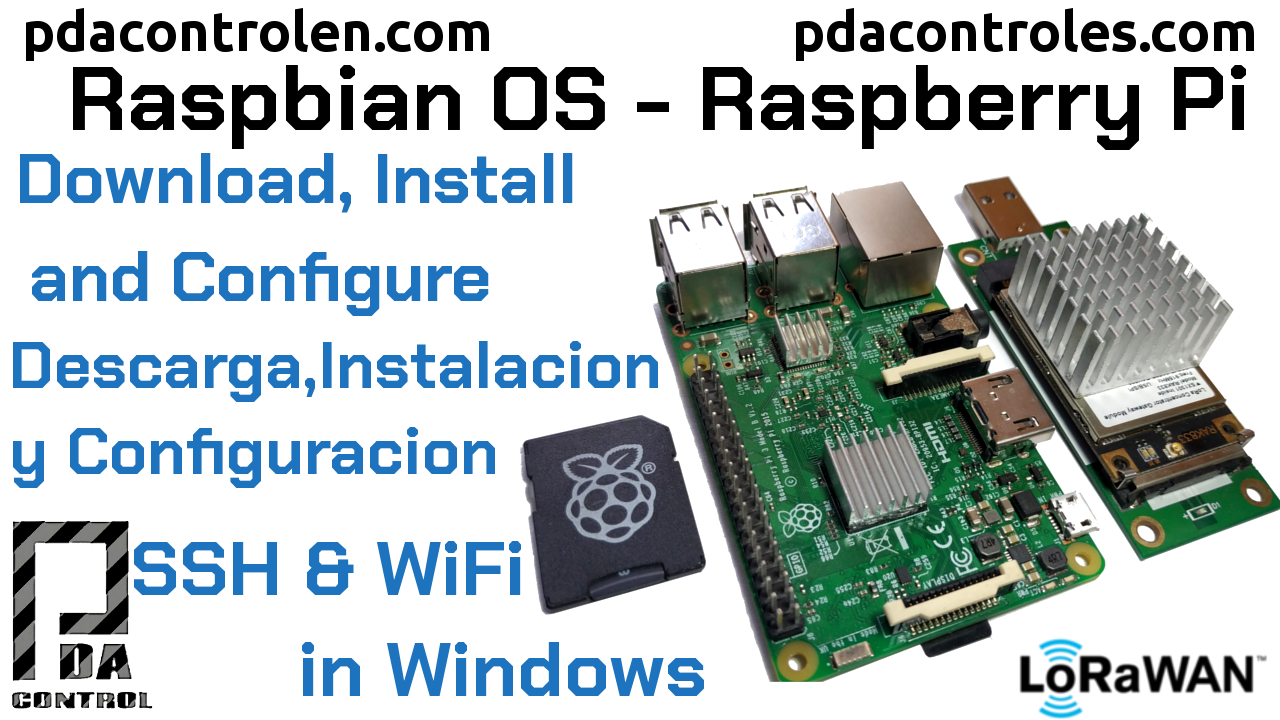
Before continuing with our LoRaWAN tutorials, we had mentioned that we would use a Raspberry Pi in conjunction with our RAK833 by RAKWireless to build our LoRaWAN gateway.
Many have tried or used the Raspberry Pi but in this case I will share how to mount Raspbian OS without a desktop and how to configure SSH communication and WIFI credentials in Windows.
In this case we will carry out the process from a Windows 7 and Windows 10 Operating system.
Recommended Tutorial:
Advantages of Raspbian OS without Desktop
Usually Raspbian desktop versions are installed, but if you want speed and efficiency on your Raspberry Pi I recommend using the desktop version “Raspbian Buster Lite”.
- Lower resource consumption (RAM, CPU) of Raspberry Pi.
- Greater speed of application execution.
- Raspbian without pre-installed, unused applications.
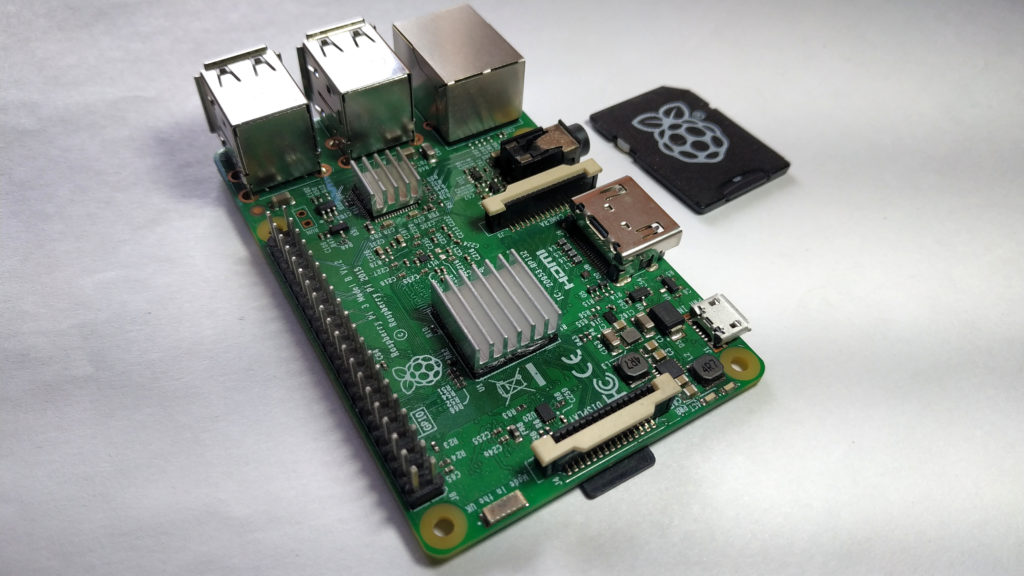
Materials
- Raspberry Pi 3 B, B+ Raspberry Pi 4
- microSD 4 a 8GB
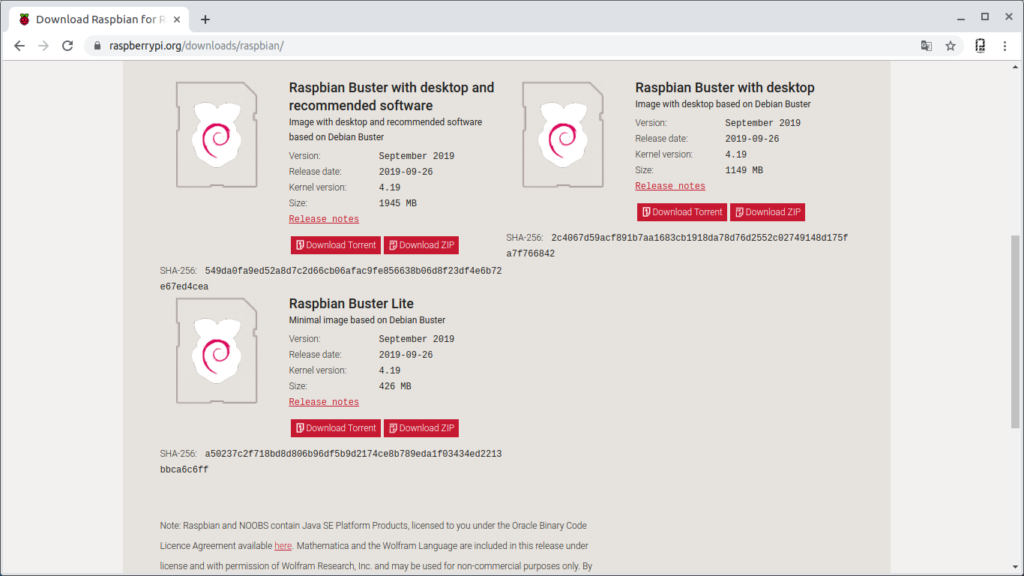
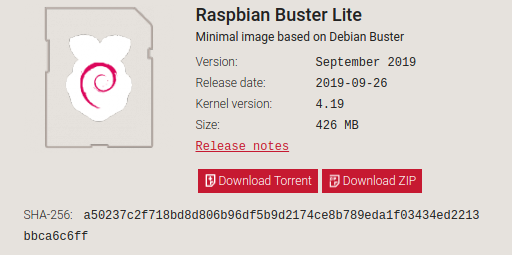
1.Download Image Raspbian Buster Lite
Download image from the official website Raspberry Pi.
Version Raspbian Buster Lite
In my case the latest version is the “2019-07-10-raspbian-buster-lite.img”.
Required Software
Unlike the Lubuntu Operating System (Linux), in the case of Windows if we require software to mount the Raspbian image to our MicroSD.
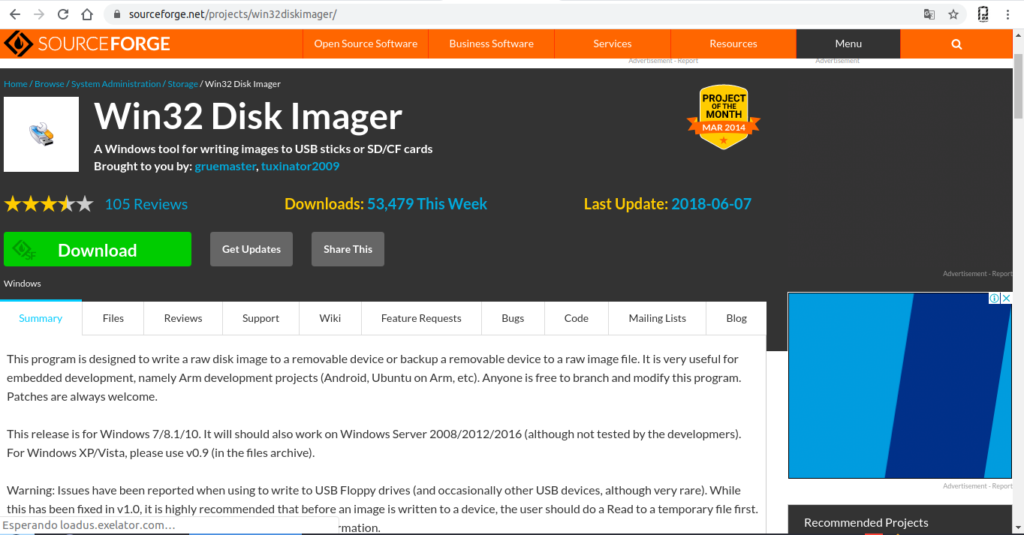
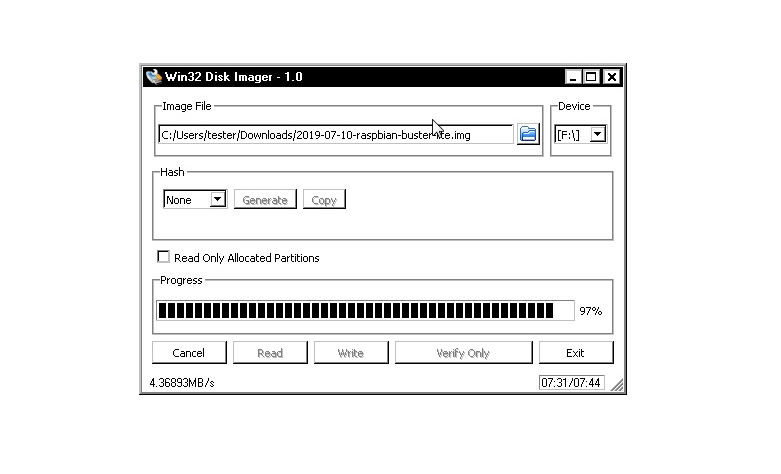
Win32 Disk Imager
This software allows you to convert or mount an .img image to a USB memory or SD and CF cards.
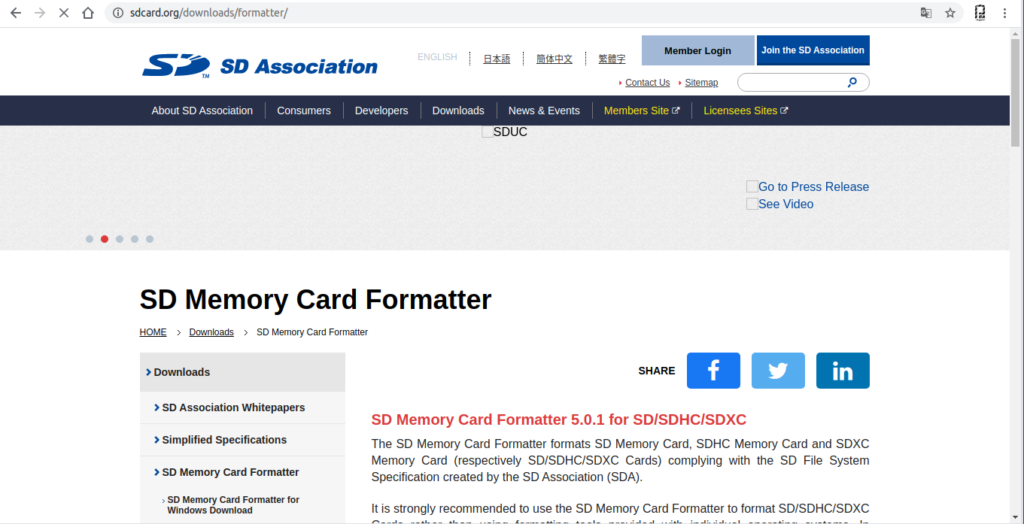
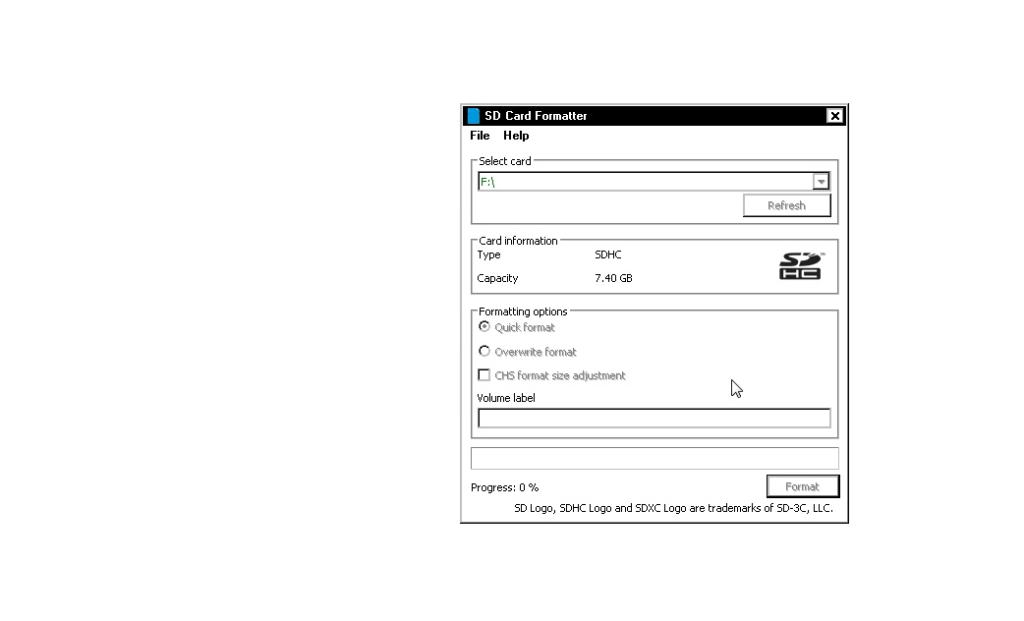
SD Card Formatter
This software allows you to completely format an SD card in Windows, since in some cases the Formatting done does not always leave the factory file system.
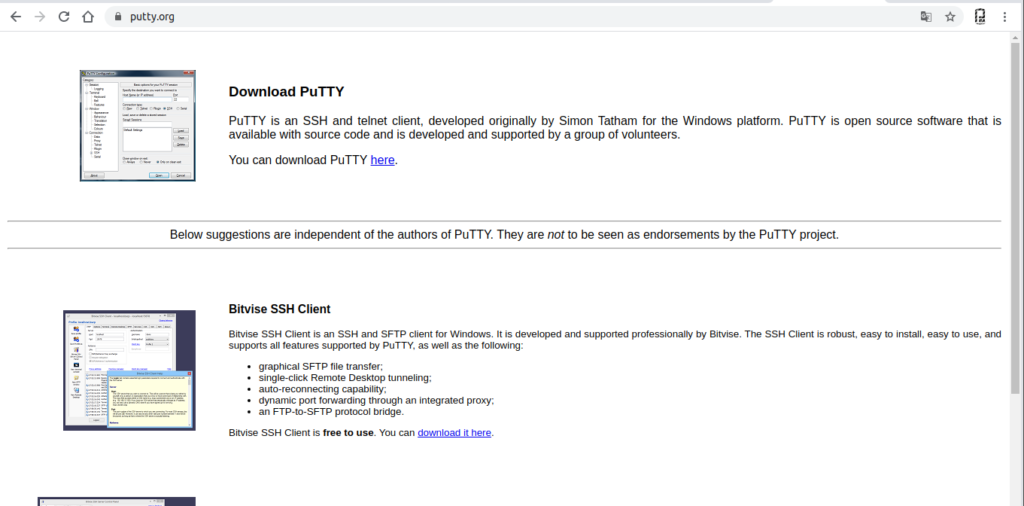
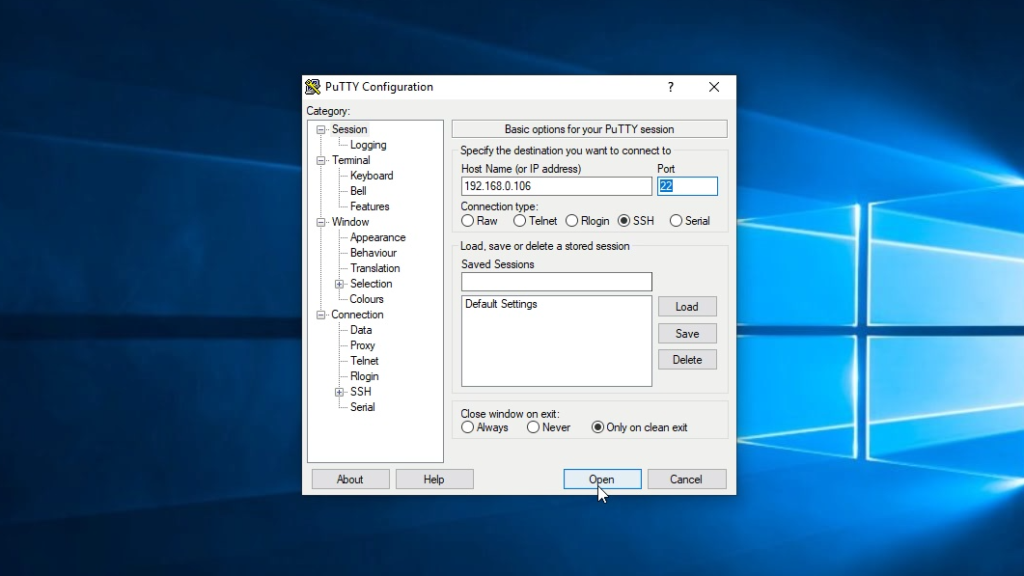
Putty
This software has many features as a terminal, in this case we will use it as an SSH client to communicate with the Raspberry Pi.
Installation and Configuration of Raspbian OS
1 Format microSD card
The microSD card must be formatted using SD Card Formatter.
Attention: we verify the drive “letter” to format (SD) and format.
In my own case it is the unit F: /, please check the unit before.
The card will remain factory.
2. Mount Raspbian Image on microSD
To assemble the image of Raspbian, in our case 2019-07-10-raspbian-buster-lite.img, possibly there are already more updated versions of this image but the procedure is the same.
We use the Win32 Disk Imager Software.
- We select the image “2019-07-10-raspbian-buster-lite.img”.
- We select unit in my case F: / corresponding to the 8GB SD card.
- Write image with “Write”
- Wait 100% and MicroSD with Raspbian.
Configure SSH Client in Raspbian
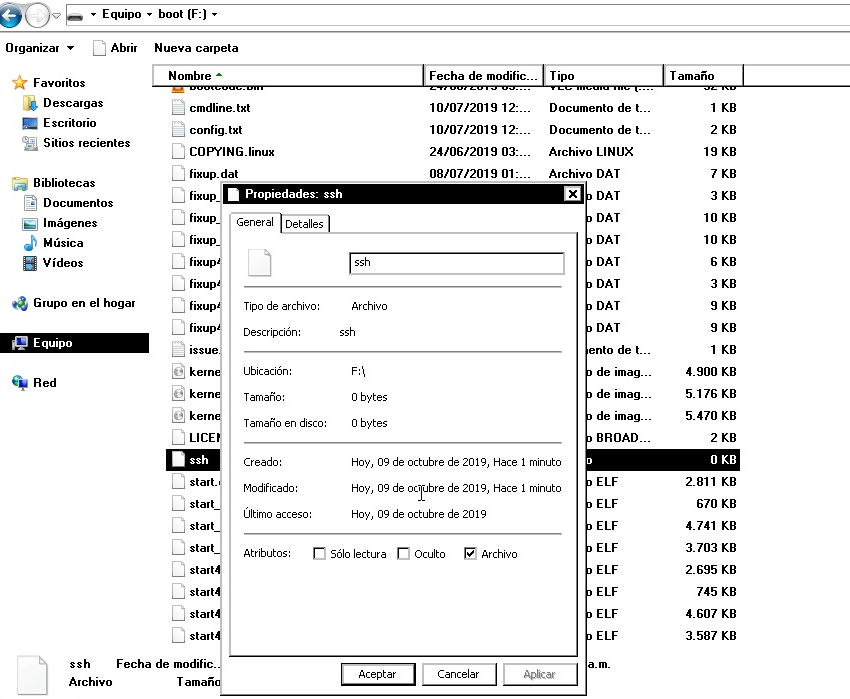
Since our Raspbian does not have a desktop or graphic interface, we will connect to the Raspberry Pi terminal using the SSH protocol, very useful for Remote connections.
Technically, it is only necessary to create a file called ssh “without extension” and place it with the SD content.
- Create file called ssh.txt.
- Change the extension, folder options, show extensions.
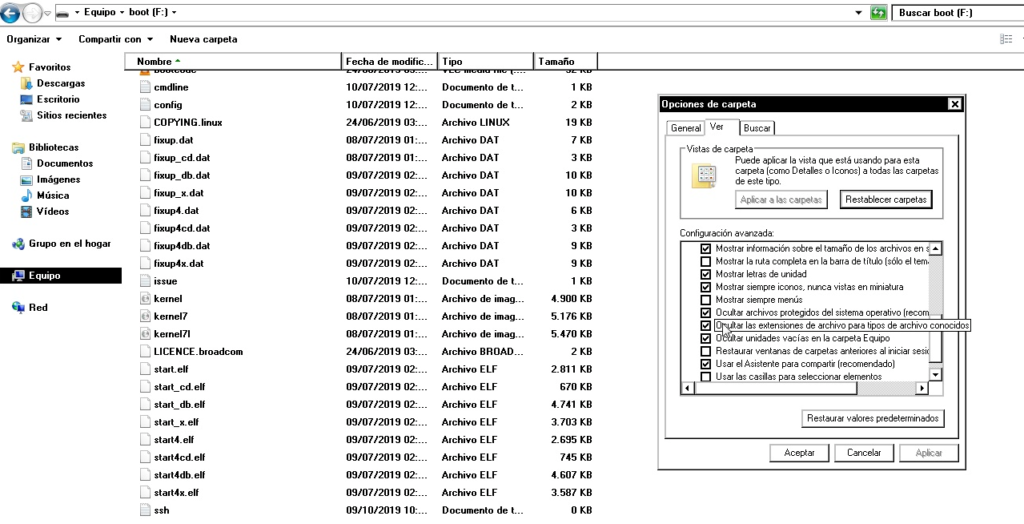
- enable show file extensions
- Remove .txt extension, leave it without extension.
Start Raspberry Pi
Mount microSD card and power Raspberry Pi.
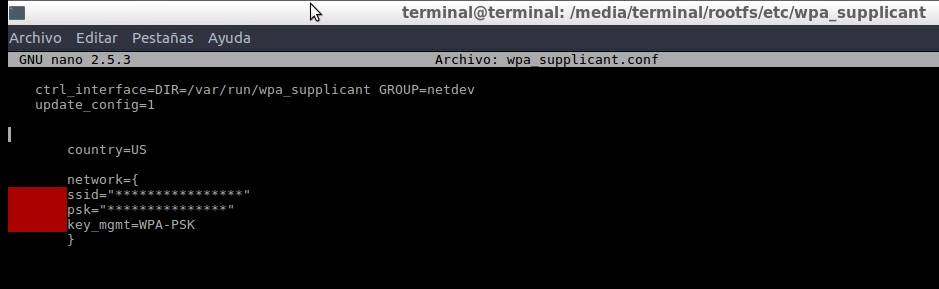
In this case, from Windows we cannot enter to configure the ROOT_FS file system which contains the Wifi configuration file.
/etc/wpa_supplicant/wpa_supplicant.conf
At the moment connect Through an Ethernet network Wire (patch core) we will connect to our router “switch” to connect our Raspberry Pi to the Internet and then configure the Wifi.
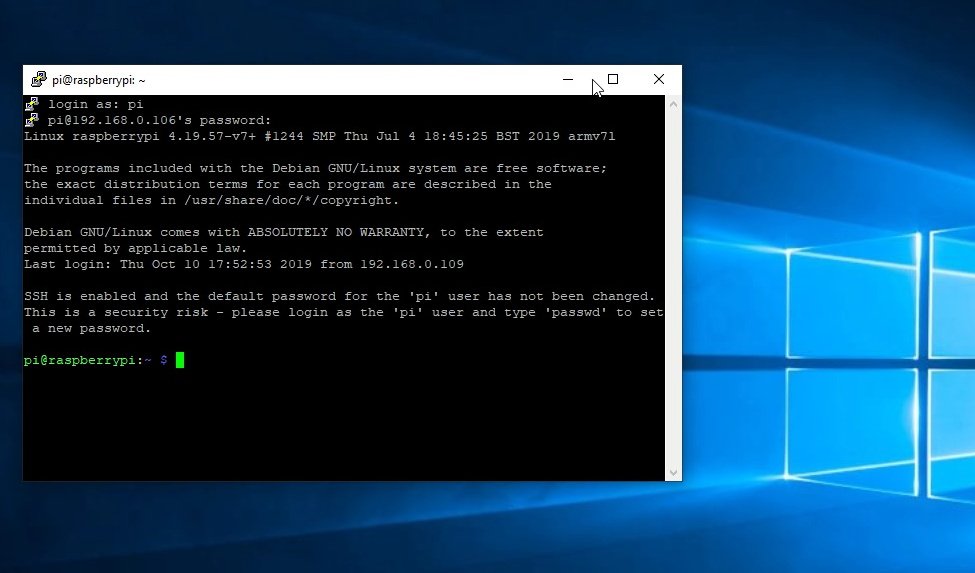
Connect Through SSH Client.
In this case we have 2 options:
Note: We use the user pi, the IP address and the default password “raspberry“.
SSH Client Putty
Terminal connection remotely via SSH:
SSH client in Windows 10

Update Raspbian Repositories
Finally update Raspberry Pi:
- sudo apt-get update
- sudo apt-get upgrade
Configure Wifi
Connected by Ethernet wired via SSH we can already edit the configuration file for Wifi.
/etc/wpa_supplicant/wpa_supplicant.conf
edit the wpa_supplicant.conf and add the Network credentials as follows:
Original File:

Modified File:
Note: replace “***********” with your own Network credentials.
Video Complete: Download Install Configure Raspbian OS Raspberry Pi without Desktop SSH & Wifi (Windows)
Conclusions
In previous tutorials I indicated how to configure Raspbian on Linux, since there are a large number of Windows users, I hope this tutorial is useful, since I have seen few tutorials that indicate how to configure Raspbian without a desktop.
This desktop version is more efficient than the desktop version and pre-installed applications.
The purpose is to facilitate the assembly of your Raspberry Pi, in my case create a functional LoRaWAN Gateway for IoT applications.
This version allows you to easily mount applications with Web servers or Mysql, Influxdb, Grafana, or Node-RED applications.