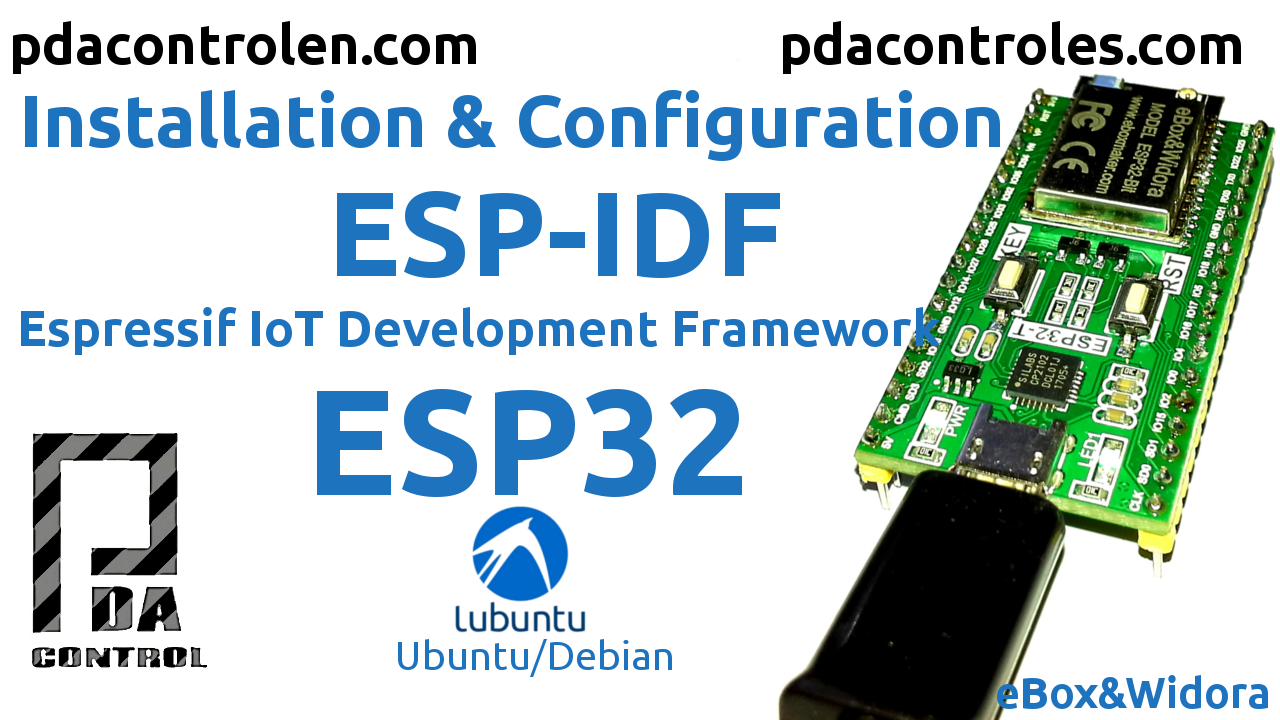
This time we will install and configure Espressif IoT Development Framework platform (ESP-IDF) from scratch, this is the official espressif development platform for the ESP32 modules.
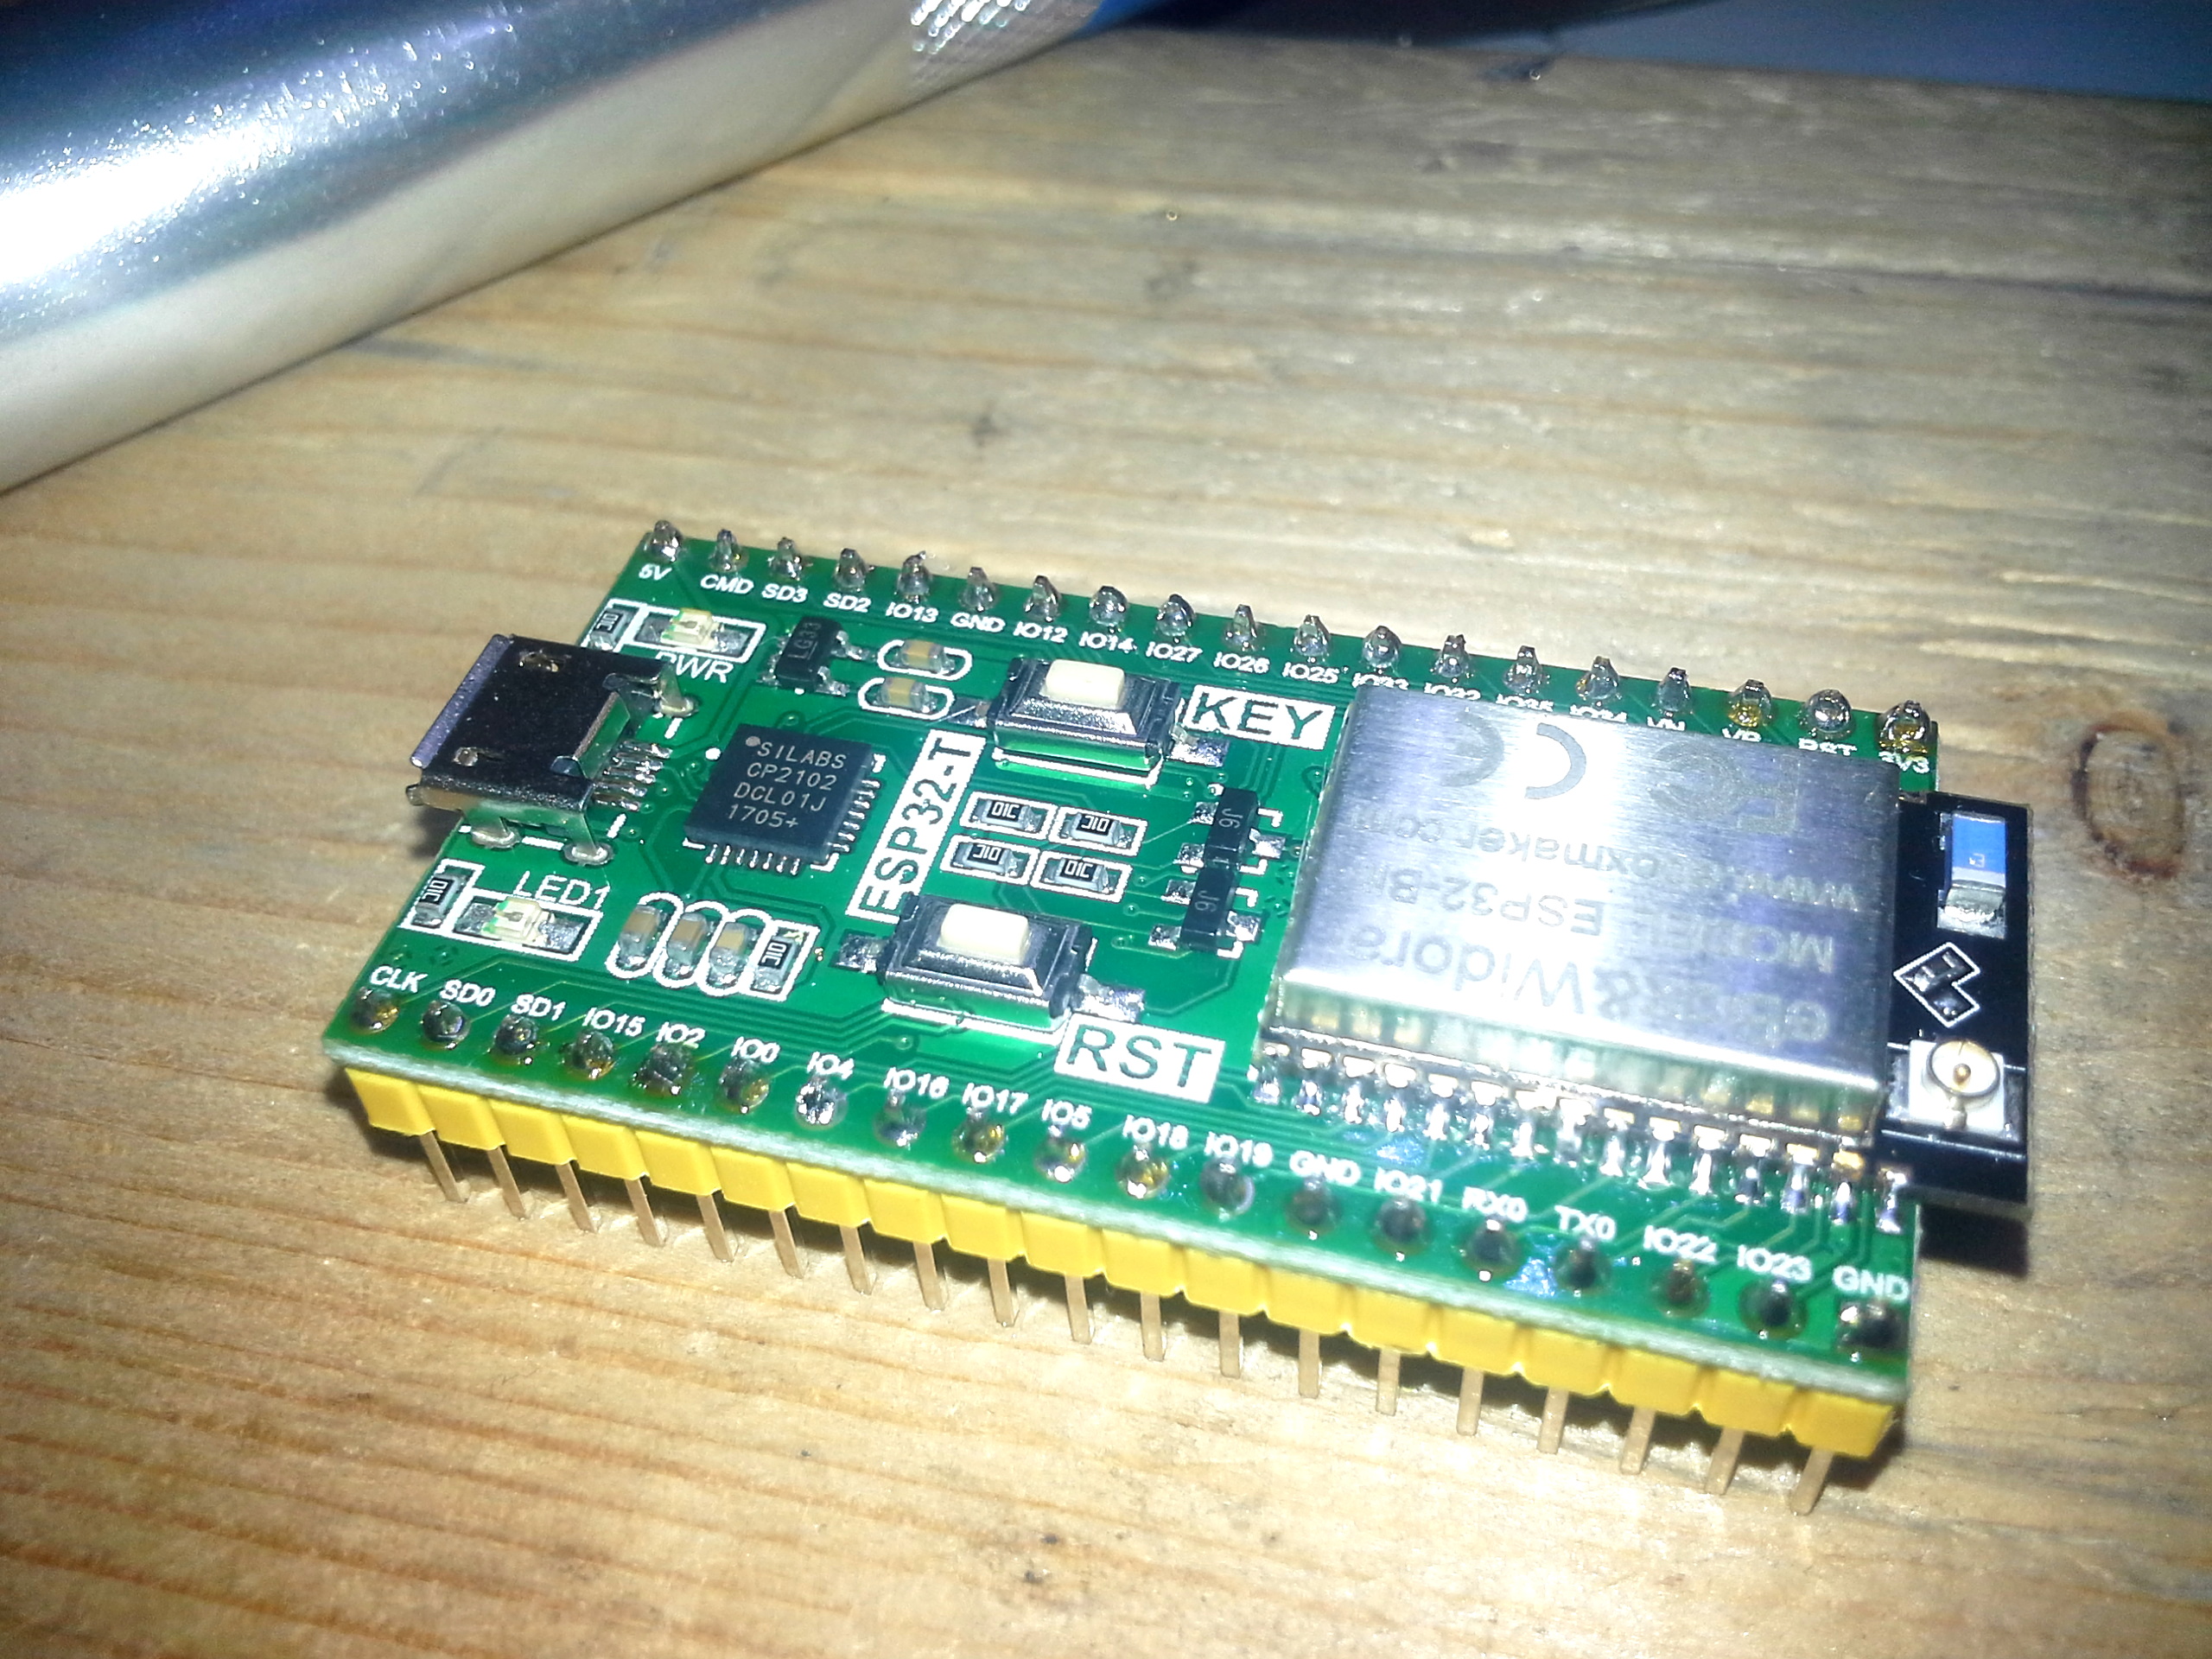
In previous tutorials we talked a little about the ESP32 that have Wi-Fi (2.4 GHz band) and Bluetooth 4.2 in a single module among other features.
I took the task of testing the documentation on the installation of ESP-IDF, since I believe that there are some confusions that complicate the installation and I hope that the doubts are clarified here.
Official Website: ESP-IDF espressif
Official Github: ESP-IDF
Requirements
- PC with Linux Operating System (Ubuntu / Debian) or Virtualbox, in my case Lubuntu.
- Toolchain to build the application for ESP32.
- ESP-IDF that essentially contains API for ESP32. and scripts to operate the Toolchain.
- A text editor, to edit or create programs.
Materials and where to buy them cheaper
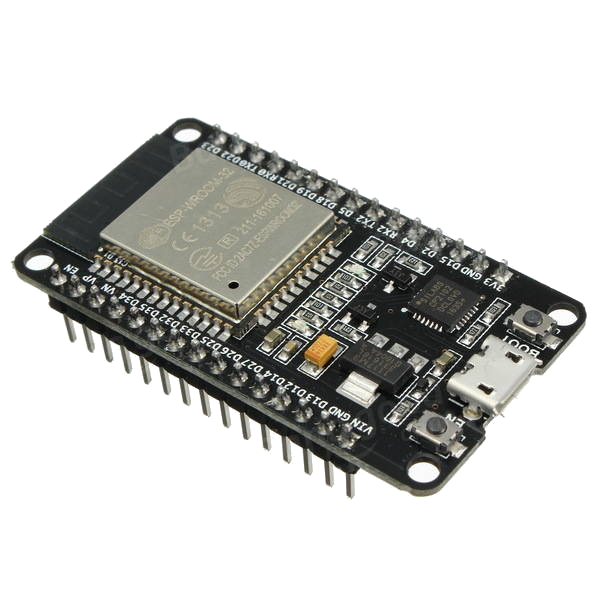
PC with Linux operating system (Ubuntu / Debian) or Virtualbox
Since the installation on a Linux operating system, Lubuntu in my case, is a derivative of (Ubuntu), although there is a version of ESP-IDF for Windows, you recommend that you install a virtual machine with Linux.
- Recommended Tutorial Installing Lubuntu in virtual machine (Virualbox) in Windows
- Recommended Tutorial Install Lubuntu permanently on 32bit PC
Note: I think I like Linux in this case (Ubuntu / Debian) I personally prefer lubuntu, but it’s the same.
Video Tutorial Complete Installation and Configuration
Although there is an official guide we will summarize the steps taken:
Install Toolchain
Install packages for Ubuntu or Debian:
sudo apt-get install git wget make libncurses-dev flex bison gperf python python-serial
Configure Toolchain
Download toolchain according to your operating system version
-
for 64-bit Linux:
https://dl.espressif.com/dl/xtensa-esp32-elf-linux64-1.22.0-75-gbaf03c2-5.2.0.tar.gz
-
for 32-bit Linux:
https://dl.espressif.com/dl/xtensa-esp32-elf-linux32-1.22.0-75-gbaf03c2-5.2.0.tar.gz
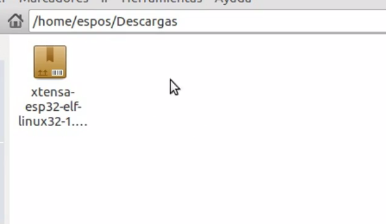
Download this file, then extract it in the esp folder.
- Create esp folder, in current user folder.
mkdir -p ~/esp
- enter to esp folder.
cd esp
- Unzip Toolchain “xtensa-esp32-elf”, change path depending on downloaded file 32bits or 64bits depending on your case.
tar -xzf ~/Descargas/xtensa-esp32-elf-linux32-1.22.0-73-gba03c2-5.2.0.tar.gz

Add Path “xtensa-esp32-elf”
exit esp folder and locate in user folder.
- Edit .profile file with nano.
sudo nano .profile
- Add path “xtensa-esp32-elf” to the end of file.
export PATH="$PATH:$HOME/esp/xtensa-esp32-elf/bin"

Restart PC to see changes, indicate restart session, I prefer to restart.
- Verify Path
printenv PATH

- Verify installation and configuration of “xtensa-esp32-elf”.
xtensa-esp32-elf-gcc -v

In case of returning “the order was not found” after restarting verify and redo the previous steps, possibly some error in the route stored in the PATH.
Install ESP-IDF
ESP-IDF contains the API for ESP32, scripts for toolchain and examples.
- Clone github’s esp-idf project in esp folder
cd ~/esp
 git clone --recursive https://github.com/espressif/esp-idf.git

- Login to the esp-idf folder and update submodules from github
cd ~/esp/esp-idf
 git submodule update --init

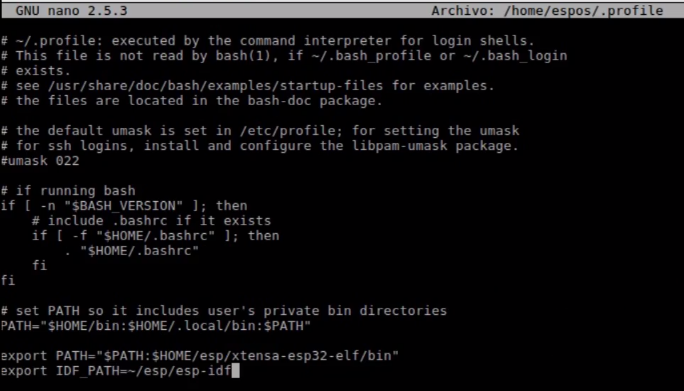
Add Path “ESP-IDF”
- Edit .profile file with nano
sudo nano .profile
- Add PATH “IDF_PATH”
export IDF_PATH=~/esp/esp-idf
- Verify PATH
printenv IDF_PATH
- Restart PC to view changes.
Completed and Complete Installation of ESP-IDF connect our ESP32 !!!
Hello World in ESP32 with ESP-IDF
I recommend watching the complete video tutorial in the step by step with the official guide and try downloading an example “hello world” to ESP32.
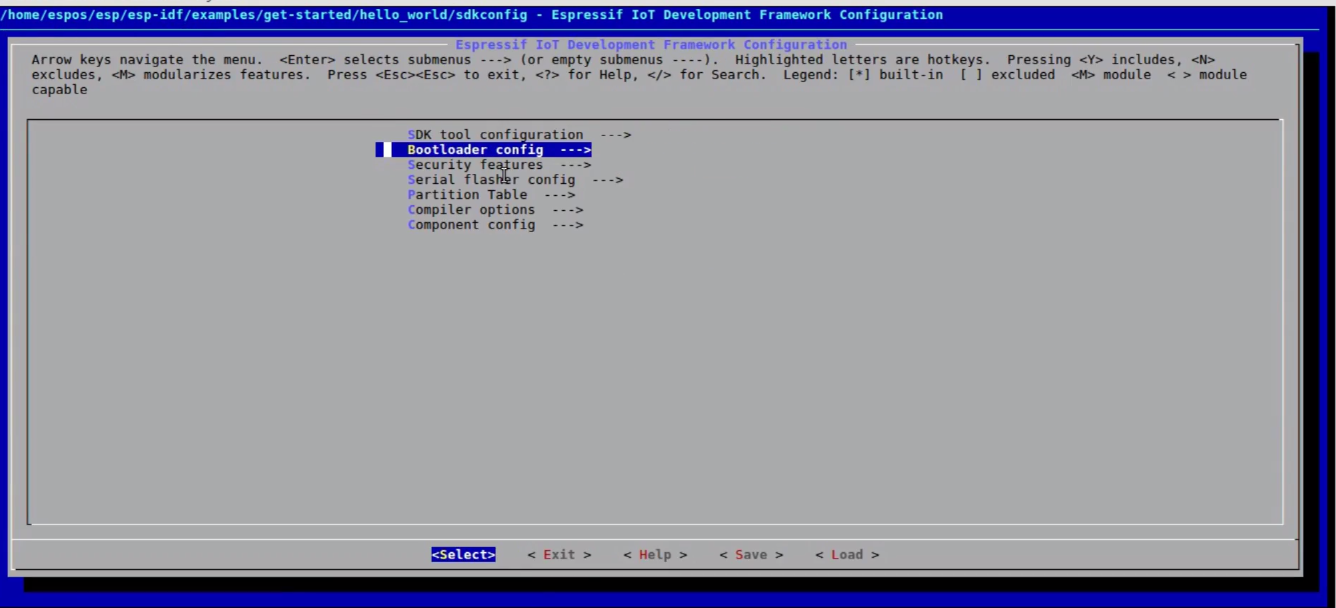
- Configuration menu, configuration interface of ESP-IDF, does not require modifications
make menuconfig
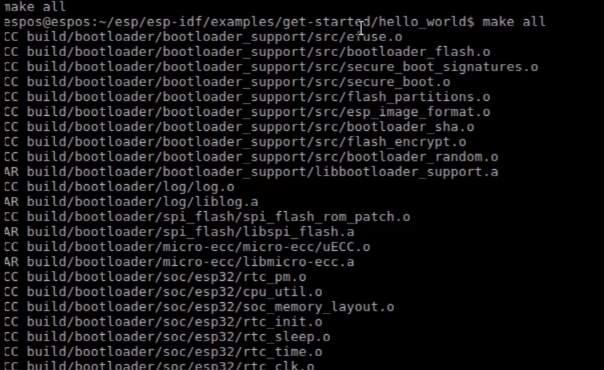
Compile the application “hello world” additionally the boot manager and generate a partition table based on the configuration, in a few words compile the code.
make all
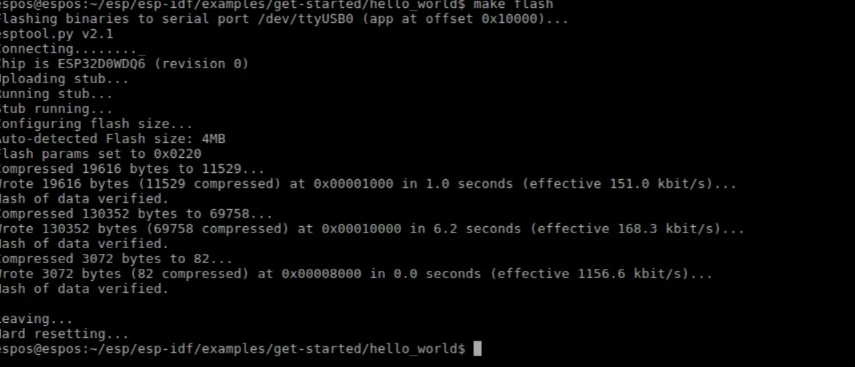
- Download code to Module ESP32 via serial
make flash
- To visualize example in action !! Open serial terminal, and display “helloworld” on the command:
make Monitor

Complete and detailed information, Github Github ESP-IDF project.
Clarification using .profile or .bashrc
Previously investigate other tutorials on installation of esp-idf, in many of them they use the .bashrc files but they do not explain why or they just give a doubtful answer, look in some forums and say the following about the differences between .profile or .bashrc, I will personally use .profile as the manual suggests.
.profile is used at the time of login, either in a terminal or on your desktop. Therefore, the configuration will always be applied when you have logged in.
On the other hand, .Bashrc runs every time you open a Bash session, for example, every time you open a terminal.
Note: I’m not an expert Linux, I do not want to generate controversy on this issue, I only share this possible clarification if it is wrong, excuse me and comment.
Source: Difference between .bashrc and .profile file?
Conclusions
Many will say that because I made the guide that already exists, well consider that the official version in some point can confuse referring to the specific steps.
Other option available for esp-idf is to compile from scratch toolchain but this option takes more time.
Again, if you want to make complete and complex applications for ESP32, nothing better than ESP-IDF advantages.
- created by espressif.
- more updates
- more examples.
- more hardware applications.
- Forums and support.
We will also explore other options available to program them ESP32:
- Arduino IDE
- Mongoose
Reference
- ESP32 eBox&Widora first review
- Official Website: ESP-IDF espressif
- Official Github: ESP-IDF
- Difference between .bashrc and .profile file?
