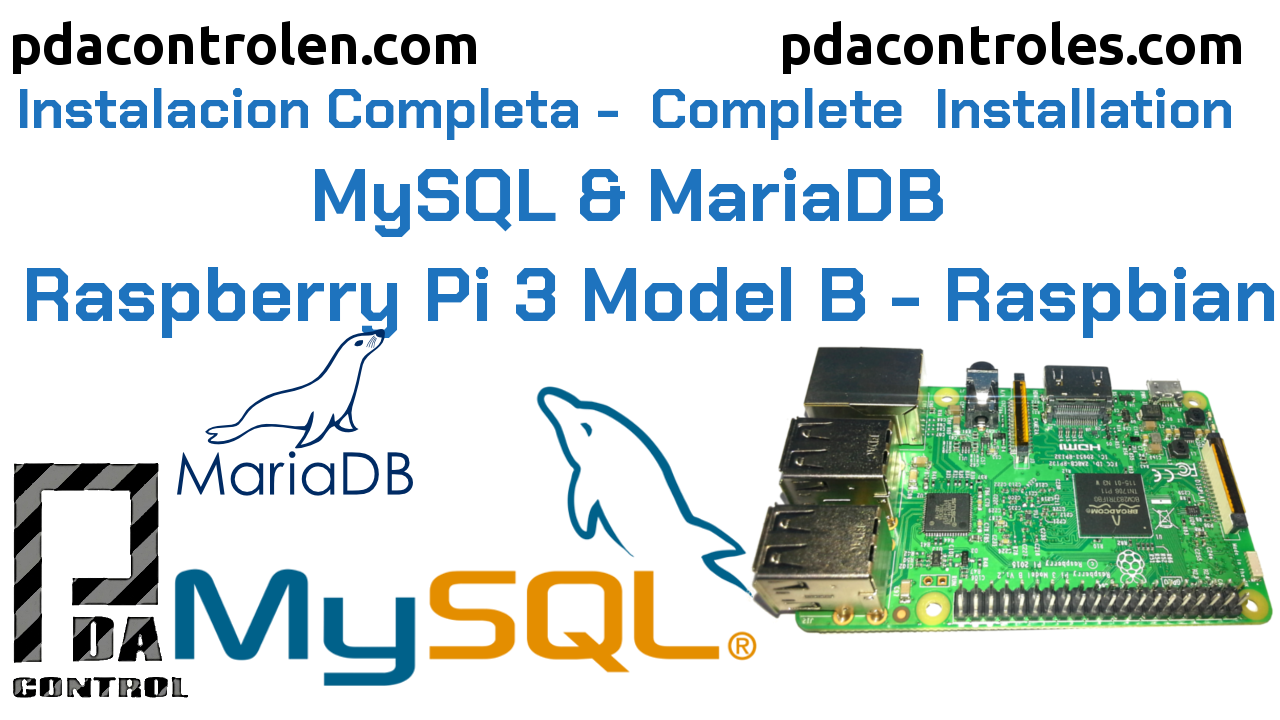
Among the most popular databases this MySQL has 2 types of licensing General public license and commercial license, it is considered the most popular open source database in the world is included in almost all hosting very used by WordPress, is also included as a component of development in LAMP and XAMMP.
Previously, make a tutorial to install the Grafana Dashboard in a Raspberry Pi, this time we will install MySQL in Raspberry Pi to integrate both in a functional application:
Recommended Tutorial: Grafana Installation in Raspberry Pi
Complete installation Grafana Dashboard in Raspberry Pi 3 B / B +
MySQL
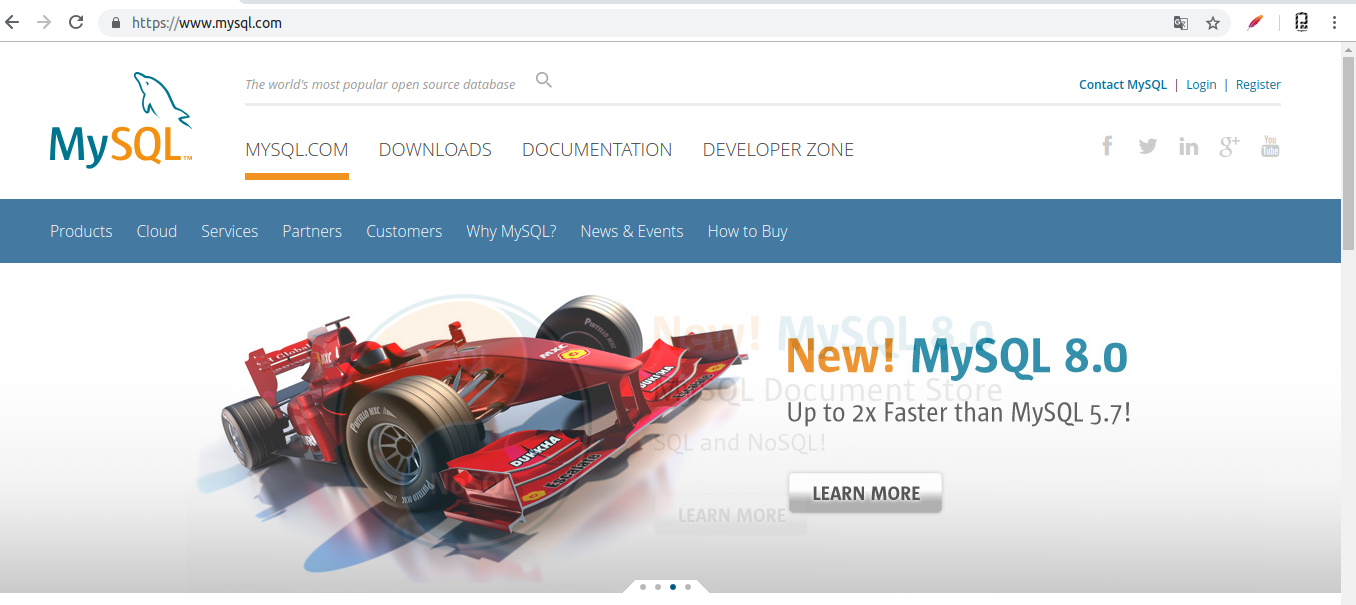
It has been a great surprise to know that MySQL has a database management system called MariaDB. Continuing our tests with the Grafana Dashboard we require a robust database and we have decided to implement MySQL which we will install in our Raspberry Pi B,
More Information: MySQL Wikipedia

MariaDB
Since Oracle is the owner of MySQL, the MariaDB foundation was born and a large community of free software developers, MariaDB is a bifurcation, a variation of the original source code.
More information: MariaDB Wikipedia

Materials and where to buy them
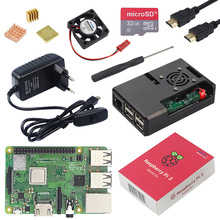
- 1 Raspberry Pi 3 Model B + Banggood
- 1 Raspberry Pi 3 Model B + Aliexpress
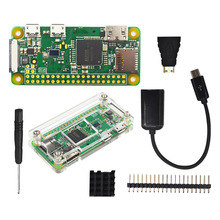
- 1 Raspberry Pi Zero (not tested yet)
- 1 MicroSD 8GB Card with Raspbian Operating System Installed
- 1 Power supply 5v 2A – Banggood
Recommendations
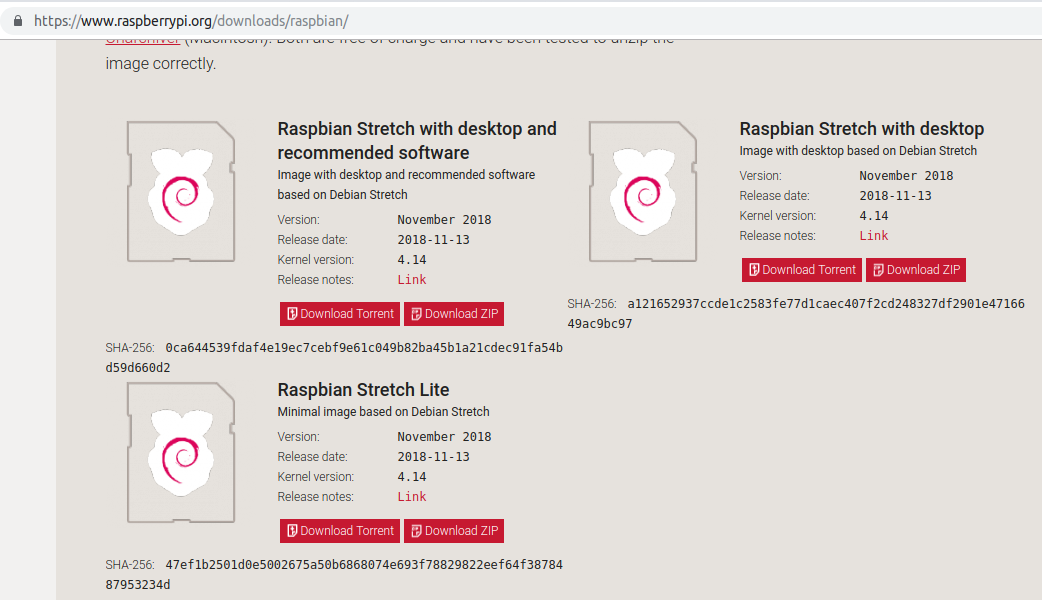
Raspbian Stretch Lite
To have the best performance of our Raspberry Pi, I recommend installing RASPBIAN STRETCH LITE, this version is the image has the minimum of pre-installed applications, no desktop or graphical interface, all configuration is done through command line, I recommend microSD 8GB .
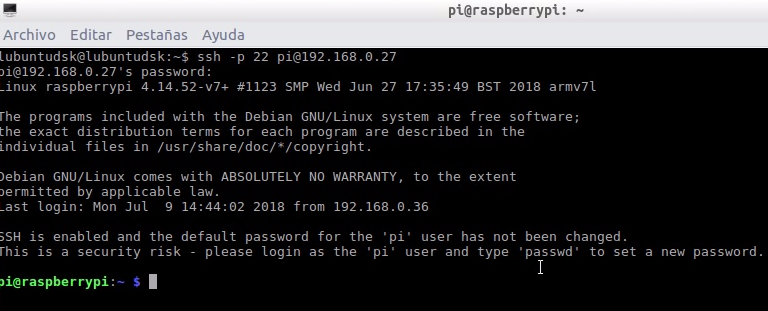
SSH Client and Raspbian Installation
Since there are hundreds of tutorials on how to mount raspbian on the Internet, I will omit the step and place that tutorial hackernoon.com site to which I thank for the tutorial, it indicates the process of mounting the Operating System and additional mount the SSH client.
 Note: The raspberry pi 3 B and / or B + has Wifi included.
MySQL Installation & configuration
Actually the method of installation of MySQL has varied, one of the biggest inconveniences of the configuration of the user “root” or administrator.
Perform many tests to create a password for this user that by default MySQL does not require passwords, but to connect MySQL with other applications such as Node-RED, Python and Grafana authentication is required by security issues.
Next we will install MySQL and perform the respective configuration creation of users and databases.
Update list of available packages
sudo apt update
Update packages
sudo apt upgrade -y
Remove obsolete packages
sudo apt autoremove -y
Install MySQL database server
sudo apt-get install mysql-server -y
Verify status MySQL (MariaDB), it must be running
sudo /etc/init.d/mysql status
Create Database and new User
Login to MariaDB user from “root” user
press “Enter”, no password is required for the “root” user, we enter MariaDB to enter Query.
sudo mysql -u root -p -h localhost
Create new database “grafana_db”.
CREATE DATABASE grafana_db;
Use database “grafana_db”
USE grafana_db;
Create a new user “grafana_user” and assign the password “password”
CREATE USER 'grafana_user'@'localhost' IDENTIFIED BY 'password';
Assign all the permissions to the user “grafana_user” on the database “grafana_db”.
GRANT ALL PRIVILEGES ON grafana_db.* TO 'grafana_user'@'localhost';
FLUSH PRIVILEGES;
exit MariaDB (MySQL)
quit
Reset mysql
sudo service mysql restart
Create table
I will advance the process a bit, for my future tests I will create a simple table to send data from an ESP32 + Node-RED, take this table as an example, adapt to your needs
This table consists of 4 columns, the table “esp32_dht11”
- dateandtime (TYPE Datetime or Time Format)
- sensor (TYPE Varchar or string of 32 characters)
- temperature (TYPE Double or floating with decimals)
- humidity (TYPE Double or floating with decimals)
CREATE TABLE esp32_dht11 (dateandtime DATETIME, sensor VARCHAR(32), temperature DOUBLE, humidity DOUBLE);
Note: this is a brief introduction, perhaps later explain a little in detail, but I recommend looking for tutorials on the internet about Query in MySQL, there should be thousands of tutorials.
Recommendation: For a more detailed explanation step by step I recommend watching the full video I Installation Dashboard Grafana in Raspberry Pi 3 B or B+:PDAControl available on our Youtube channel PDAControl.
MySQL and Grafana connection test
With a user “grafana_user” and a password “password” and the database “grafana_db” without any problem we can connect to Grafana, to graph grafana we obviously need data, but with this tutorial we should be able to connect our database “grafana_db”.
Note: Grafana and MySQL are both installed on the same Raspberry Pi.
More info MySQL+Grafana: docs.grafana.org/features/datasources/mysql/


Video Complete Installation
Conclusions
My first experiences with databases were SQLServer and MySQL (MariaDB) relational databases, there are other possibilities like MongoDB and InfluxDB Non-SQL databases.
As you have seen I like efficient systems and I try to use interfaces in the minimum, I prefer command line, in the case of Raspberry Pi it must be very recursive given the limited resources of RAM and storage space.
That’s why we will not install things like Apache php or phpmyadmin, I will show that it can only be with command line, we will also use Node-RED.
For my integration with Grafana I have initially selected MySQL, because I have been using it for a long time, there are other possibilities, I tried a bit of InfluxDB a few years ago, but I see that it is very focused on time series and I need to do other things that I do not know yet in that database.
If there are advantages and disadvantages between relational and non-SQL databases, we will not perform tests on other databases.
