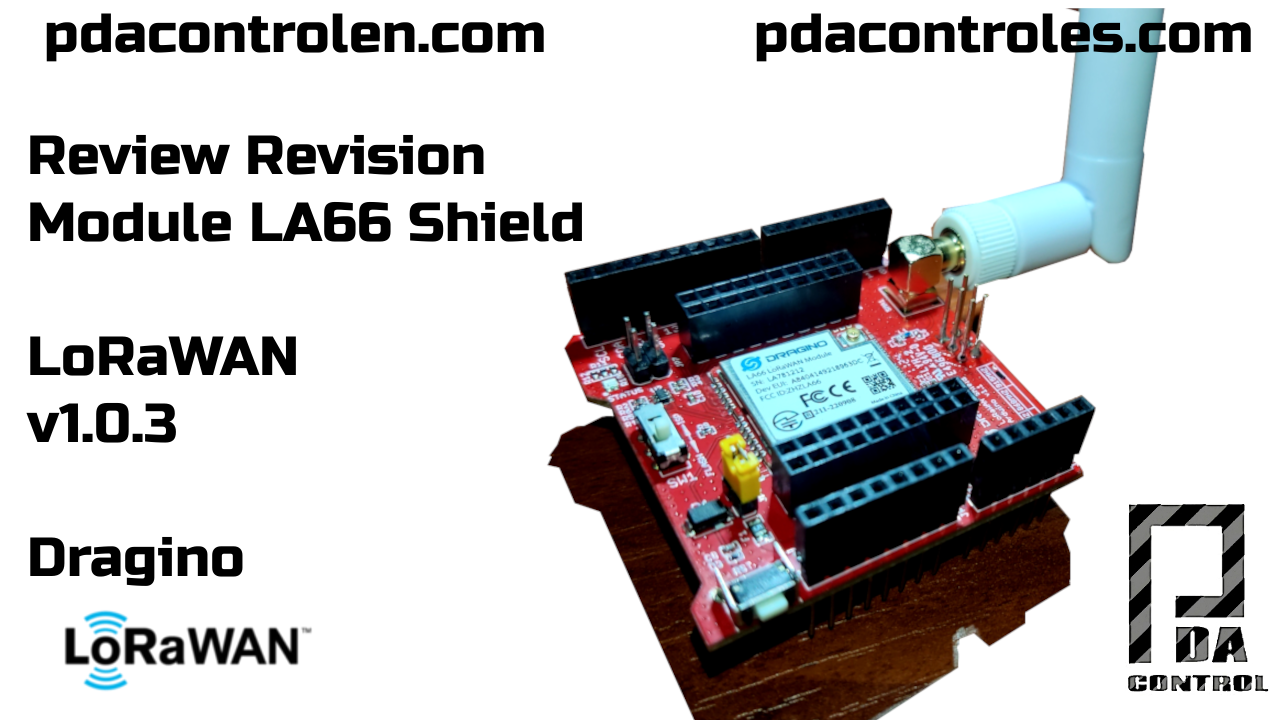
We have resumed testing the applicability of the LoRaWan network, in this case we will review the Dragino LA66 module, specifically the Arduino Shield, although for our tests we will connect it to the PC via a TTL-USB converter and we will test it with the ESP32 module. As I mentioned in previous tests, I…
Category: ChirpStack
ChirpStack is the update of the LoraServer project provides open source components to build LoRaWAN networks. Together they form a ready-to-use solution, which includes an easy-to-use web interface and the gRPC and REST APIs.

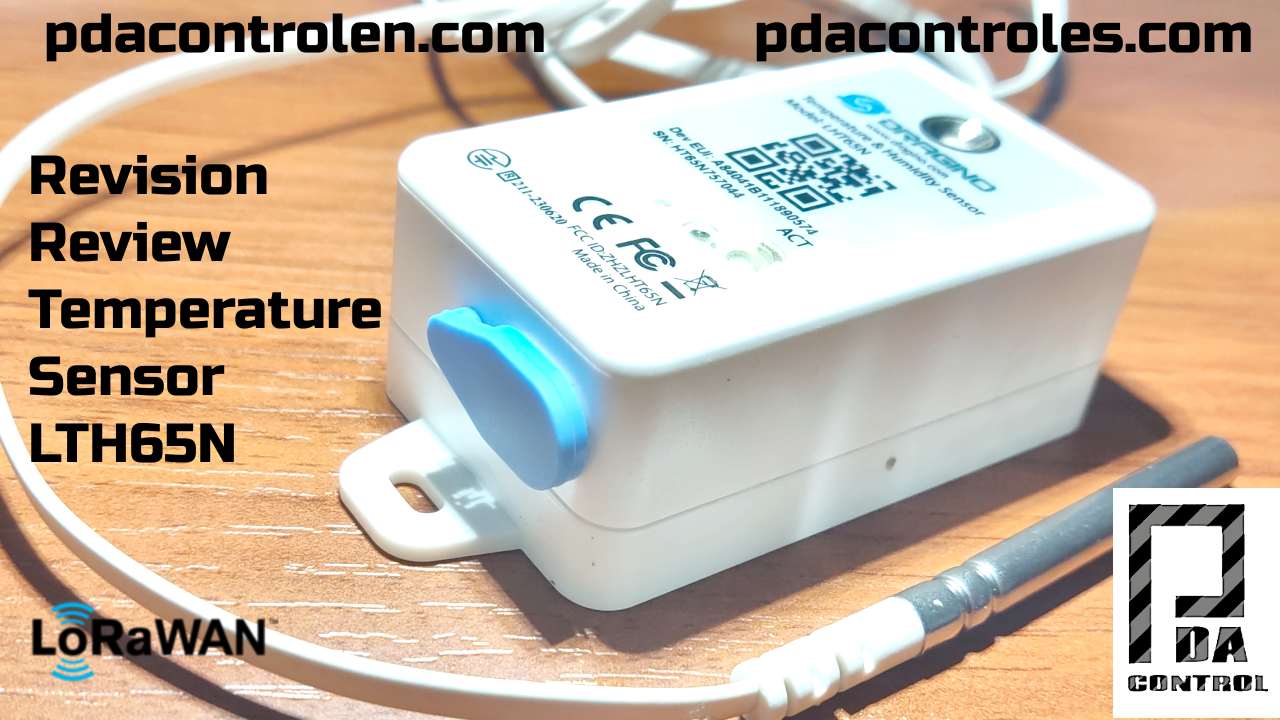
Review LHT65N LoraWAN Temperature and Relative Humidity Sensor (Dragino)
As a programmer focused on IoT solutions that require low power consumption and long-range communication, the Dragino LHT65N stands out as an ideal choice. This device is specifically designed for temperature and humidity monitoring using LoRaWAN networks, making it a versatile tool for automation projects in industrial, agricultural, or even urban settings. With robust features,…
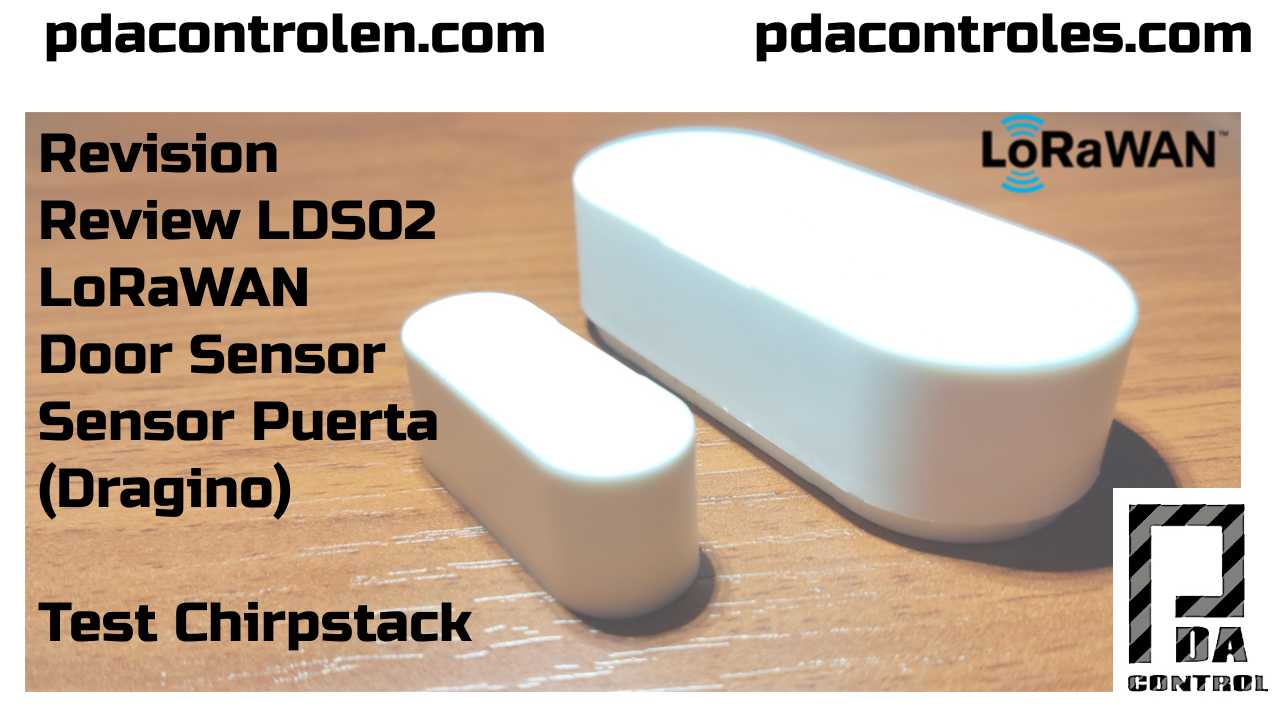
Review LDS02 – LoRaWAN Door Sensor (Dragino)
One of the technologies that have gained great strength in recent years such as LoRaWAN, on this occasion we will review the LDS02 Sensor. The LDS02 is a door sensor that uses LoRaWAN technology for long-range, low-power communication. Designed by Dragino, the LDS02 is ideal for monitoring doors and windows, making it a perfect choice…
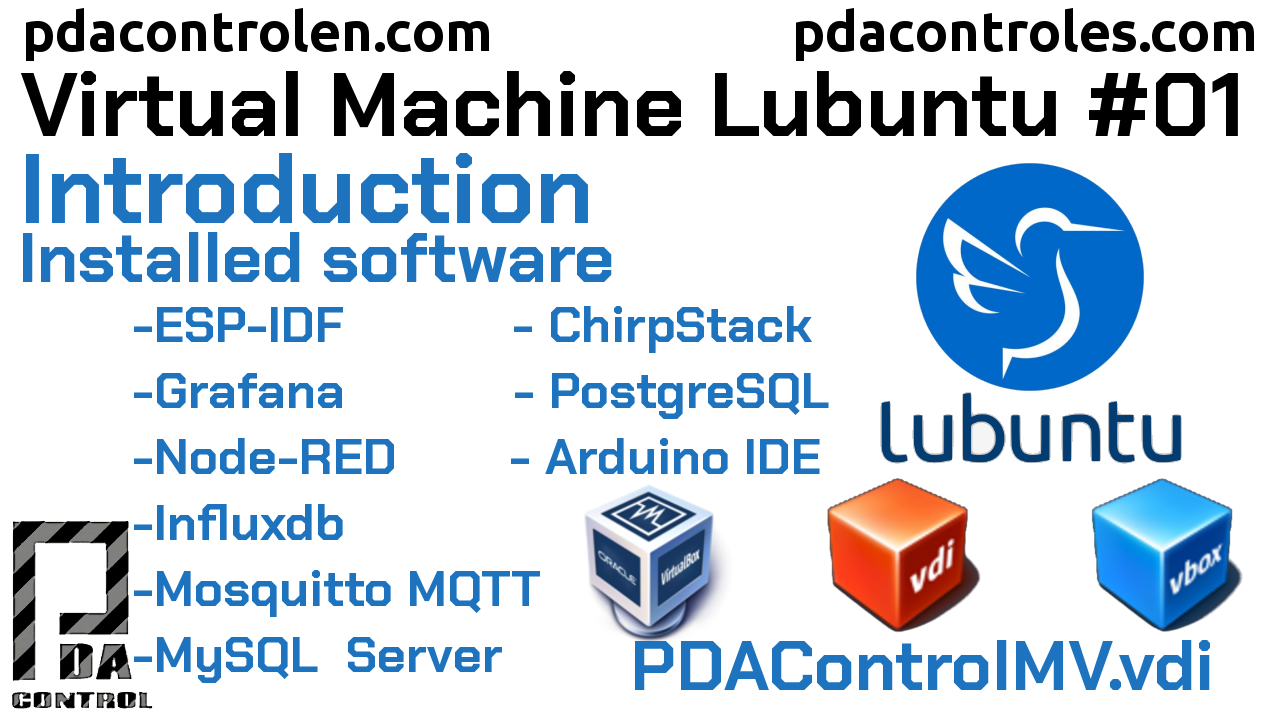
Download Lubuntu Virtual Machine (PDAControlMV) IoT in VirtualBox # 1
Virtualization is one of the most used methods to facilitate the compatibility of Software or simply the test of other Operating Systems, technically it is an operating system within another. I have tried for a long time Oracle VirtualBox is one of the most used virtualization software for x86 / amd64 architectures allowing virtualization. FreeBSD…
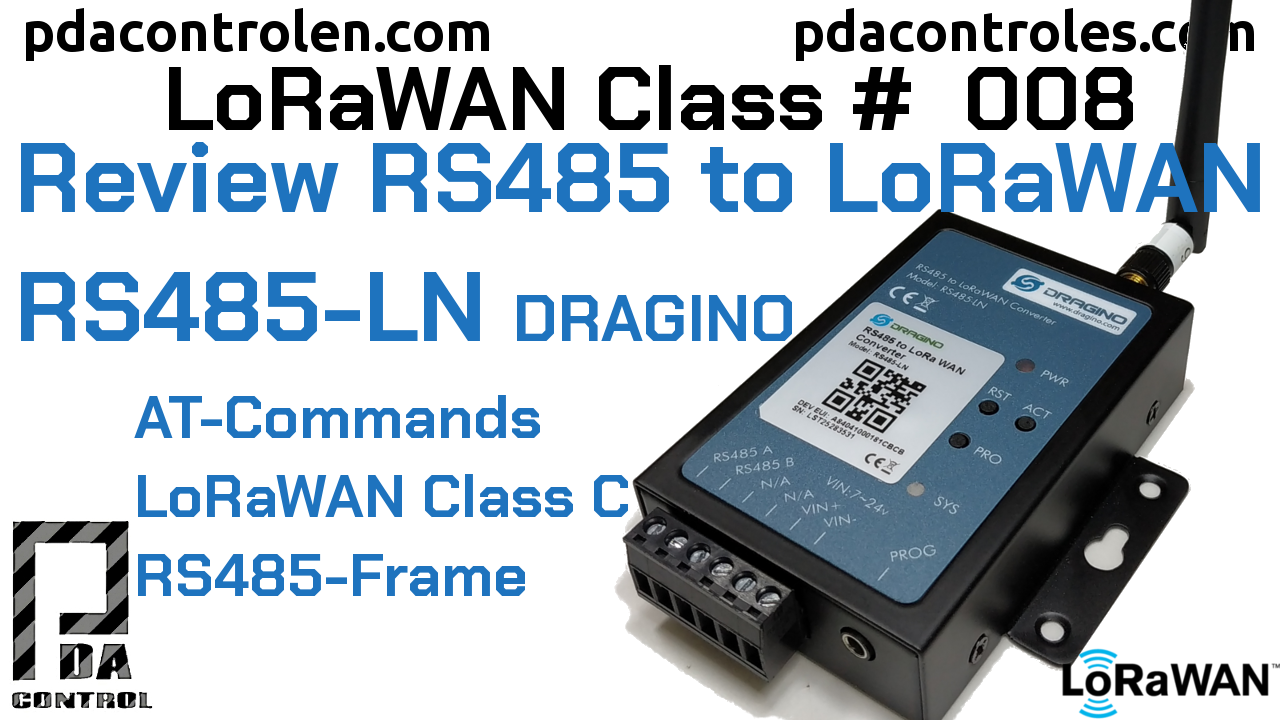
Review Dragino LoRaWAN RS485 to LoRaWAN RS485-LN Converter #8
I present the Dragino RS485-LN is an RS485 to LoRaWAN converter, a few months ago I ordered a couple of modules for testing. This converter would allow monitoring and controlling devices over long distances, adding the versatility of the RS485. Characteristics LoRaWAN Class A and Class C protocol (default Class C) Frequency bands: CN470 /…
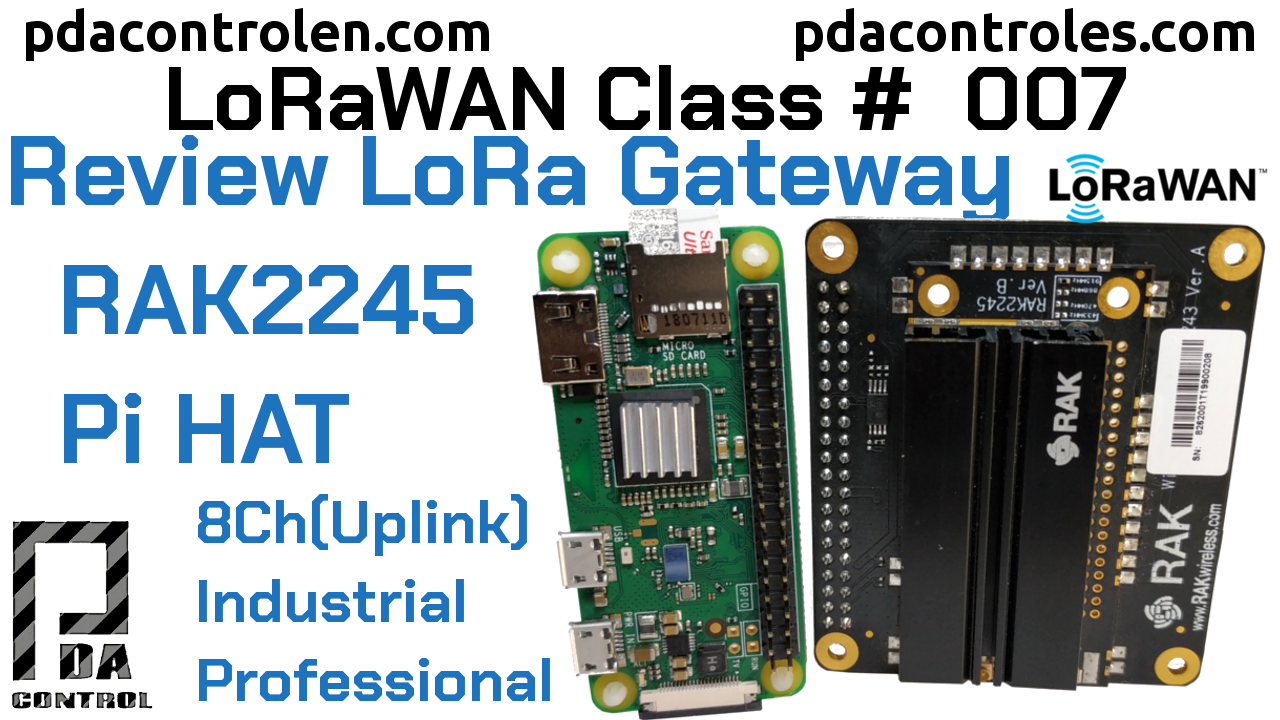
Review Gateway RAK2245 Pi HAT Ver. B (Multichannel) LoRAWAN # 6
Continuing our LoRaWAN tests, a few months ago the materials arrived to assemble my new gateway using the RAK2245 Pi HAT Module for Raspberry Pi. In previous tutorials we used the RAK833 USB / SPI. This time we will review our new RAK2245 Pi HAT module. Features Compatible with Raspberry Pi 3 Model B +…
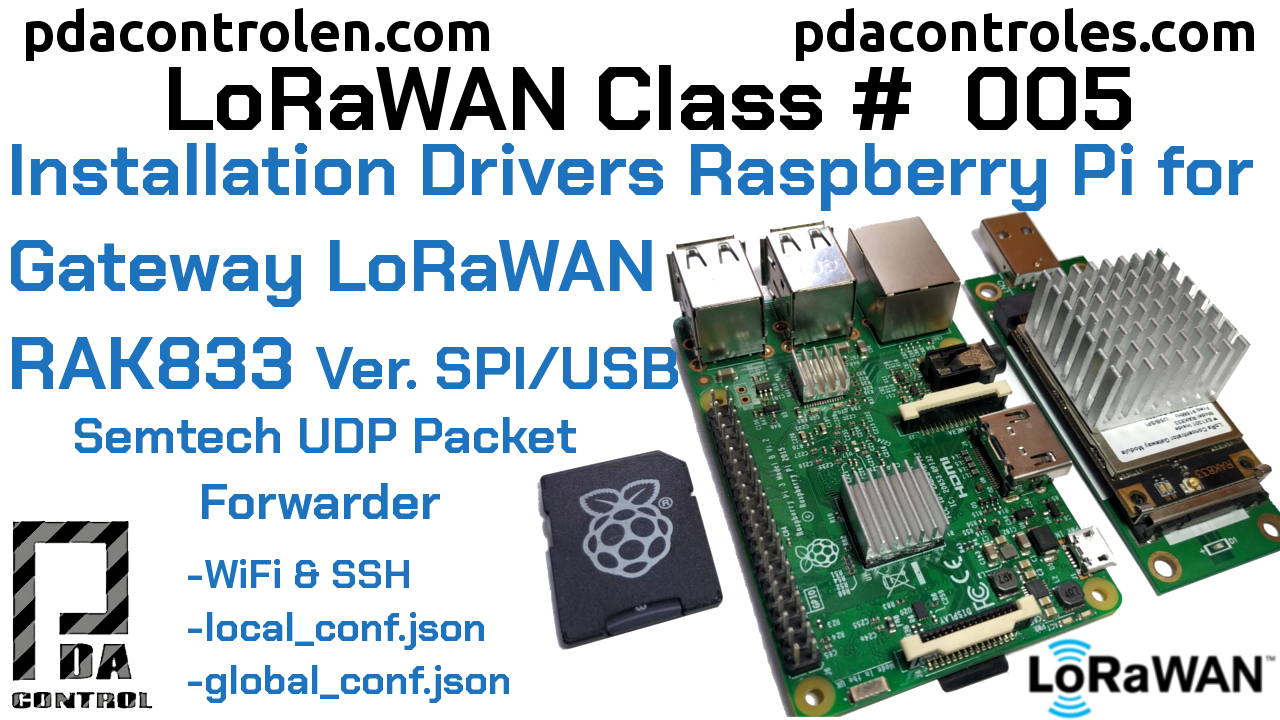
Install drivers and (UDP Packet Forwarder) Raspberry Pi with Gateway RAK833 Version USB / SPI LoRaWAN # 5
In previous tutorials we reviewed our Gateway using the RAK833, the Radio module created by RAKWireless, adding a Raspberry Pi we can create a professional and functional gateway for our LoRaWAN implementations. Important: This tutorial is only focused on the RAK833 that have USB and SPI communication, for the SPI version another driver and another…
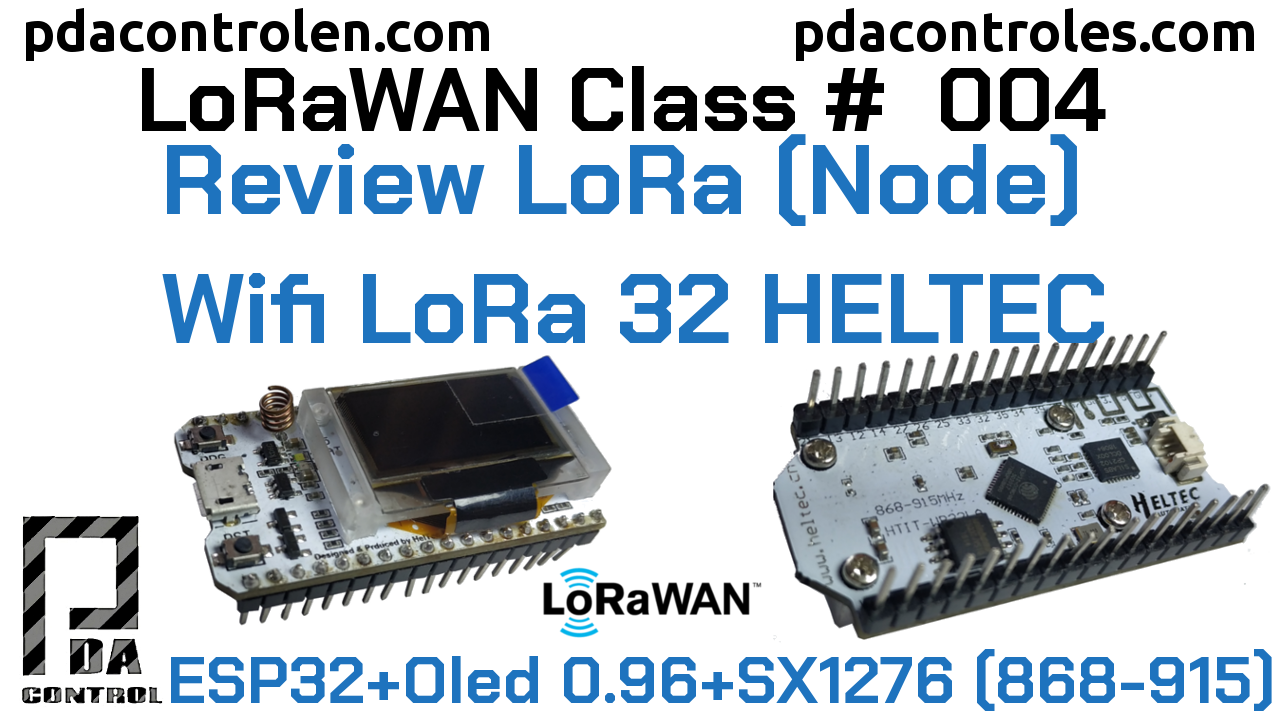
Review HELTEC Module (WIFI LoRa 32) 915-868Mhz for LoRaWAN #4
I have been collecting information about functional nodes for basic LoRaWAN tests for a while. This time I present the HELTEC LoRa 32 v1 Wifi module, it collects several interesting functions in IoT applications. This node is the integration of an ESP32 and a LoRa Chip SX1276 (868-915Mhz) 0.96 inch Oled screen, usb-serial converter CP2102….
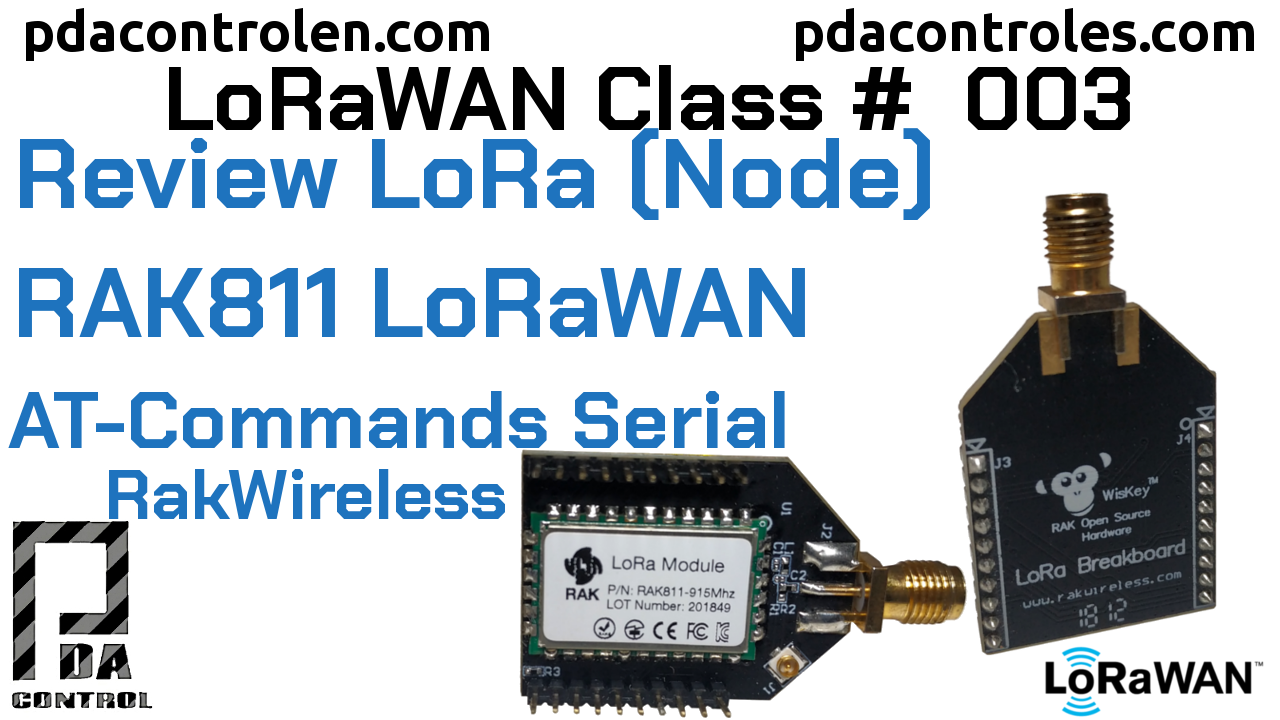
Review Module RAK811 LoRa Node AT-Commands LoRaWAN # 3
Some time ago, in previous tutorials we have already determined some factors to choose the appropriate gateway (gateway LoRaWAN) for your LoRaWAN application, this tutorial was created gathering considerations before starting, with considerations scopes and concepts about LoRaWAN. Based on these considerations, a robust, powerful and functional gateway or gateway has been assembled according to…
Review Gateway Concentrator RAK833 SPI/USB mPCIe (Multichannel) LoRaWAN # 2
In previous tutorials we have already determined some factors to choose the appropriate (gateway LoRaWAN) for your LoRaWAN application, there are many hardware solutions available, but I have chosen the RAK833-SPI / USB from RAKwireless, a LoRaWAN hub module that It allows to create a multichannel gateway, I consider it the cost-effective option in relation…
