In this opportunity we will integrate our active power meter or electric consumption, Peacefair Pzem-004 with the IoT Blynk app platform available in Android & iOS apps stores using an ESP8266 module, later we will create a dashboard to visualize the 4 available variables as active power, accumulated electrical consumption, voltage and current.
Previous Tutorials Recommended
Introduction IoT Platform Blynk & ESP8266
If you want to know more about Blynk I recommend the following tutorial:
Create account, configuration and basic connection, example esp8266.
Electricity consumption meter Peacefair PZEM 004 + ESP8266 & Arduino Nano
If you want to know more about Peacefair’s Pzem-004 meter, I recommend the following tutorial:
Features, Arduino connections and ESP8266.
Electricity consumption meter Peacefair PZEM 004 + ESP8266 & Arduino Nano
Tests Performed
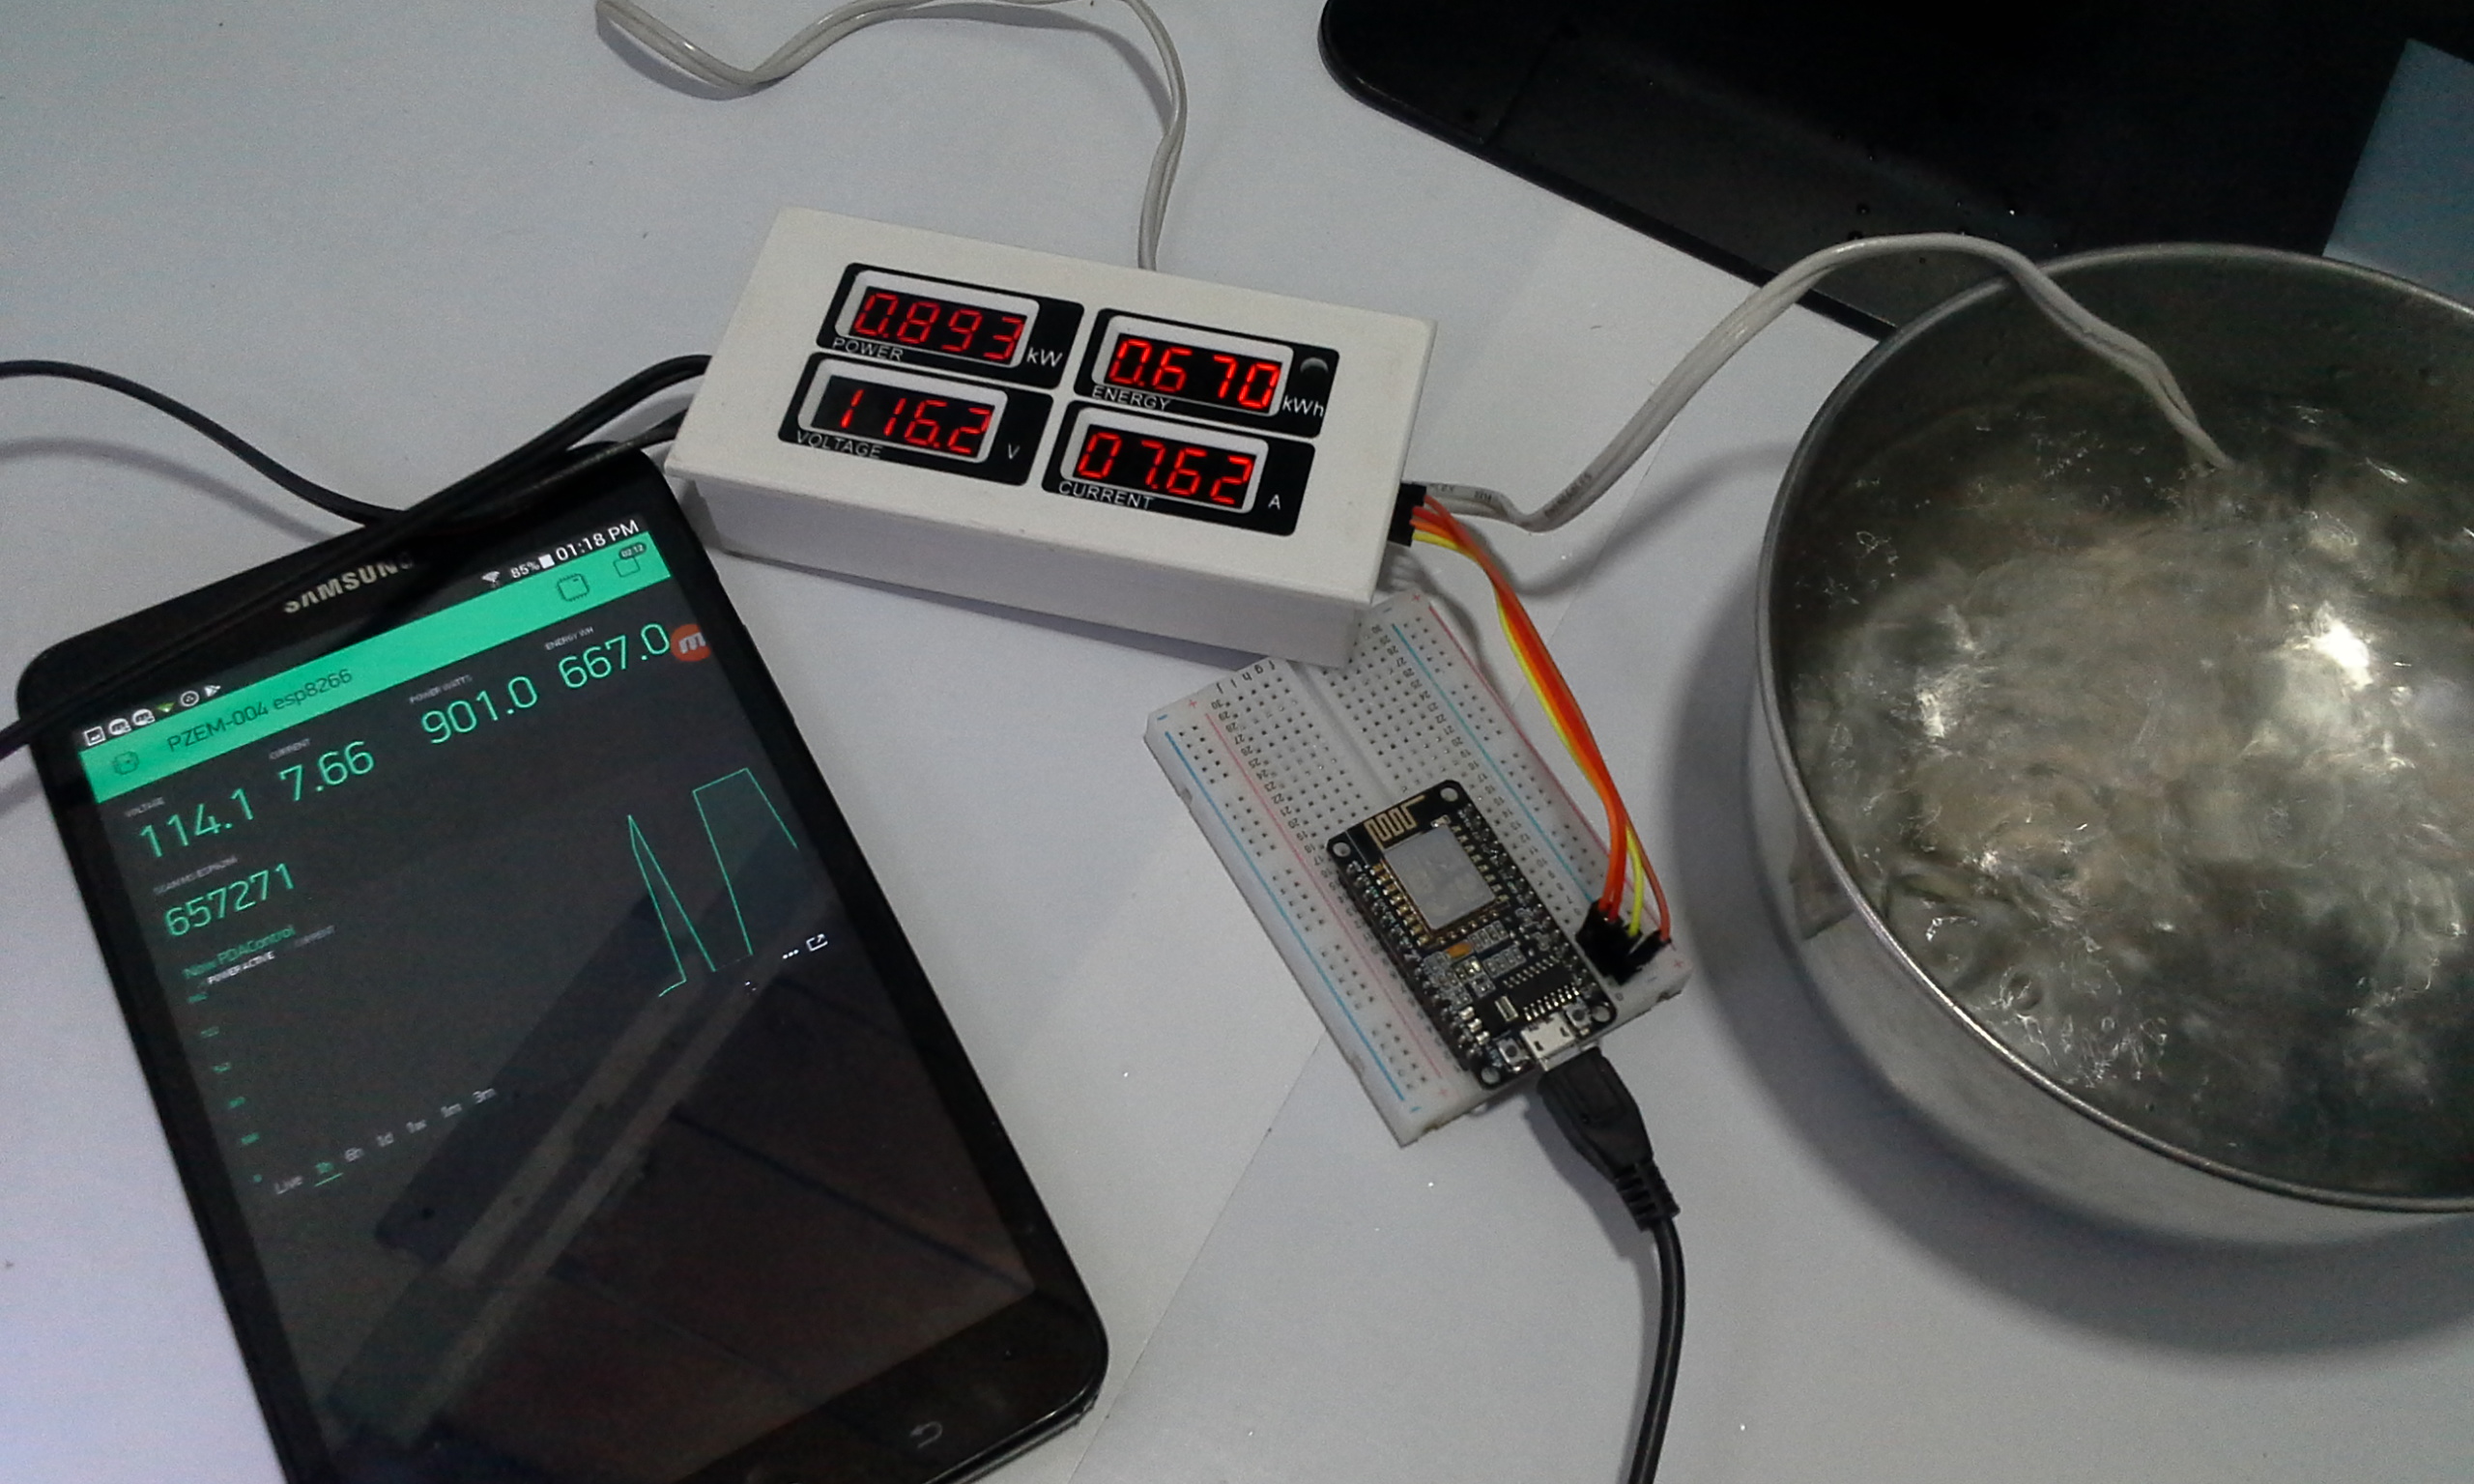
We will measure the electrical consumption of a resistor to heat water, consume approximately 870 Watts and visualize the measurements in a dashboard.
Initially it is required to download the App to our device:
Detailed information about Blynk
Materials and where to buy them very cheap !!
- Meter PZEM 004 with display
- Meter PZEM 004T & Three phase meters
- Immersion heater / Resistance Water heater
- ESP8266 NodeMCU
Other Recommended Equipment
- Transformer core splitter
- Monophasic Electric Consumption Meters – Per Pulse
- Voltage transformers for insulation
- MPPT Controller Regulator for solar panel
- Solar Panels 10W 18v
- Matrix Led x4 Max7219
- Arduino Nano Clone
Simple Test Meter PZEM-004 & ESP8266 Platform IoT Blynk App (Complete)
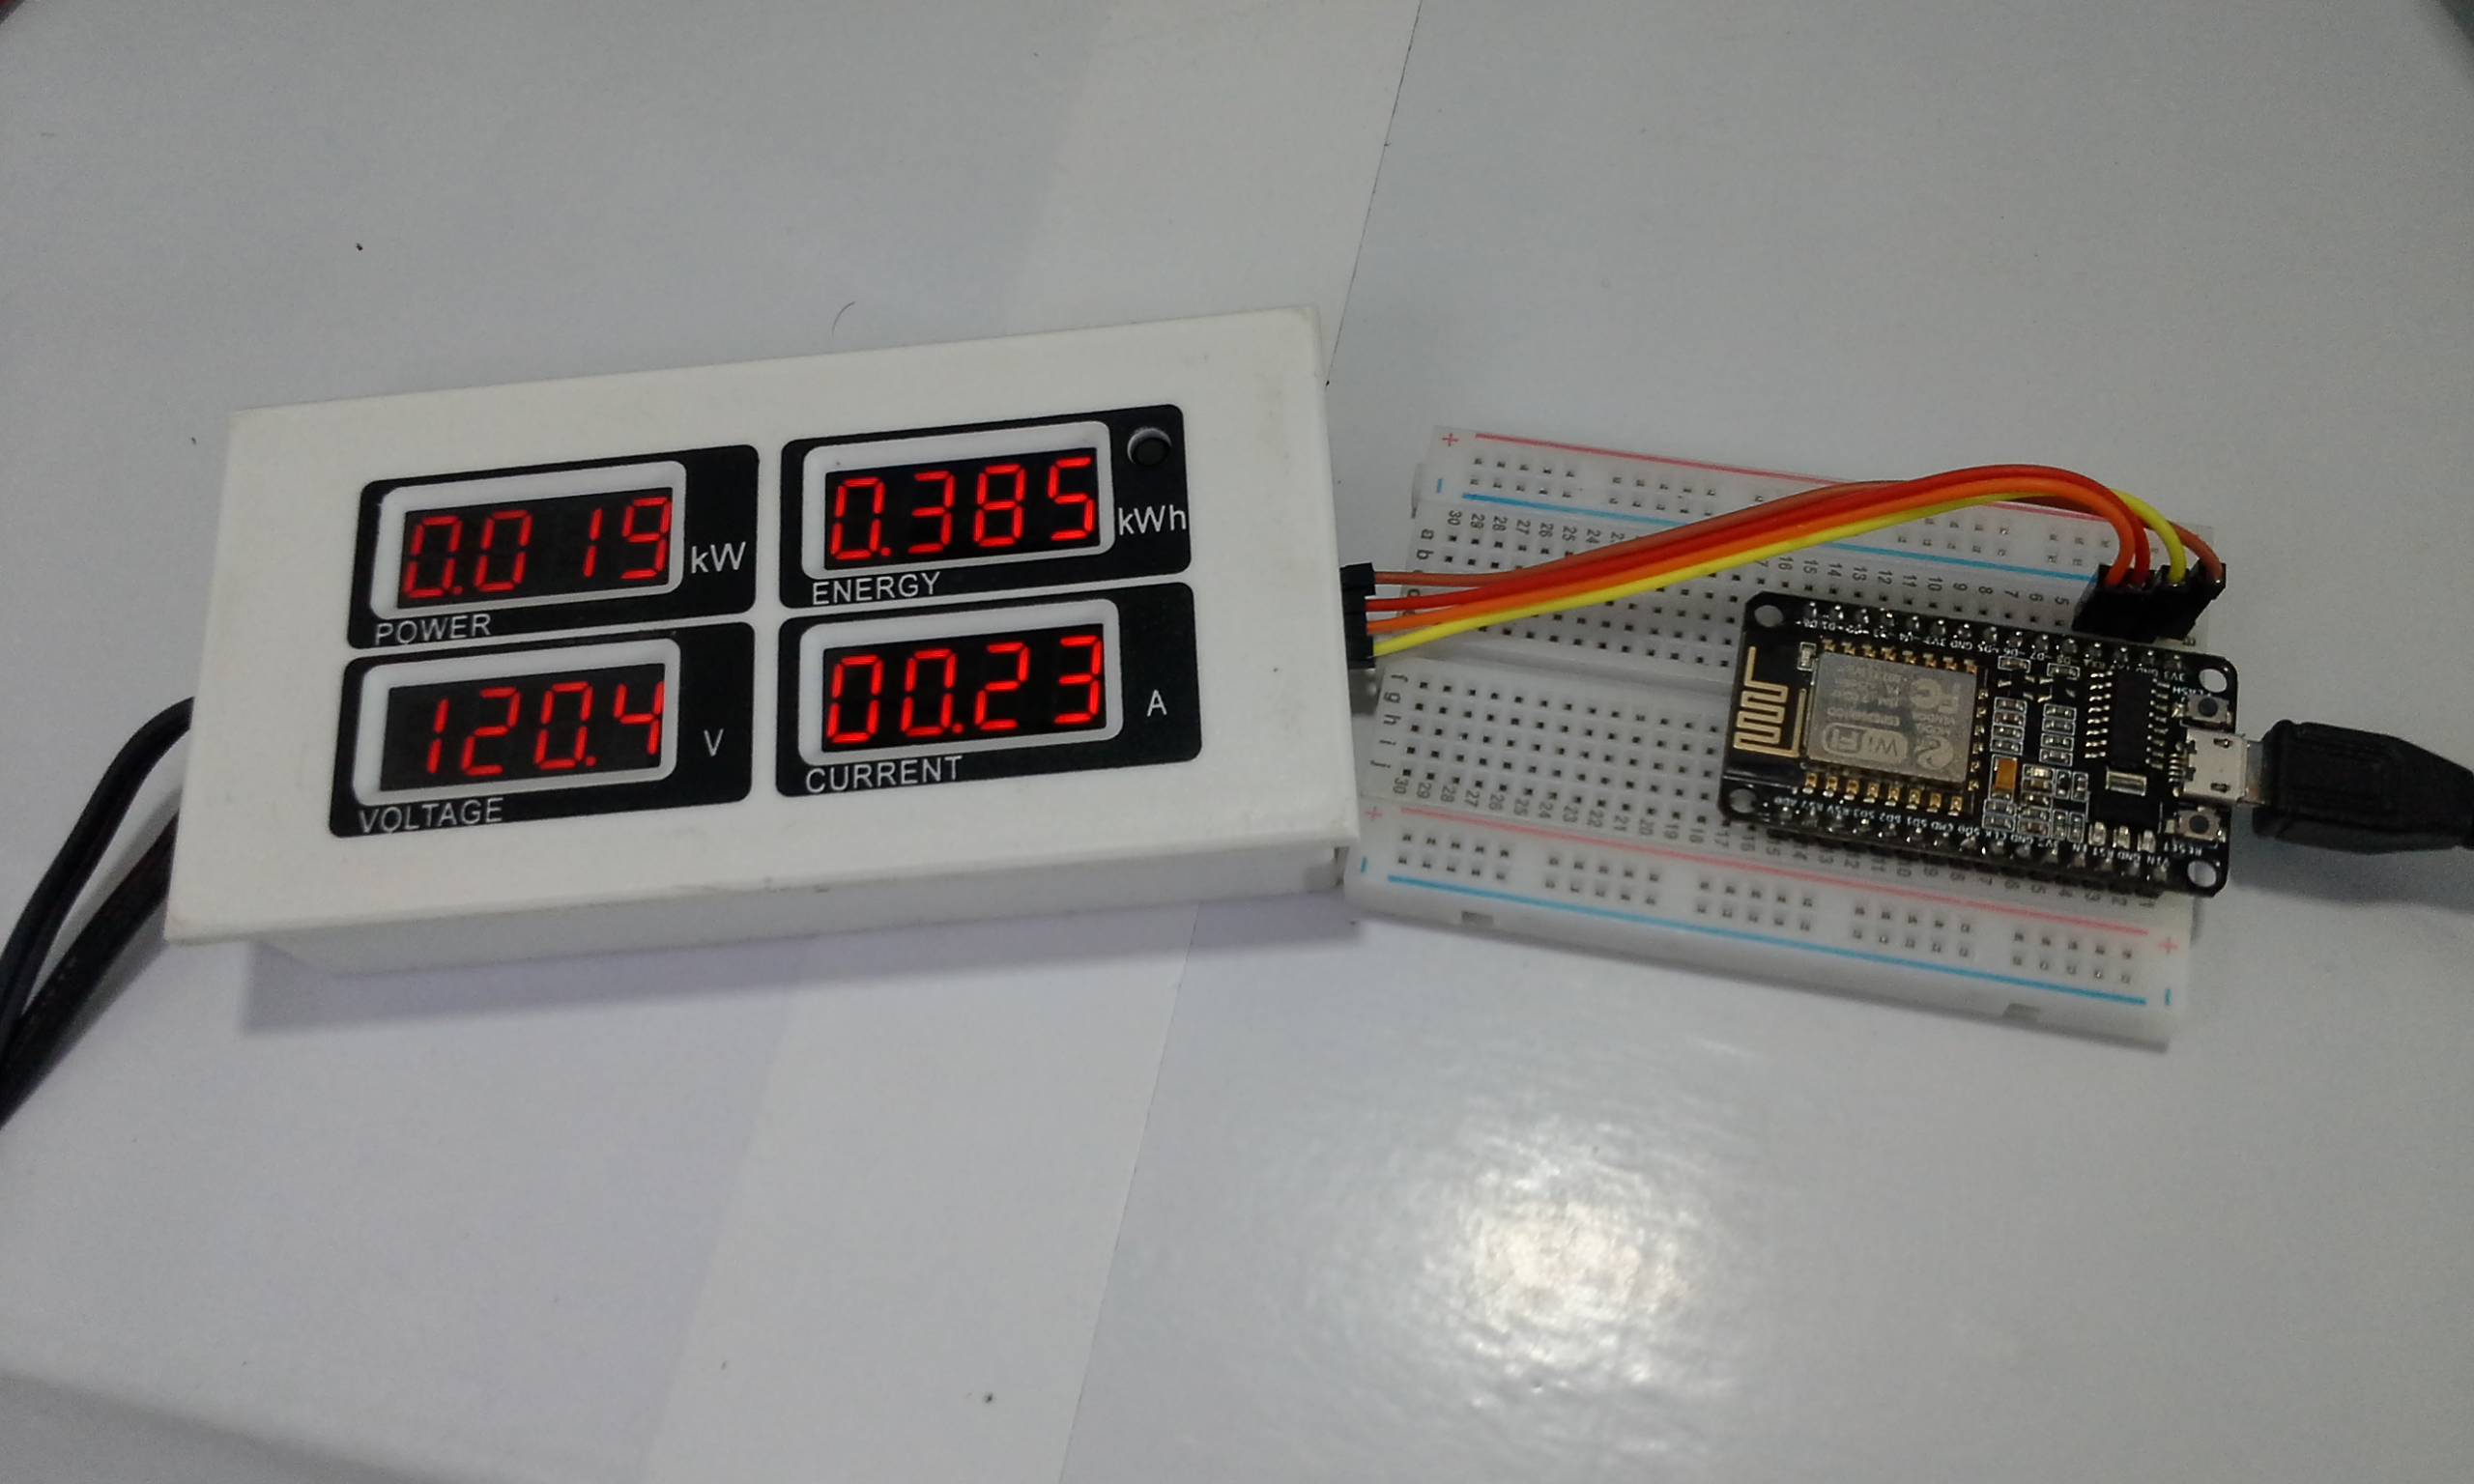
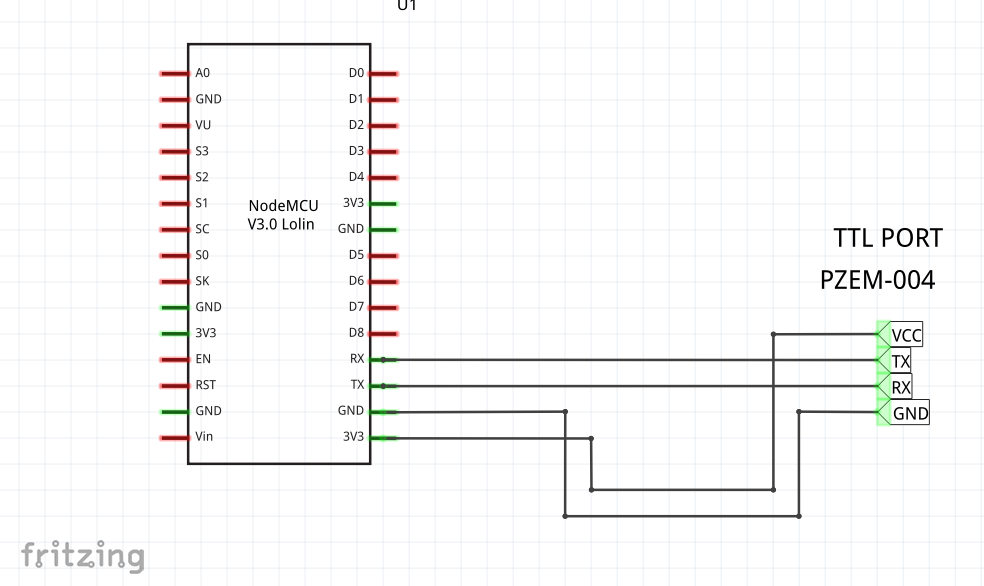
Connections
Arduino IDE Code
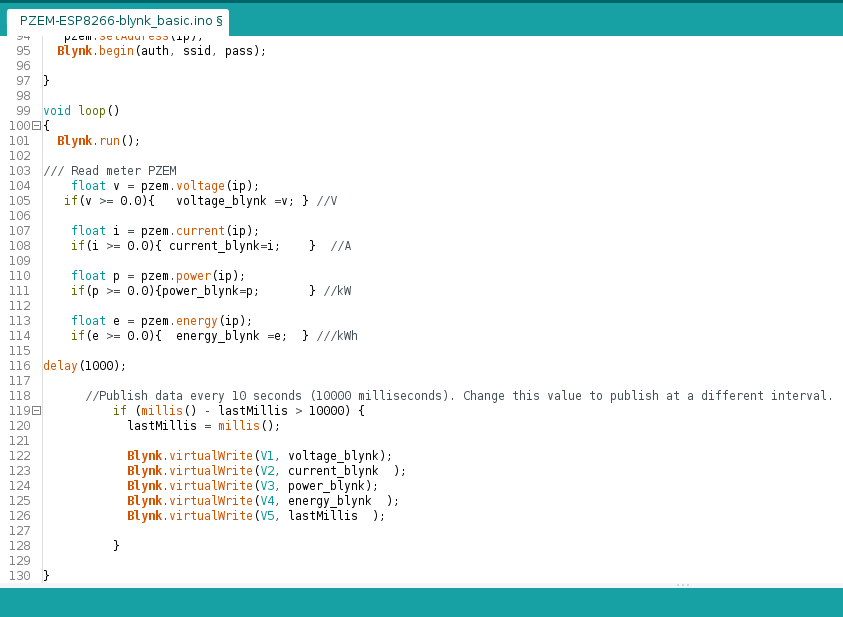
The routine created in Arduino IDE, esp8266 performs the reading of the meter pzem-004 through the serial port.
5 variables have been defined:
- Instantaneous voltage
- Instant current.
- Instant power.
- Accumulated power.
- Scan ms, to verify the communication with the esp8266.
For the sending to the Blynk platform, 8 virtual writing variables have been created, and the data is sent every 10 seconds.
Note: Download and/or github links below.
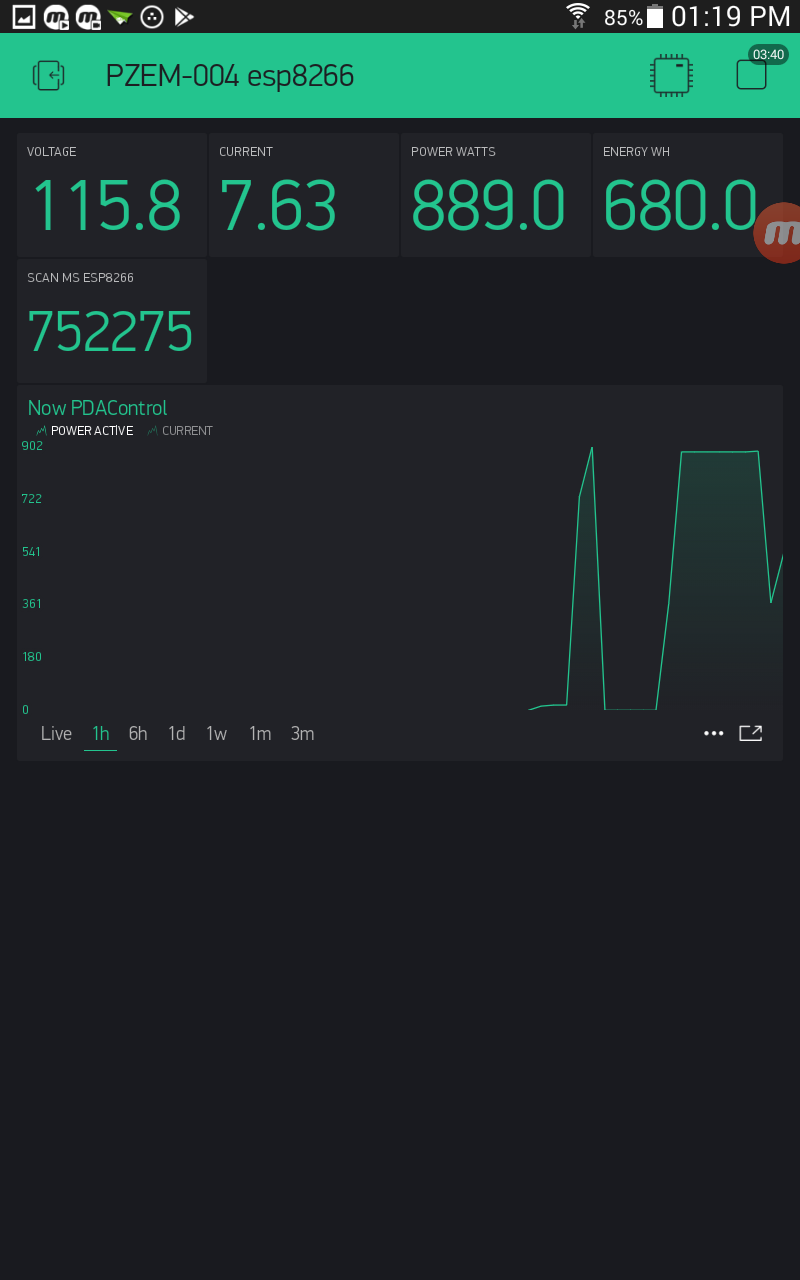
Dashboards Blynk App – Android
When creating the project in the App Blynk automatically generates the connection TOKEN for the arduino IDE code, the TOKEN is automatically sent to the email with which they were previously registered in the Blynk platform.

Energy
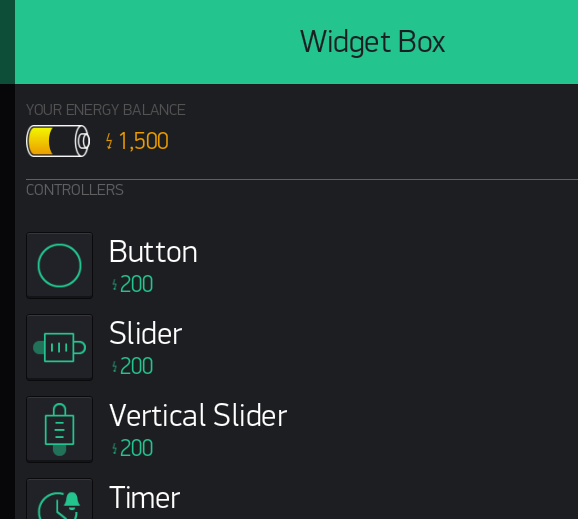
Keep in mind that the creation of Widgets in blynk works with something called “Energy” or energy units, initially you have 2000 units, you must take into account the cost of each widget created, the value is below namethe example Button $ 200.
Note: Detailed information about Blynk
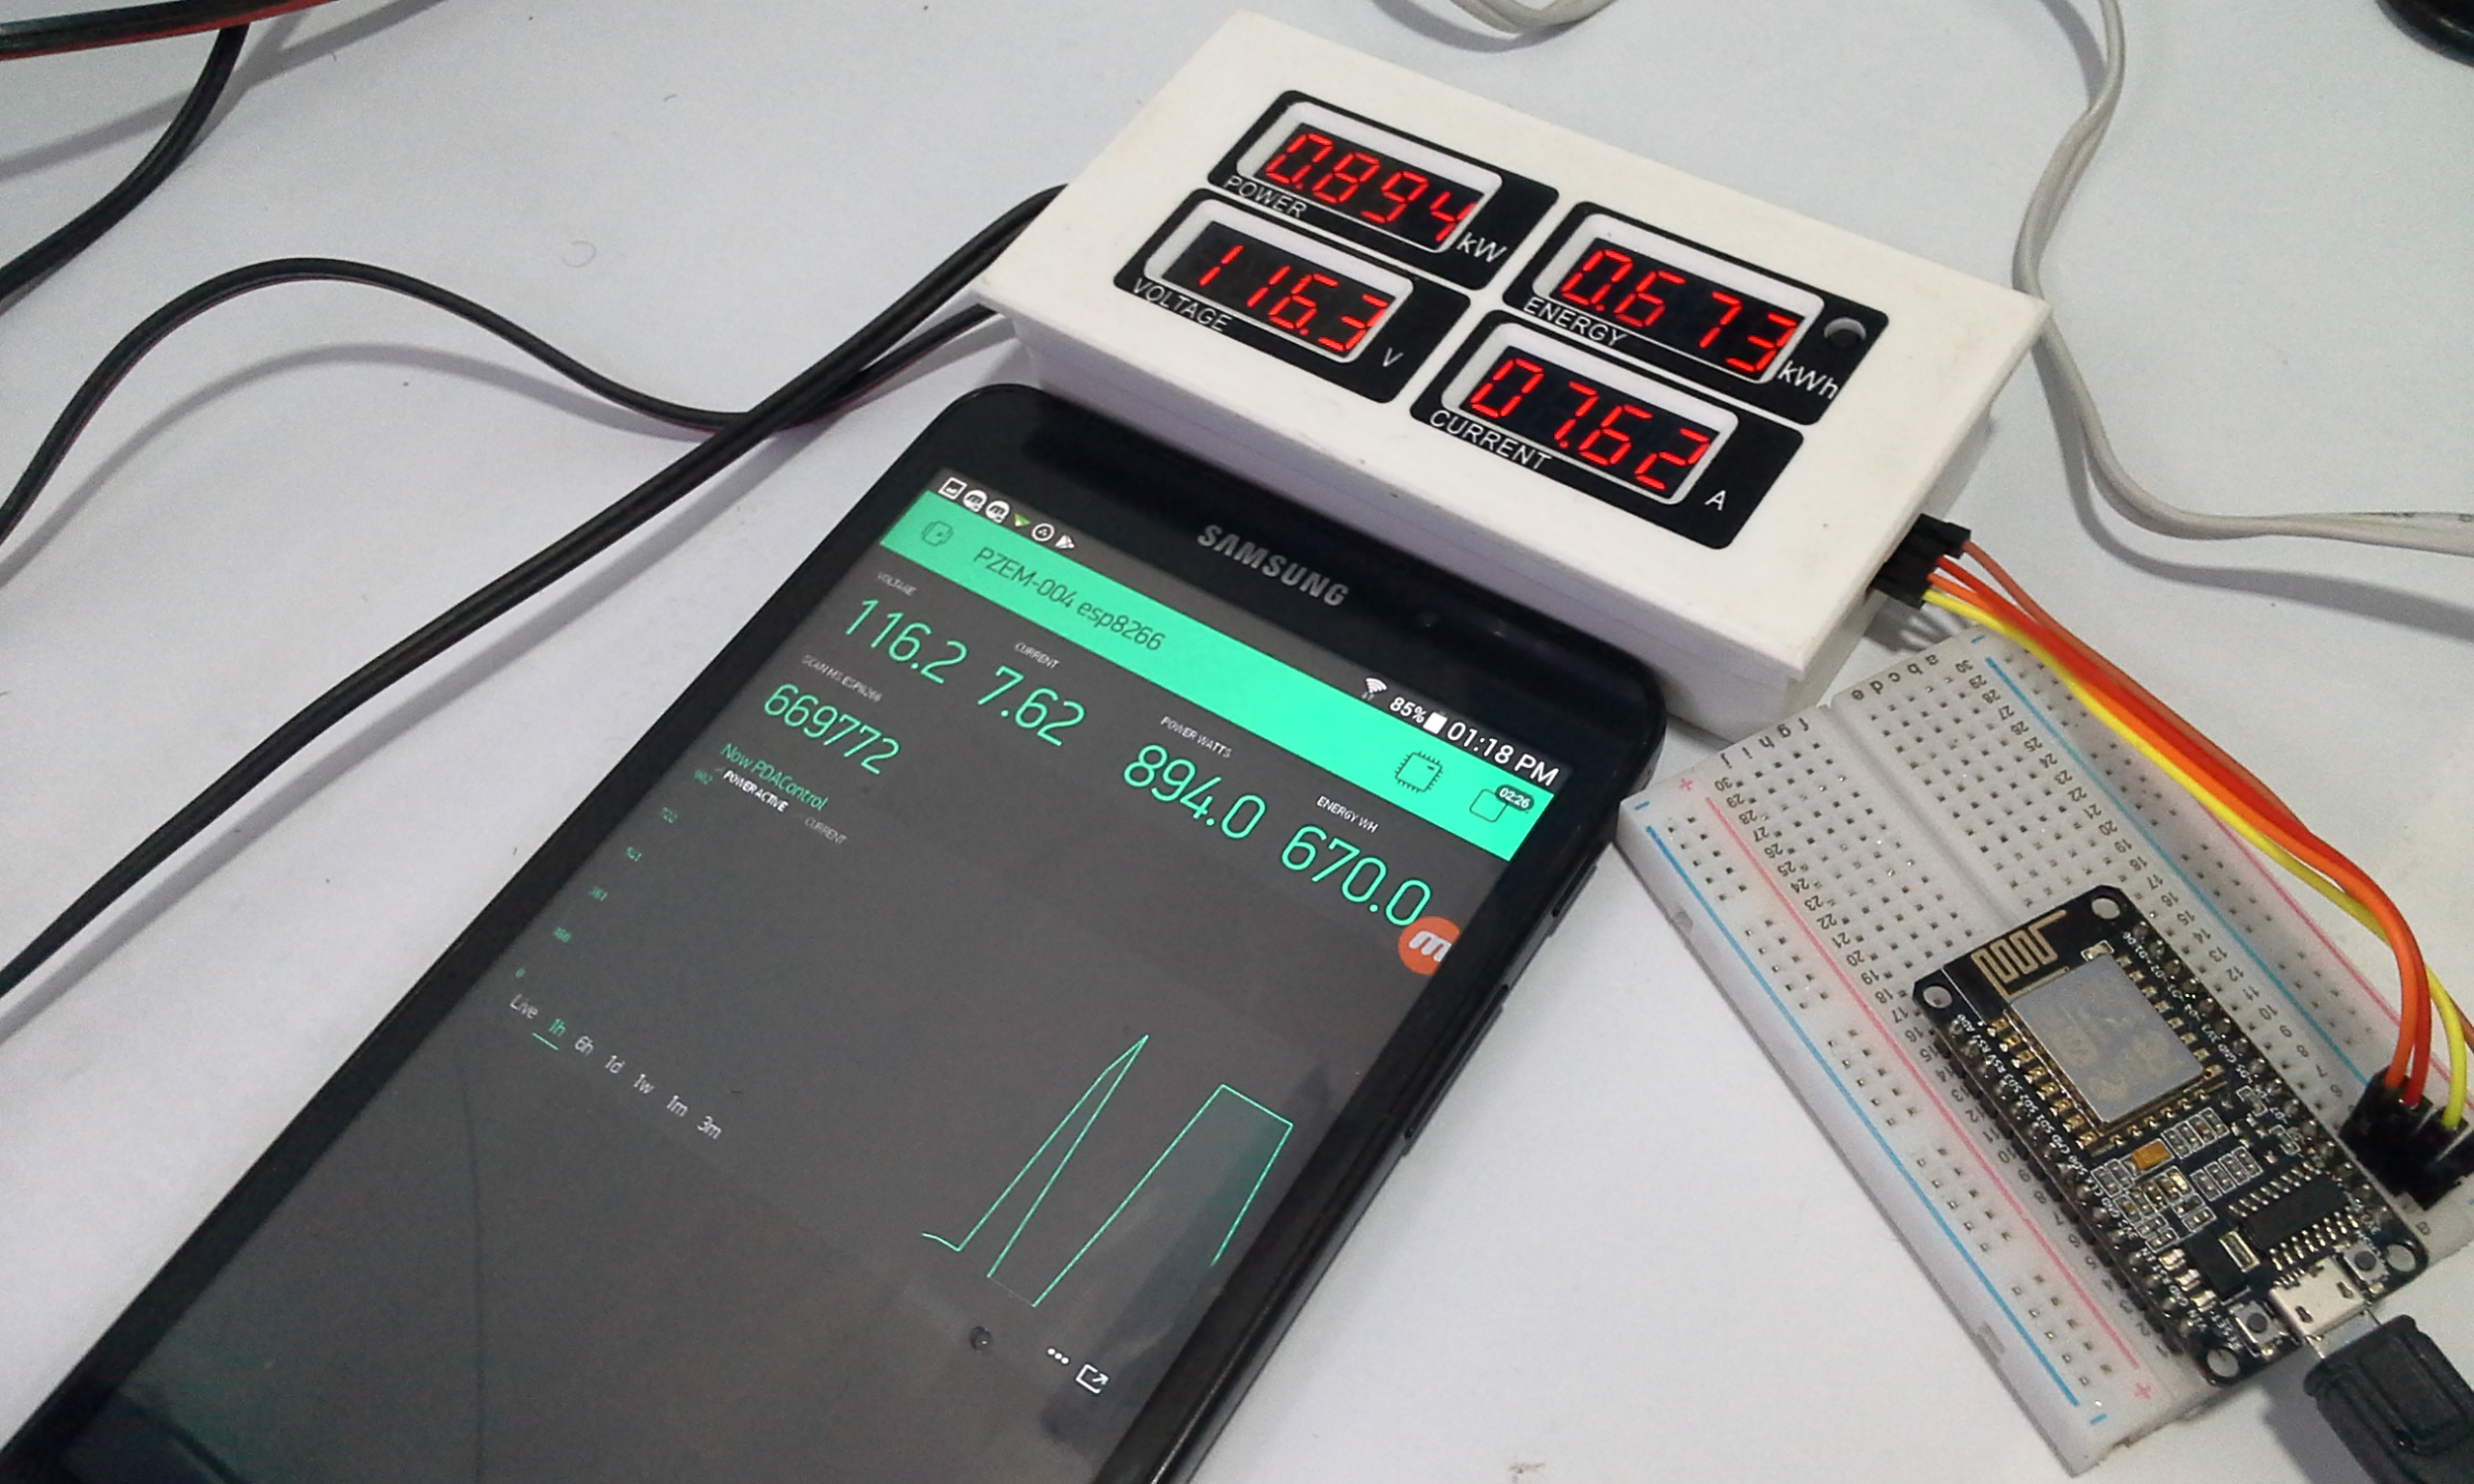
Dashboard Online
The resistance consumes approximately 895 Watts.
Conclusions
The application worked excellent without any problem, as long as the correct reading of the meter is guaranteed, the visualization in Blynk will not be affected
In general there was no major complication, this is only a basic test, in future integrations with Blynk derived from this project we could perform:
- Measurements of temperature.
- Heating resistance control via Relay or PWM AC.
- Integrations with Wifimanager to facilitate configuration.
- OTA integrations for remote programming of esp8266.
Note: If you plan to make a complete or permanent connection application with Blynk you should consider the general questions and terms attached.
Downloads
- Example Arduino IDE: PZEM-ESP8266-blynk
- Example Arduino IDE: blynk
- Library Communication PZEM004T
- Library SoftwareSerial for ESP8266
