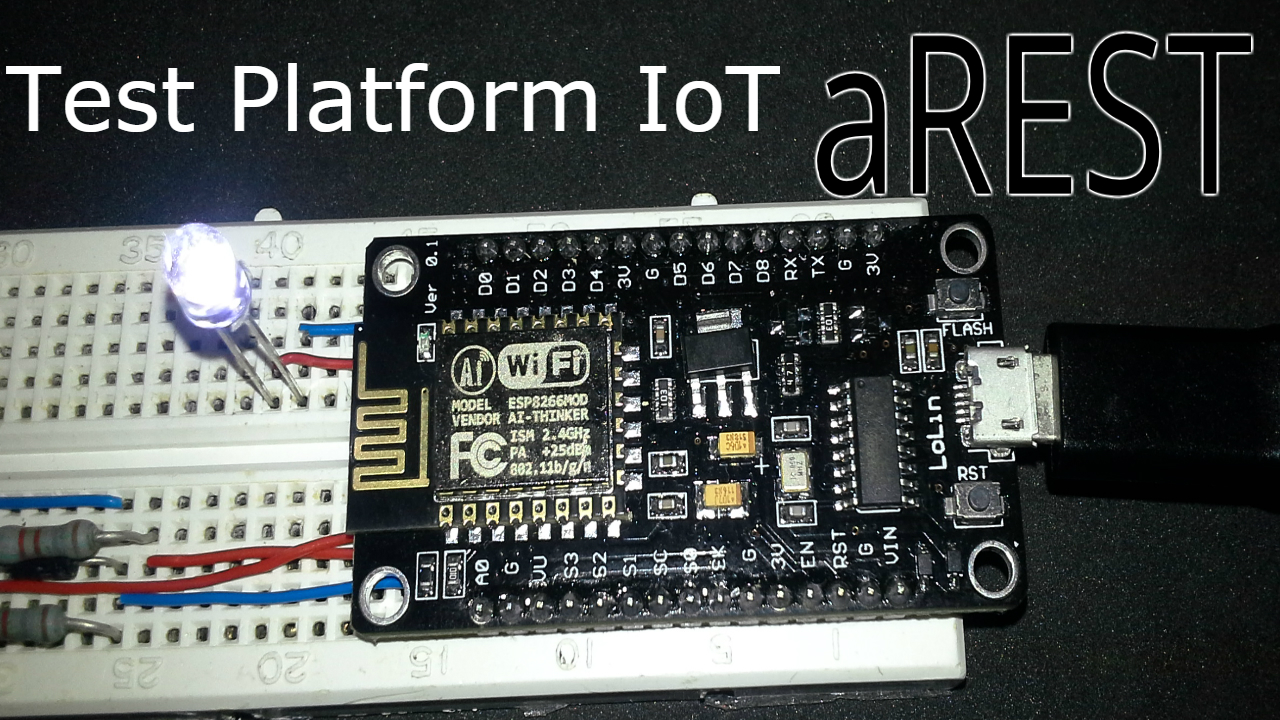
This time the test will be carried out to the aREST.io platform.
What is aREST.io? Is a solution for building IoT applications based on platforms known as Arduino, Raspberry pi, ESP8266 and devices, Serial and Wifi in this tutorial will explain the following:
1- Create a Starter account in aREST.io
Official page: arest.io
This tutorial will take a tour of the aREST.io platforms.
Video Tutorial aREST and ESP8266 Part 1
Tutorial Turn on a led from aREST.io
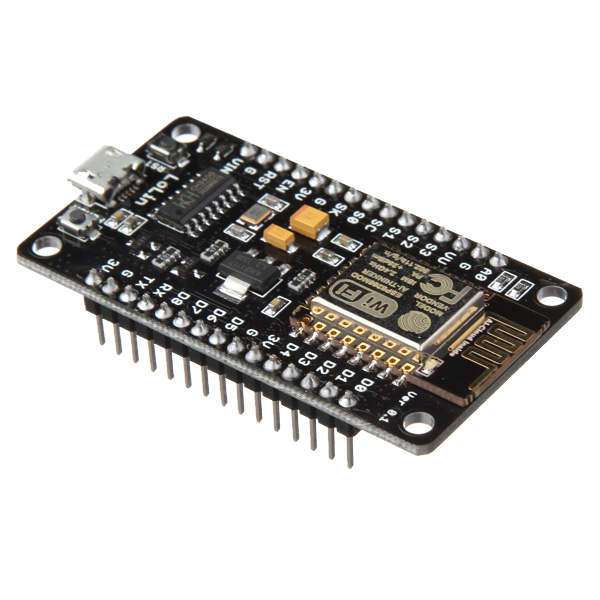
In this case you use a module ESP8266 NodeMCU to perform the control of the GPIO 04, it is not necessary to modify the strategy, the output to control is defined in the web dashboard.
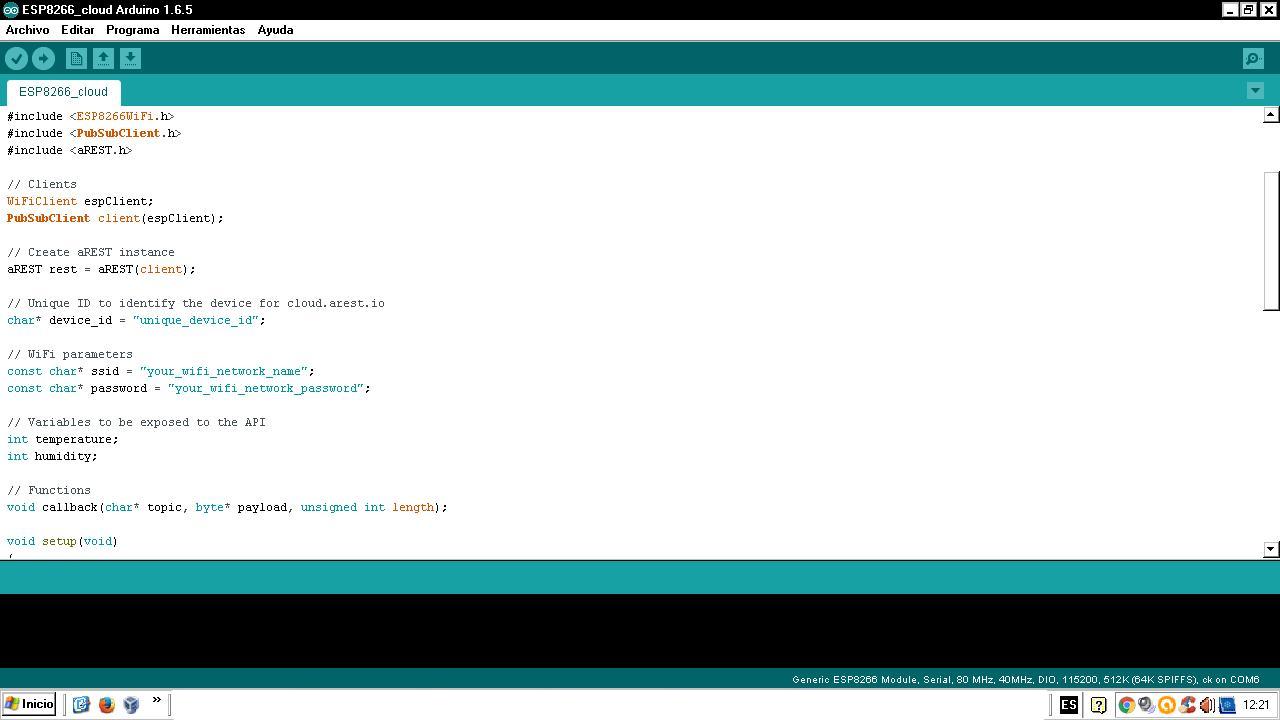
1- Download example Arduino IDE code.
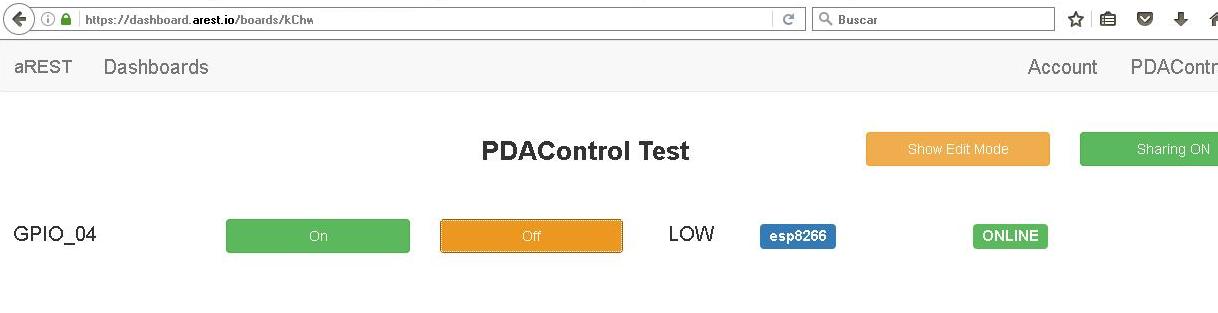
2- Configure widget in Dashboard.
Dashboard aREST.io
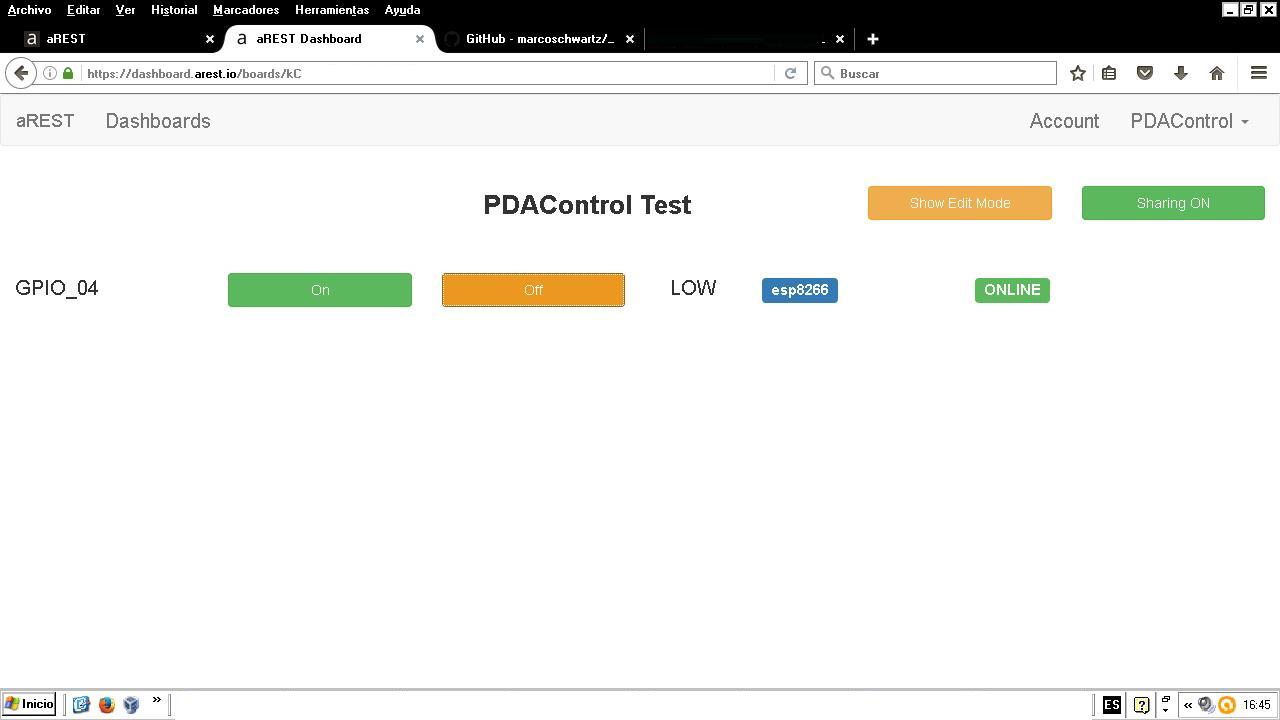
The widget for the GPIO control has been added.
To perform tests have downloaded the libraries and examples of the project Github_aREST contributed by marcoschwartz thanks for your contribution, has taken the example ESP8266_cloud.h strategy requires the network parameters and device_id for connection, also used the pubsubclient library which is An MQTT client for ESP8266 that we have used in previous tutorials, as such it does not execute the modification of the release for GPIO activation, since the configuration is done from the dashboard.
Test Complete
Video Tutorial aREST and ESP8266 Part 2
The following tutorial will indicate step by step the configuration of aREST.io for the activation of a GPIO.
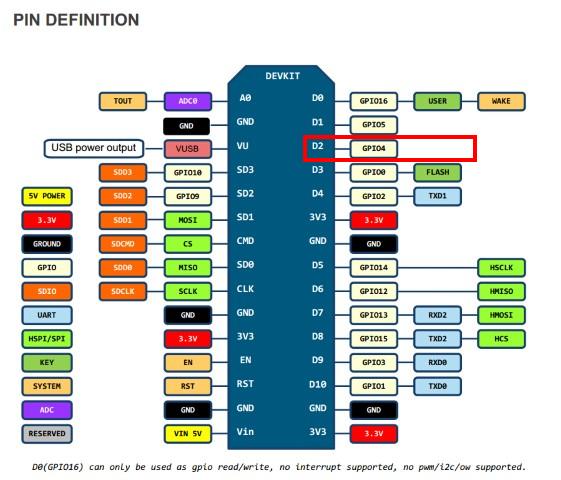
Pinout ESP8266 12E NodeMCU V3
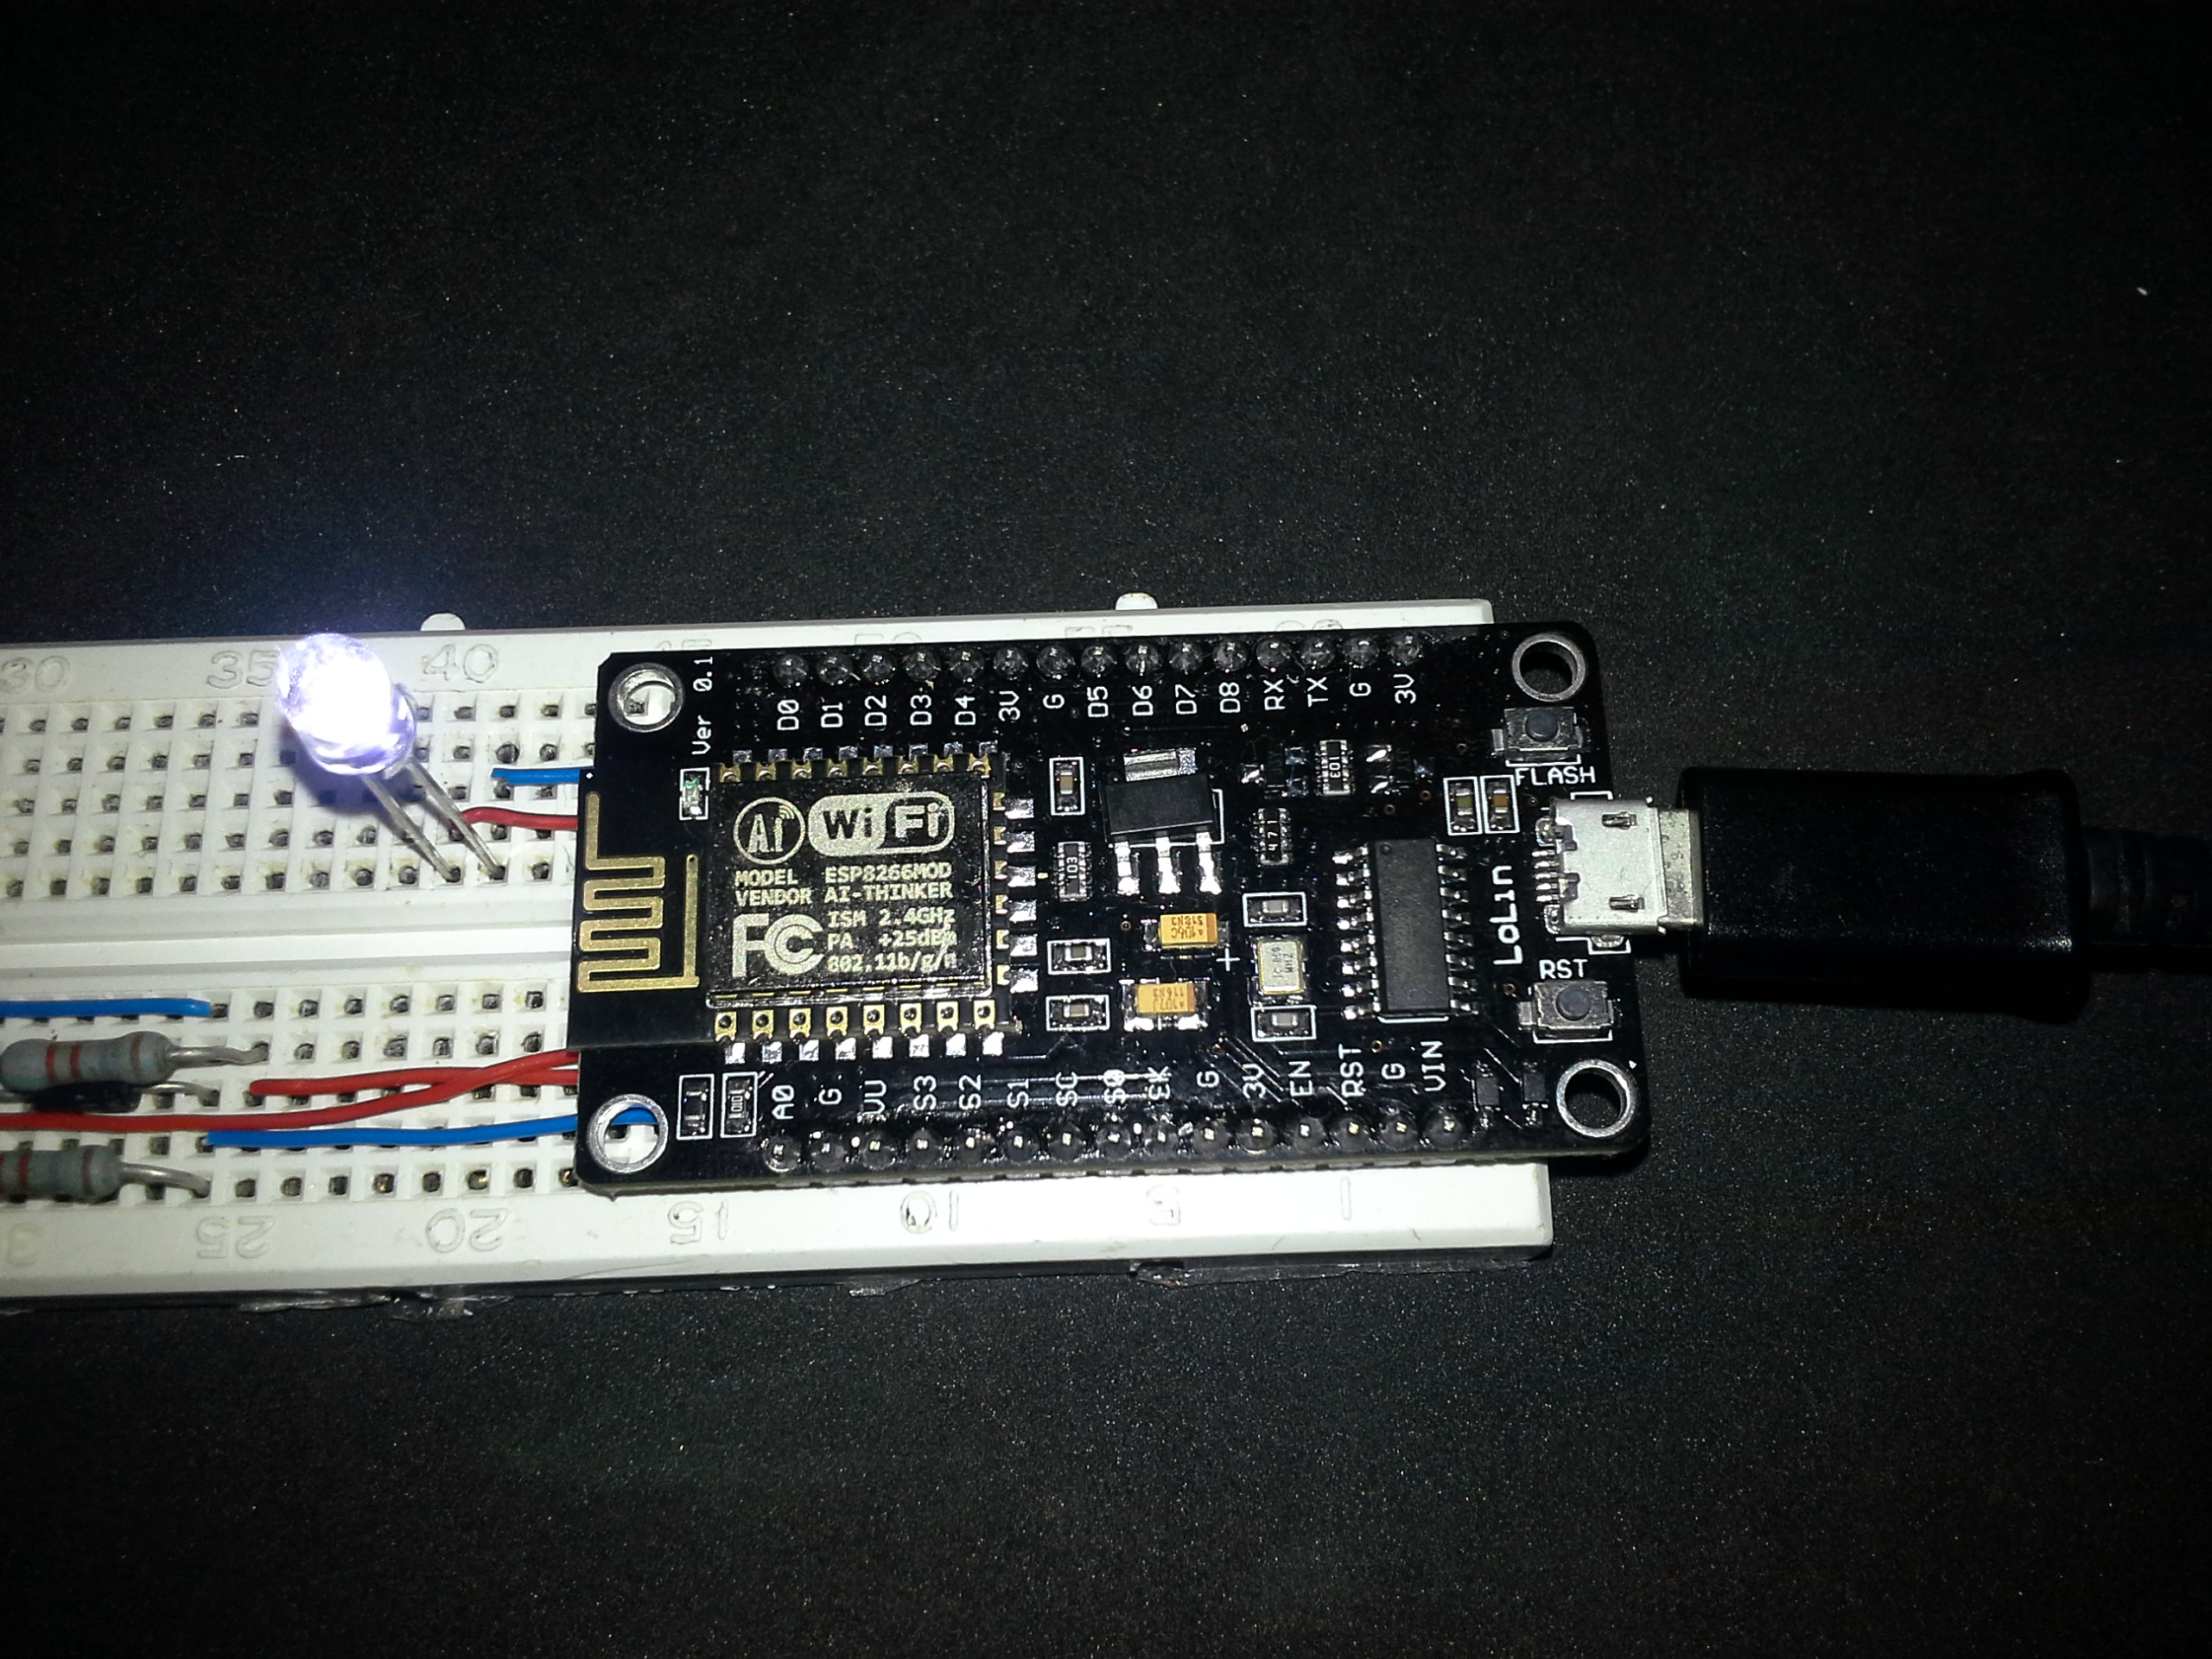
Led diode connected to pin D2 (GPIO04)
References
Youtube Channel
PDAControl